IOM-EZVAVINST
Date: 10-2016 Supersedes: 7-2016
Nailor reserves the right to change any information concerning product or specification without notice or obligation.
Page 14 of 48
Installation and Operation Manual
●
EZvav Digital Controls
Secon5:ConguringtheControllers
This topics in this secon are advanced topics for control technicians and engineers.
The conguraon funcons that are accessible through an STE-8000 series sensor are all of the values and sengs that are
entered during the installaon and commissioning of a VAV terminal unit. Typically, these funcons do not change aer the
installaon and commissioning process.
To set up the conguraon funcons, you will need the following items and informaon.
• Details about the VAV terminal unit including the conguraon for fans and reheat.
• An STE-8001W36 or STE-8201W36 to use as a conguraon tool.
• The building automaon system plans for controllers connected to a network.
Users may change the acve heang and cooling set points without accessing the conguraon funcons. This procedure is
covered in the topic Changing the Room Set Point on page 13.
Note: The instrucons for the conguraon funcons cover all of the funcons that an STE-8000 sensor can set up in the EZvav
series of controllers. Not all funcons are available on every model of controller.
Conguraontopics
Geng started with conguraon ...................................................................................................14
Entering system temperature set points and limits ..........................................................................15
Conguring the VAV Terminal Unit opons ......................................................................................17
Set the airow set points ..................................................................................................................19
Advanced opons .............................................................................................................................21
Restore Applicaon ...........................................................................................................................23
GengStartedwithConguraon
For access to the conguraon funcons you will need Password 2 .
• If the controller has not been previously set up, no password is required.
• A new Password 2 can be entered or changed in the advance funcons. See the topic Advanced opons on page 21
Entertheconguraonmode
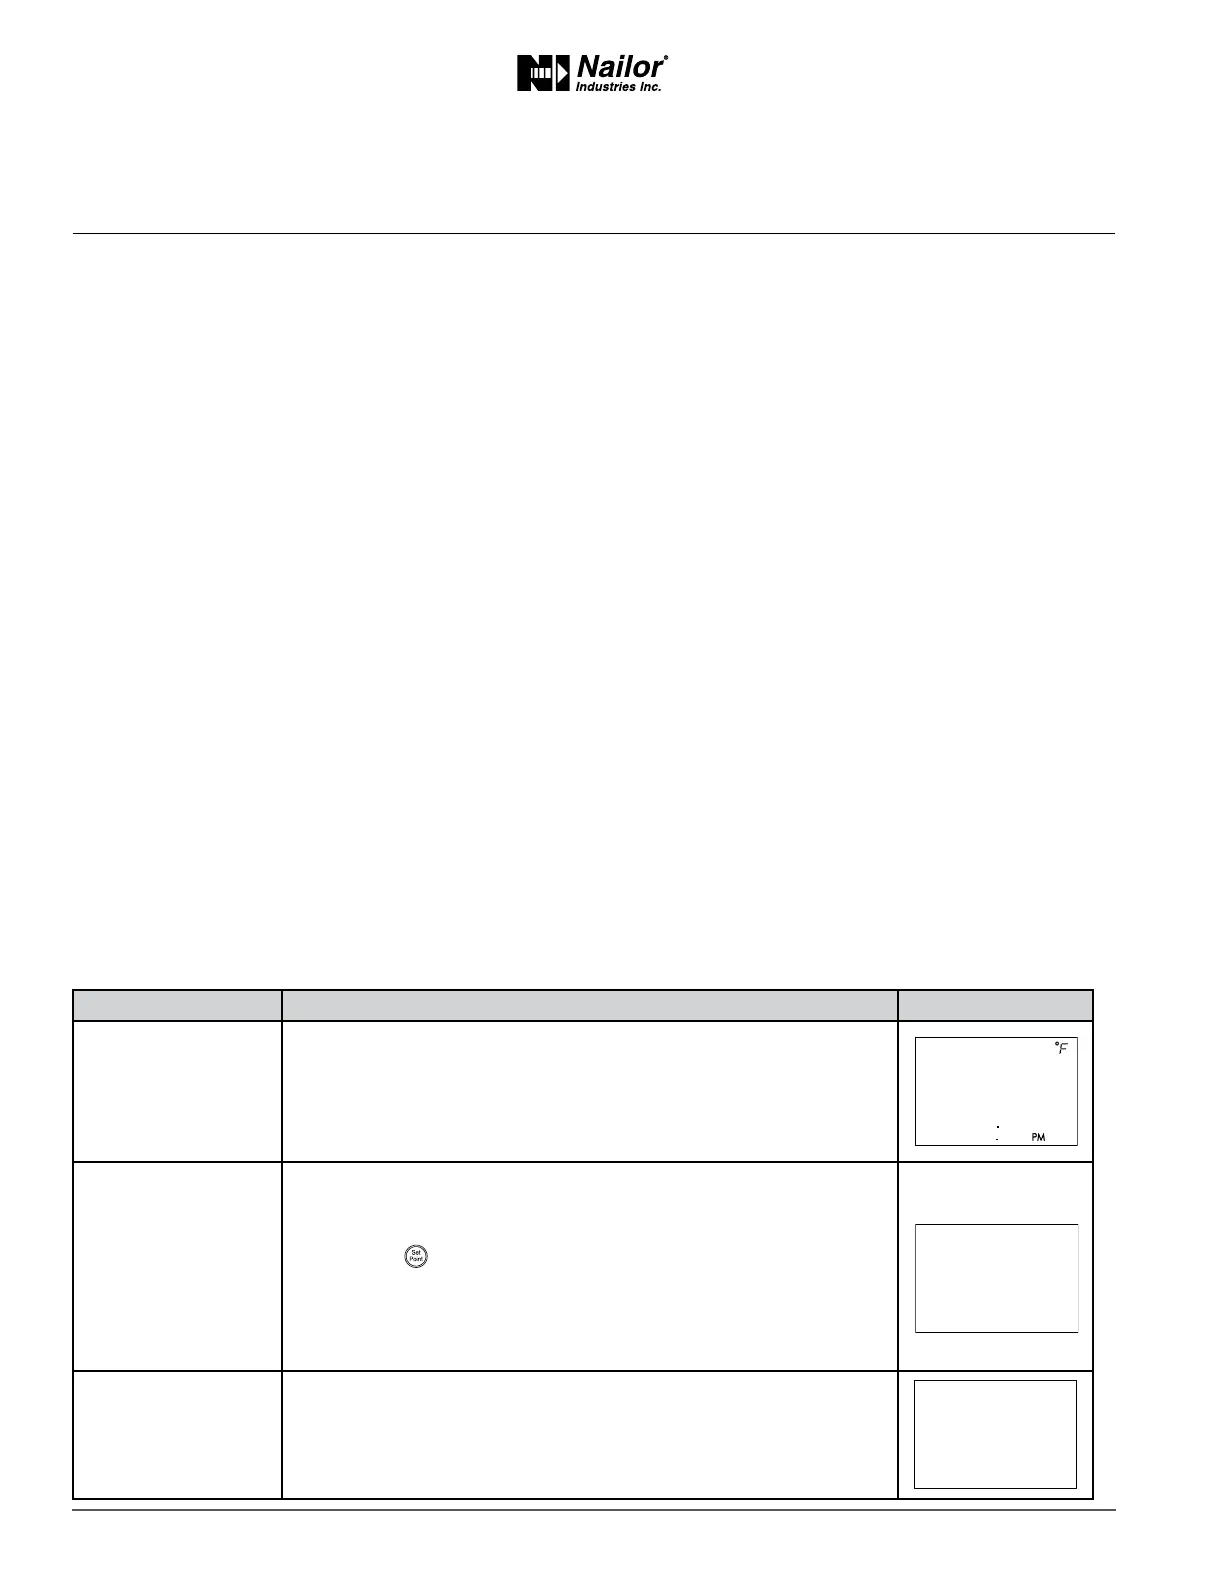
PROCEDURE STEPS STEDISPLAY
1 Starng display
1. Start at the temperature display.
2. Press the
∆
and
buons together.
• If Password 2 is not required, the display changes to CNFG.
• If required, enter Password 2. The display changes to CNFG
when Password 2 is correct.
2 Enter Password 2
1. Press the
∆
and
buons together and hold them down unl the
display changes to PSW2.
2. Press the
∆
or
buon to change the rst digit.
3. Press the
buon to select the next digit. Repeat for all four digits.
4. When the buon is pushed for the fourth correct digit, the display
changes to COMM.
Note: If Password 2 has not previously been entered the display will
change to the CNFG display aer Step 1.
3 Select a
conguraon
funcon.
Access to the conguraon funcons always start at the CNFG display.
∆
∆
∆