IOM-EZVAVINST
Date: 10-2016 Supersedes: 7-2016
Nailor reserves the right to change any information concerning product or specification without notice or obligation.
Page 21 of 48
Installation and Operation Manual
●
EZvav Digital Controls
Proceduretosettheairowsetpoints(connue)
AdvancedOpons
The advanced opons set up passwords and special features in the controller.
• Establish or change Password 1 and Password 2
• Set mers for standby and override (oponal)
• Enable automac occupancy (oponal)
• Enable discharge air temperature control (oponal)
• Calibrate the sensor
Seng the advance opons requires entering Password 2 which is described in the topic Geng started with conguraon on
page 14.
Tip: Once the following procedure is started, all steps must be completed in order.
Proceduretosettheadvancedopons
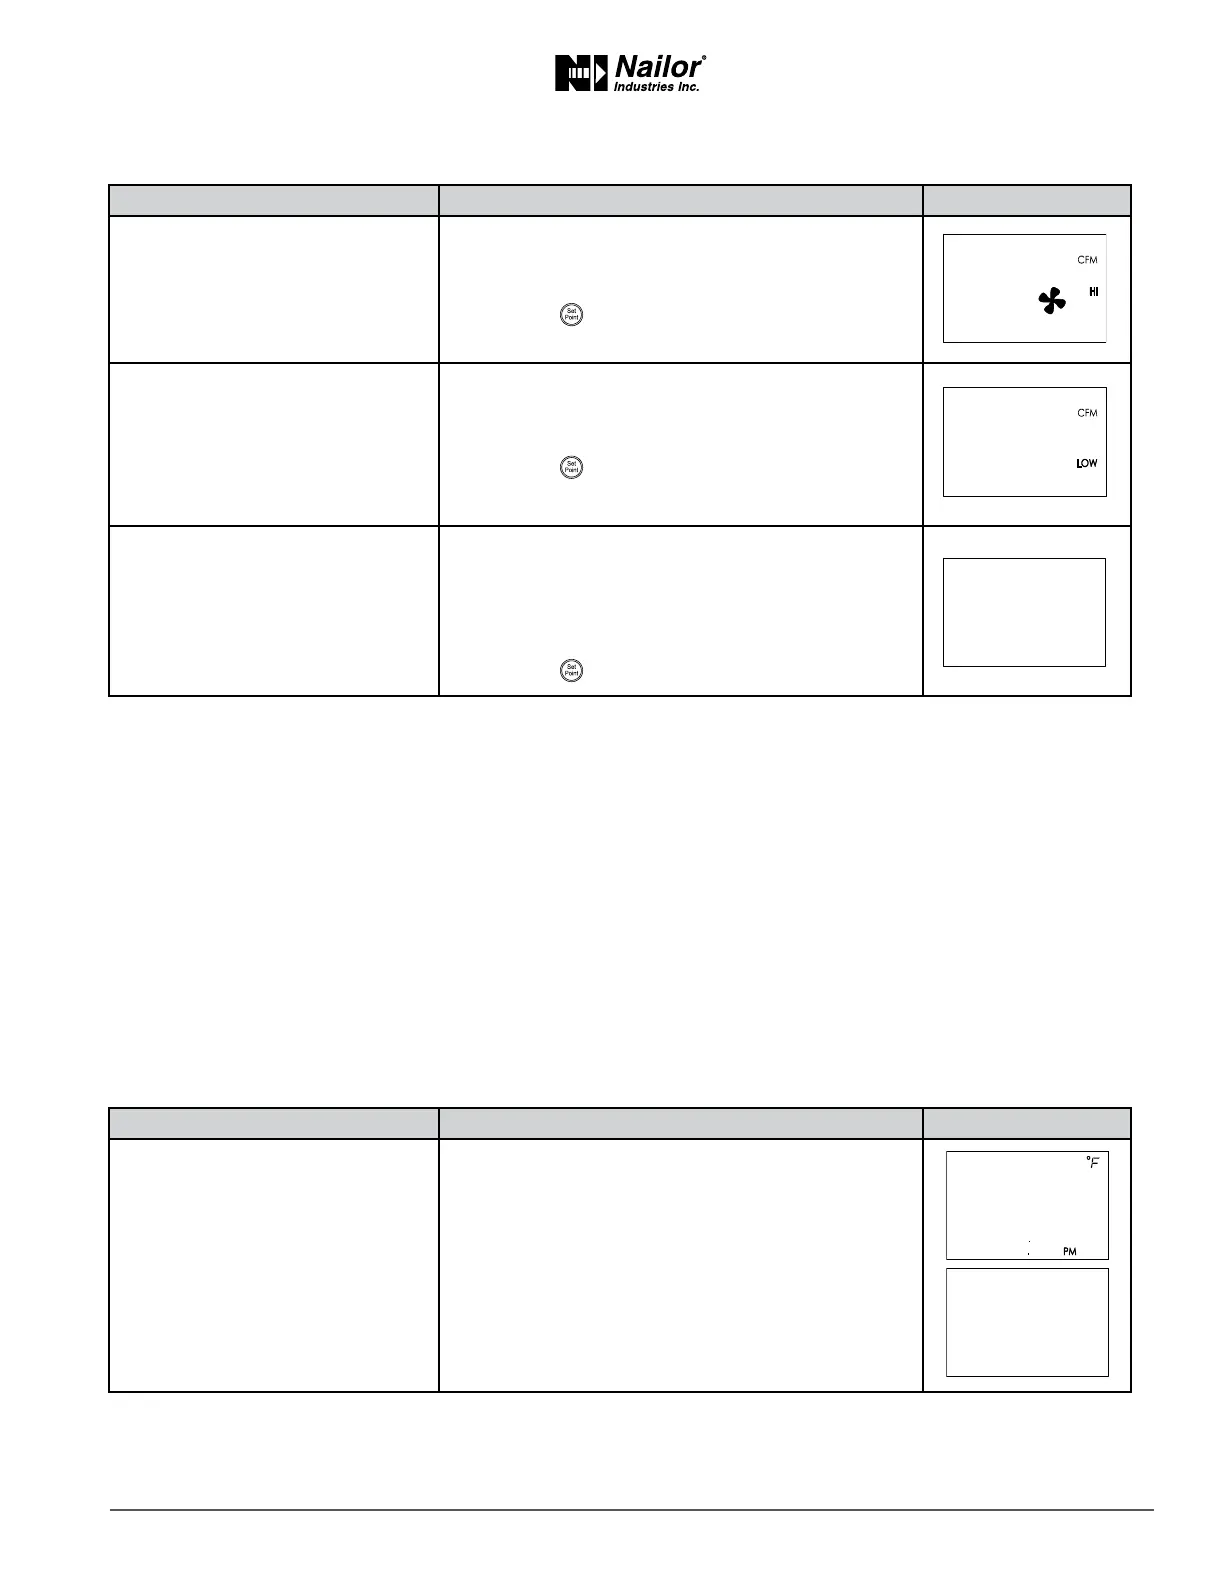
PROCEDURE STEPS STEDISPLAY
9 Set the maximum limit for fan
speed.
Not used for all models.
1. Press the
∆
or buons to set the maximum limit
for the fan speed. The set point will change in 1%
increments.
2. Press the buon to save the set point and
advance to the next funcon.
10 Set the dual duct minimum
airow.
Not used for all models.
1. This set point is for the minimum airow when a Dual
duct system is at temperature set point.
1. Press the
∆
or buons.
2. Press the buon to save the set point and
advance to the next funcon.
11 Select a new conguraon
funcon or exit.
1. Press the
∆
or buons to select one of the
following:
• STPT, BOX, ADVC, or RSTR opons
• BACK to choose another conguraon funcon
EXIT.
2. Press the buon to select the next funcon.
∆
∆
PROCEDURE STEPS STEDISPLAY
1 Starng display
1. Start at the temperature display.
2. Press the
∆
and buons together.
• If Password 2 is not required, the display changes
to CNFG.
• If required, enter Password 2. The display changes
to CNFG when Password 2 is correct.
∆
∆