IOM-EZVAVINST
Date: 10-2016 Supersedes: 7-2016
Nailor reserves the right to change any information concerning product or specification without notice or obligation.
Page 19 of 48
Installation and Operation Manual
●
EZvav Digital Controls
ProceduretosettheTerminalUnitfuncons(connue)
SettheAirowSetPoints
The airow set points set the airow limits for the VAV terminal unit.
• Airow heang and cooling minimum and maximum limits
• Auxiliary ow set point (oponal)
• Minimum and maximum fan speeds (oponal)
Seng the airow set points requires entering Password 2 which is described in the topic Geng started with conguraon on
page 14.
Note: If the VAV unit is a heat only or cooling only unit, the airow set points for the unused mode must be set within the range
of the mode in use. Failure to set the unused set points correctly will result in unpredictable or erroneous air balancing sengs.
Tip: Once the following procedure is started, all steps must be completed in order.
Proceduretosettheairowsetpoints
PROCEDURE STEPS STEDISPLAY
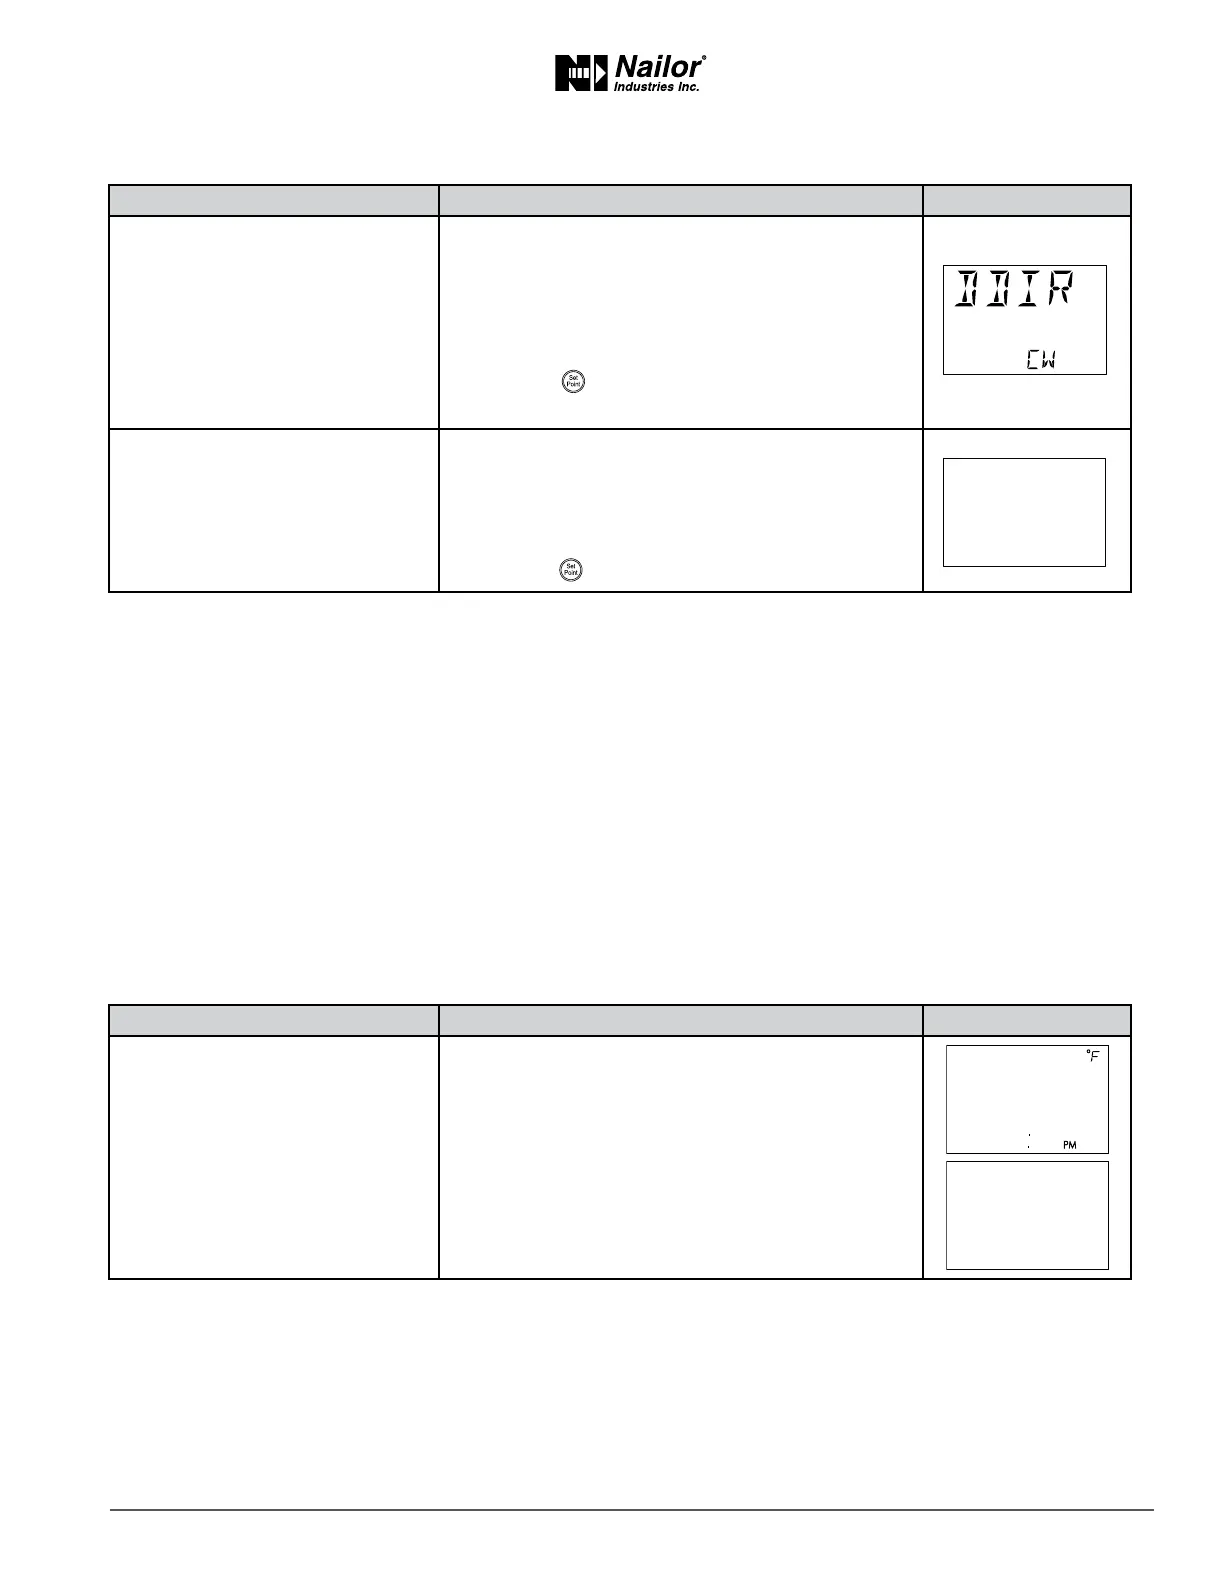
7 Set the damper direcon to close.
1. Press the
∆
or buons to which direcon to
damper moves to close.
CCW—The actuator turns counterclockwise to close
the damper.
CW—The actuator turns clockwise to close the
damper. (Default)
2. Press the buon to save the damper opon and
advance to the next funcon.
8 Select a new conguraon
funcon or exit.
1. Press the
∆
or buons to select one of the
following:
• STPT, FLOW, ADVC or RSTR opons
• BACK to choose another conguraon funcon
• EXIT to return to the temperature display.
2. Press the buon to select the next funcon.
∆
∆
PROCEDURE STEPS STEDISPLAY
1 Starng display
1. Start at the temperature display.
2. Press the
∆
and buons together.
• If Password 2 is not required, the display changes to
CNFG.
• If required, enter Password 2. The display changes to
CNFG when Password 2 is correct.
∆