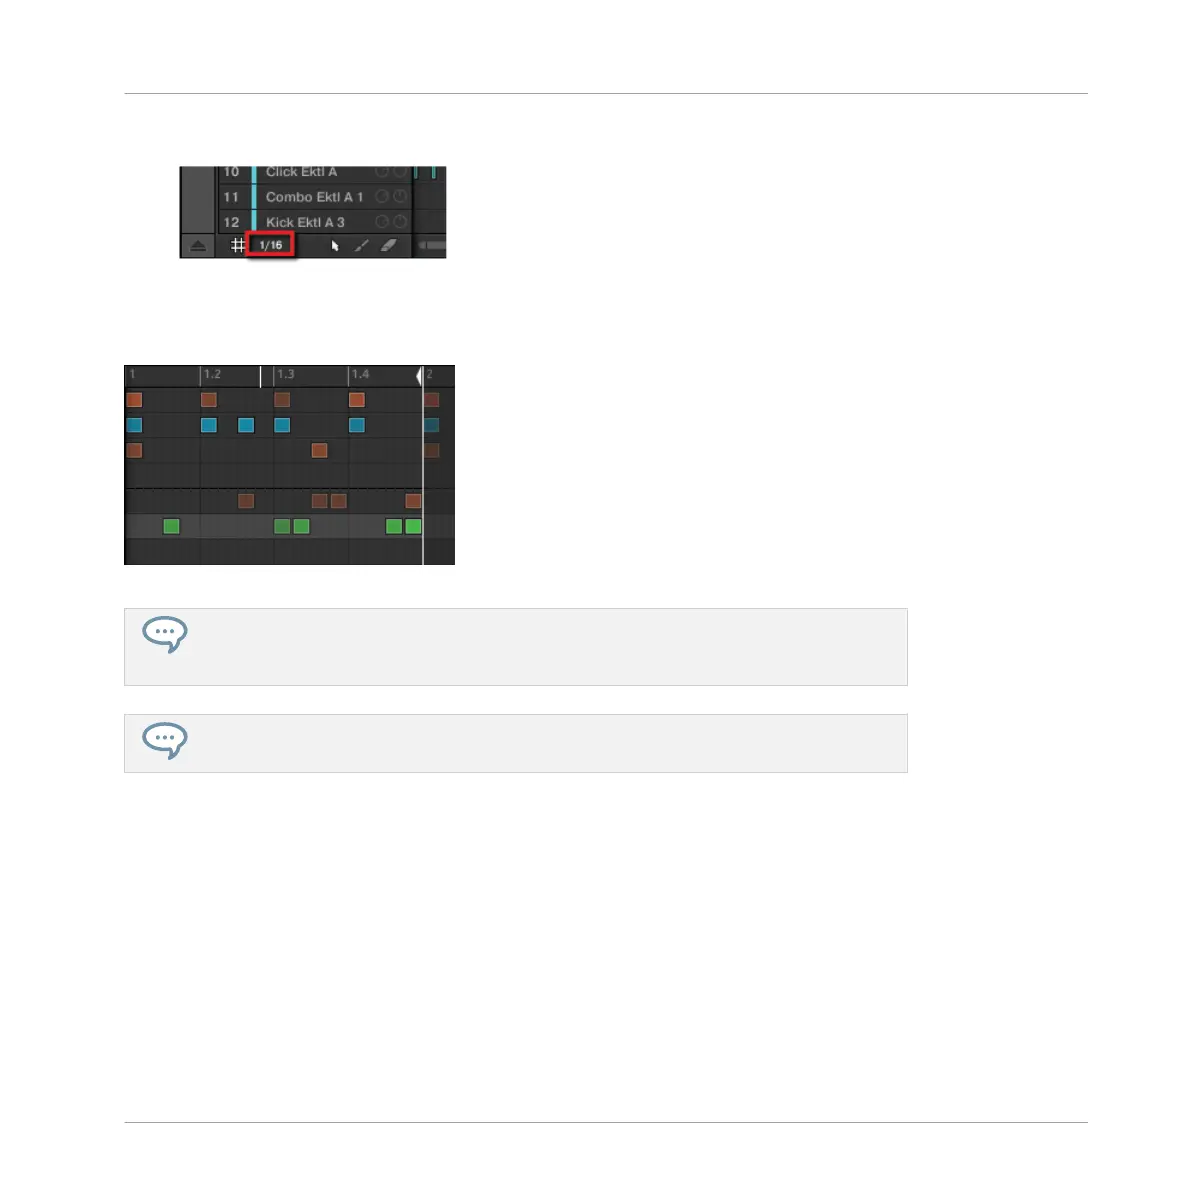
1. Click the Step menu at the bottom left of the Pattern Editor.
2. Select the desired step size in the list that opens.
You can directly see your modification to the Step Grid resolution:
The Step Grid after selecting 1/32nd in the Step menu.
Selecting another step size in the Step menu does not move any event in your Pattern.
Instead, any edit (position, length) that you make to your events will now snap to the
new step size, and in Step mode you have access to other steps on your controller.
If you select Off in the Step menu, the Step Grid is disabled. Nevertheless, the default
step size (1/16th note) is still used to define your events in Step mode.
Similarly to changing the Pattern Length, changing the Step Grid resolution can result in a
greater amount of steps in your Pattern than what your sixteen pads can represent. In that
case, as described earlier, you can use the Page buttons to display the previous/next sixteen
steps of your Pattern.
7.2.2 Adjusting the Step Grid using your Controller
On your controller, to change the Step Grid resolution, do the following:
1. Press and hold the GRID button.
Creating Beats with the Step Sequencer
Adjusting the Step Grid
MASCHINE - Getting Started - 106

 Loading...


