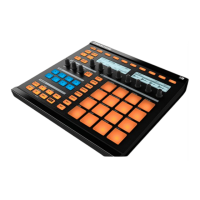
(4) Control encoder: By default, the Control encoder acts as a jog wheel. Its function is similar
to the function of the Step Backward/Forward buttons in the TRANSPORT section: Turn the
Control encoder to scrub through a song at the rate set in the Pattern Grid (Press GRID + But-
ton 3). Hold SHIFT and turn the Control encoder to skip one step at a time. When your control-
ler is in Browse mode or when you browse the Plug-in List, turn the Control encoder to scroll
through the list and press it to load the selected entry. When the VOLUME, SWING or TEMPO
button on its left is active (lit), the Control encoder acts as a volume, swing or tempo/tune con-
trol, respectively (see above).
(5) Arrow Left button: One press on the Arrow Left button is equivalent to turning the Control
encoder (4) one notch counter-clockwise.
(6) Arrow Right button: One press on the Arrow Right button is equivalent to turning the Control
encoder (4) one notch clockwise.
(7) ENTER button: The ENTER button currently has not function.
(8) NOTE REPEAT button: Note Repeat is a really handy way to play and record beats — it plays
the selected Sound automatically at a given rate. While holding the NOTE REPEAT button,
hold the pad you want to play: notes will be repeatedly triggered at the rate selected in the
right display. With Buttons 4–6, you can select different rates while playing. You can select
new rate values for each of these buttons by turning Knobs 5–8. In addition, you can set the
tempo of your Project using this button: Press SHIFT and repeatedly tap the NOTE REPEAT
button to set the required tempo.
The Note Repeat mode can be pinned: Press NOTE REPEAT + Button 1 to pin/unpin the
Note Repeat mode. See ↑11.1.1, Controller Modes and Mode Pinning for more informa-
tion.
11.3.1.3 GROUPS Section
This section gives an overview of the GROUPS section.
Quick Reference
MASCHINE Hardware Overview
MASCHINE - Getting Started - 165

 Loading...