E2600 Controller-Drive Tray Installation Guide 43
14. Secure the side of the controller-drive tray to the mounting rails by performing these substeps:
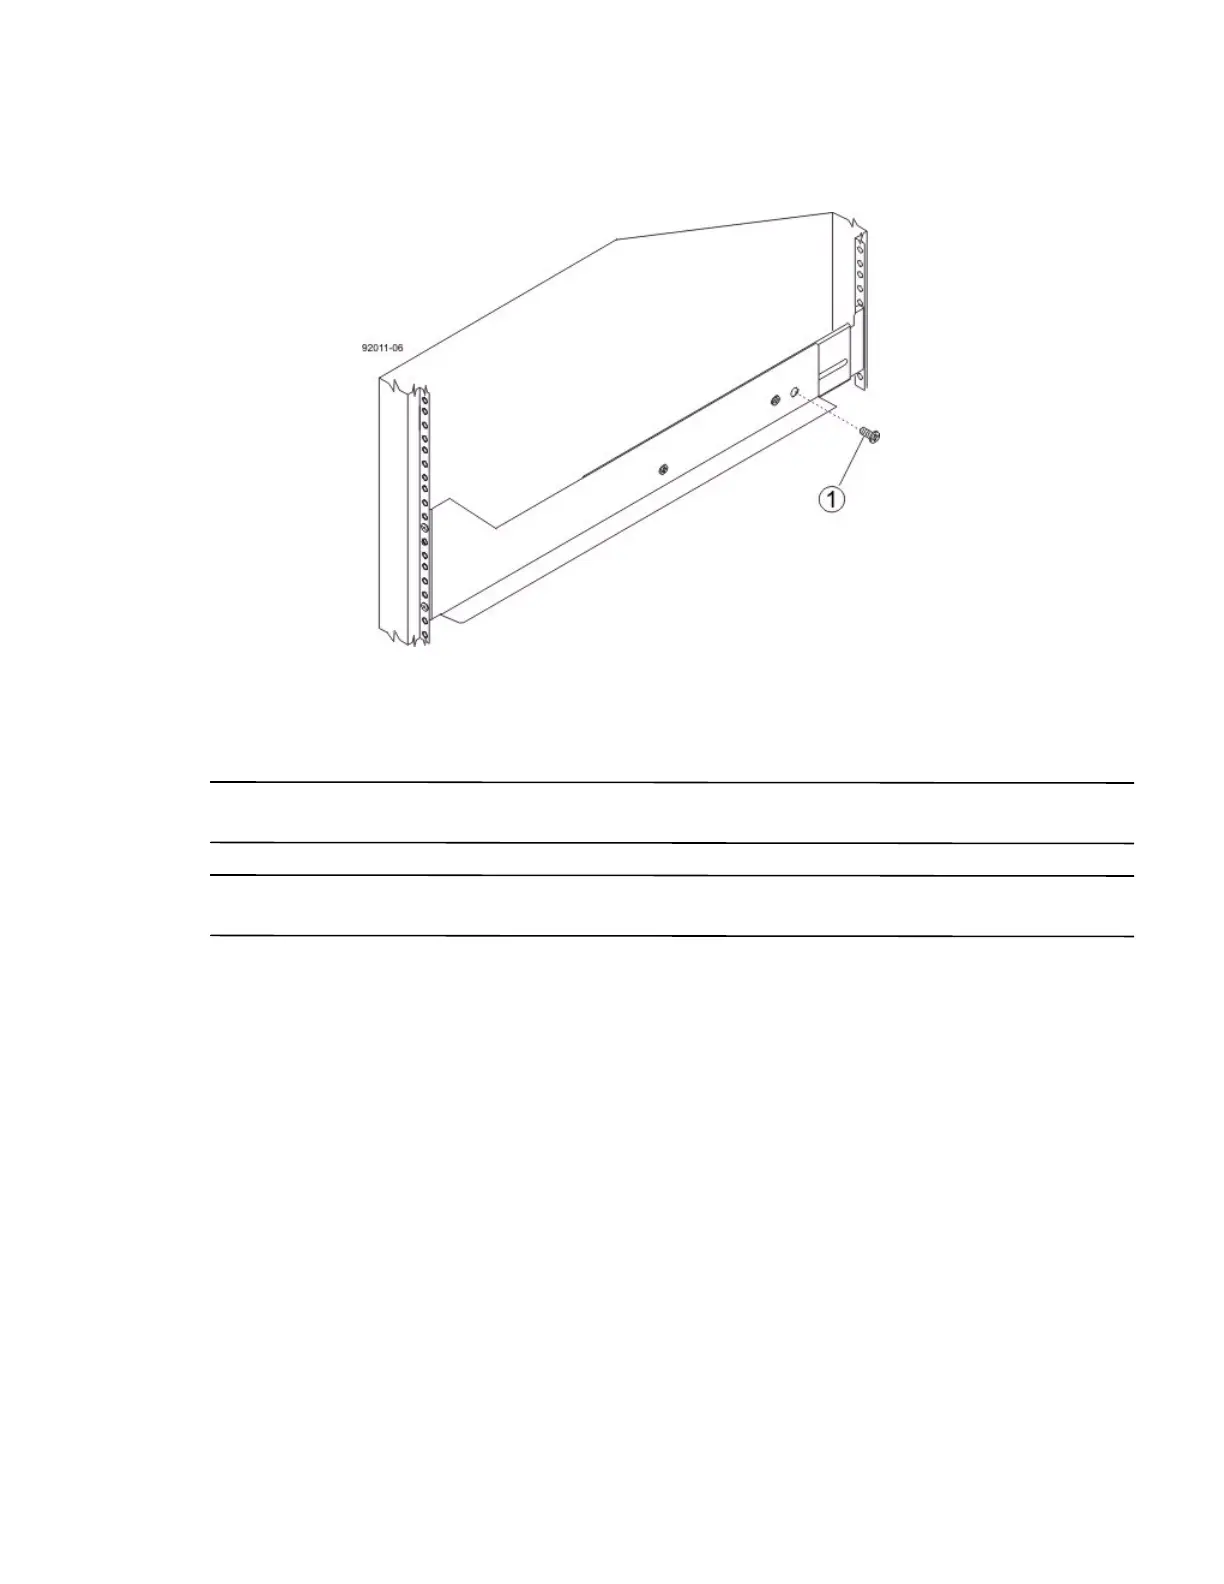
Figure 37 Securing the Controller-Drive Tray to the Rails
1. 10-32 Screw
a. Insert a 10-32 screw through the side sheet metal of the controller-drive tray into the captured nut on
the side of the mounting rail. Tighten the screws.
b. Repeat substep a for the other side.
NOTE After the controller-drive tray is installed, there should be seven screws on each side (right and left) of the
cabinet.
NOTE Make sure that each drive drawer in the controller-drive tray is securely fastened to ensure proper air flow
to the drives.