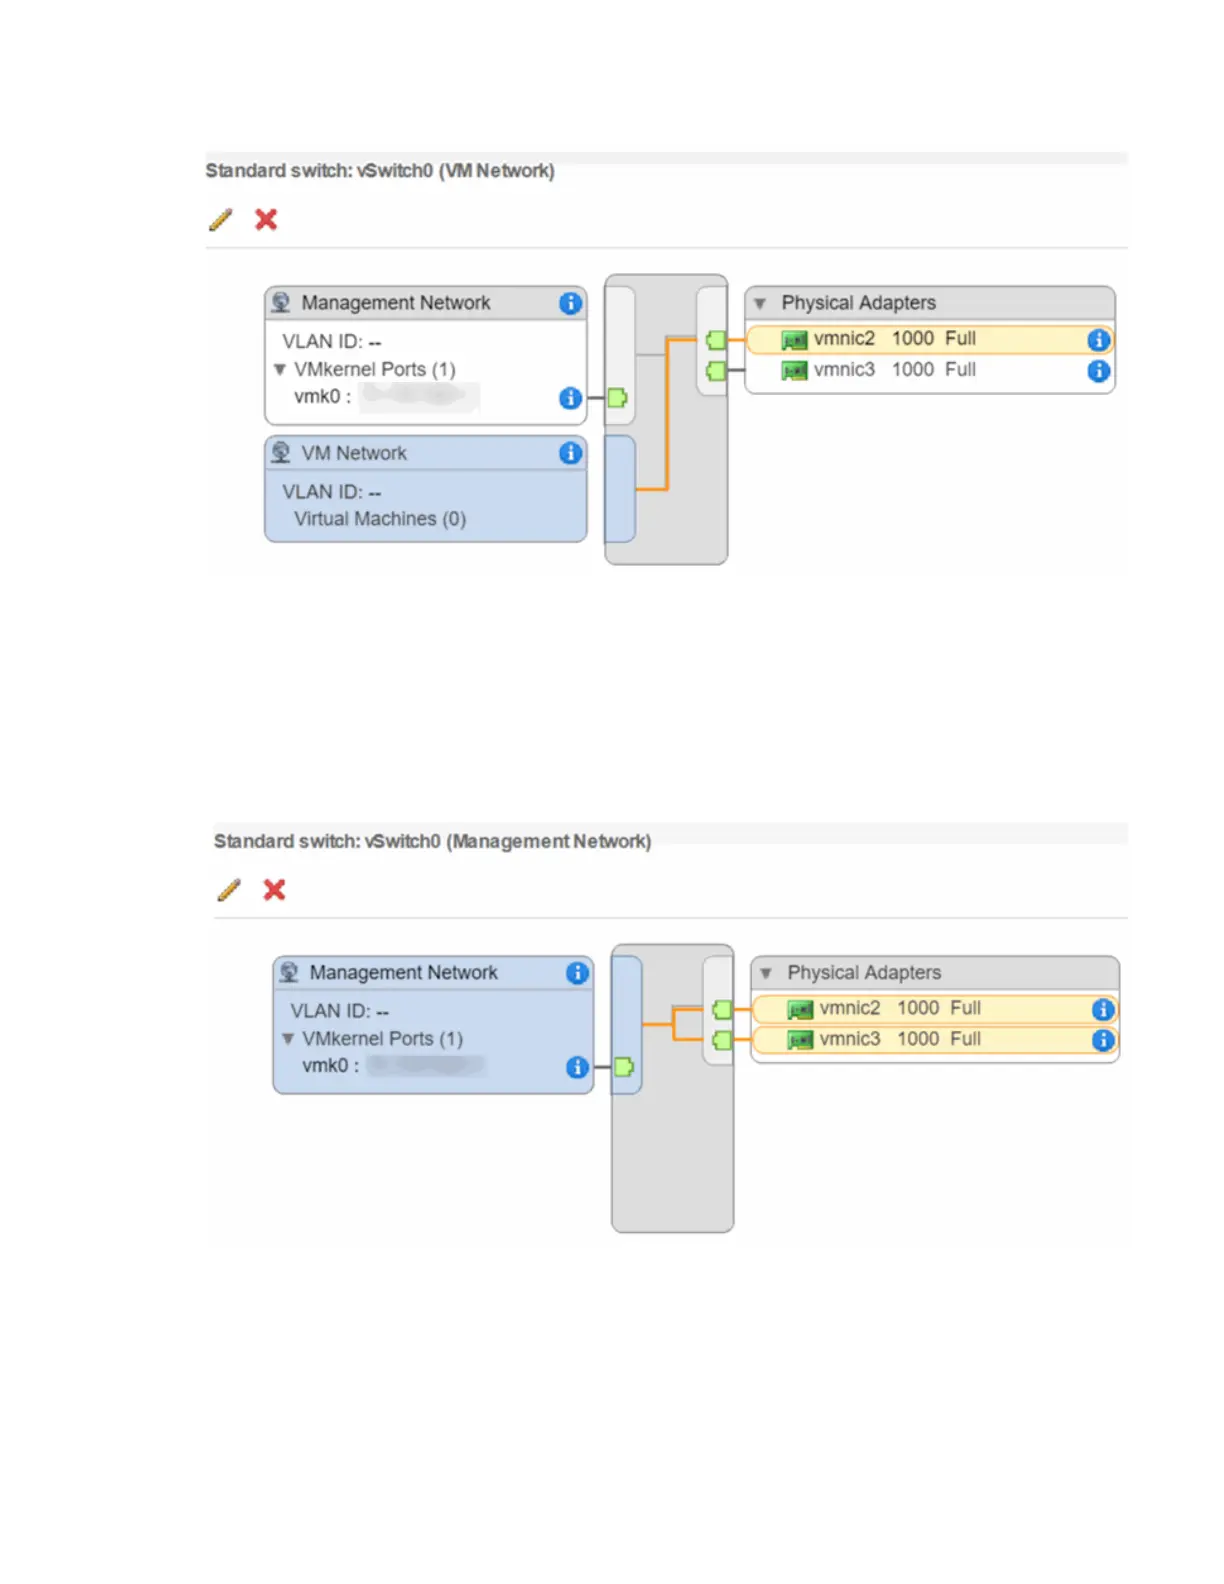
ii. In the graphic that is displayed, select VM Network, and click X to remove the VM Network port
group.
iii. Confirm the action.
iv. Select vSwitch0, and then select the pencil icon to edit the settings.
v. In the vSwitch0 - Edit settings window, select Teaming and failover.
vi. Ensure that vmnic3 is listed under Standby adapters, and select OK.
vii. In the graphic that is displayed, select Management Network, and select the pencil icon to edit the
settings.
viii. In the Management Network - Edit settings window, select Teaming and failover.
ix. Move vmnic3 to Standby adapters by using the arrow icon, and select OK.
d. From the Actions drop-down menu, select Add Networking, and enter the following details in the
window that is displayed:
i. For connection type, select Virtual Machine Port Group for a Standard Switch, and select Next.
ii. For target device, select the option to add a new standard switch, and select Next.