22 – ENGLISH
7.11.1 Procedure for memorising transmitter buttons
Among the available procedures for memorising transmitters,
some allow for memorising in “standard” mode (or Mode 1) and
others in “custom” mode (or Mode 2).
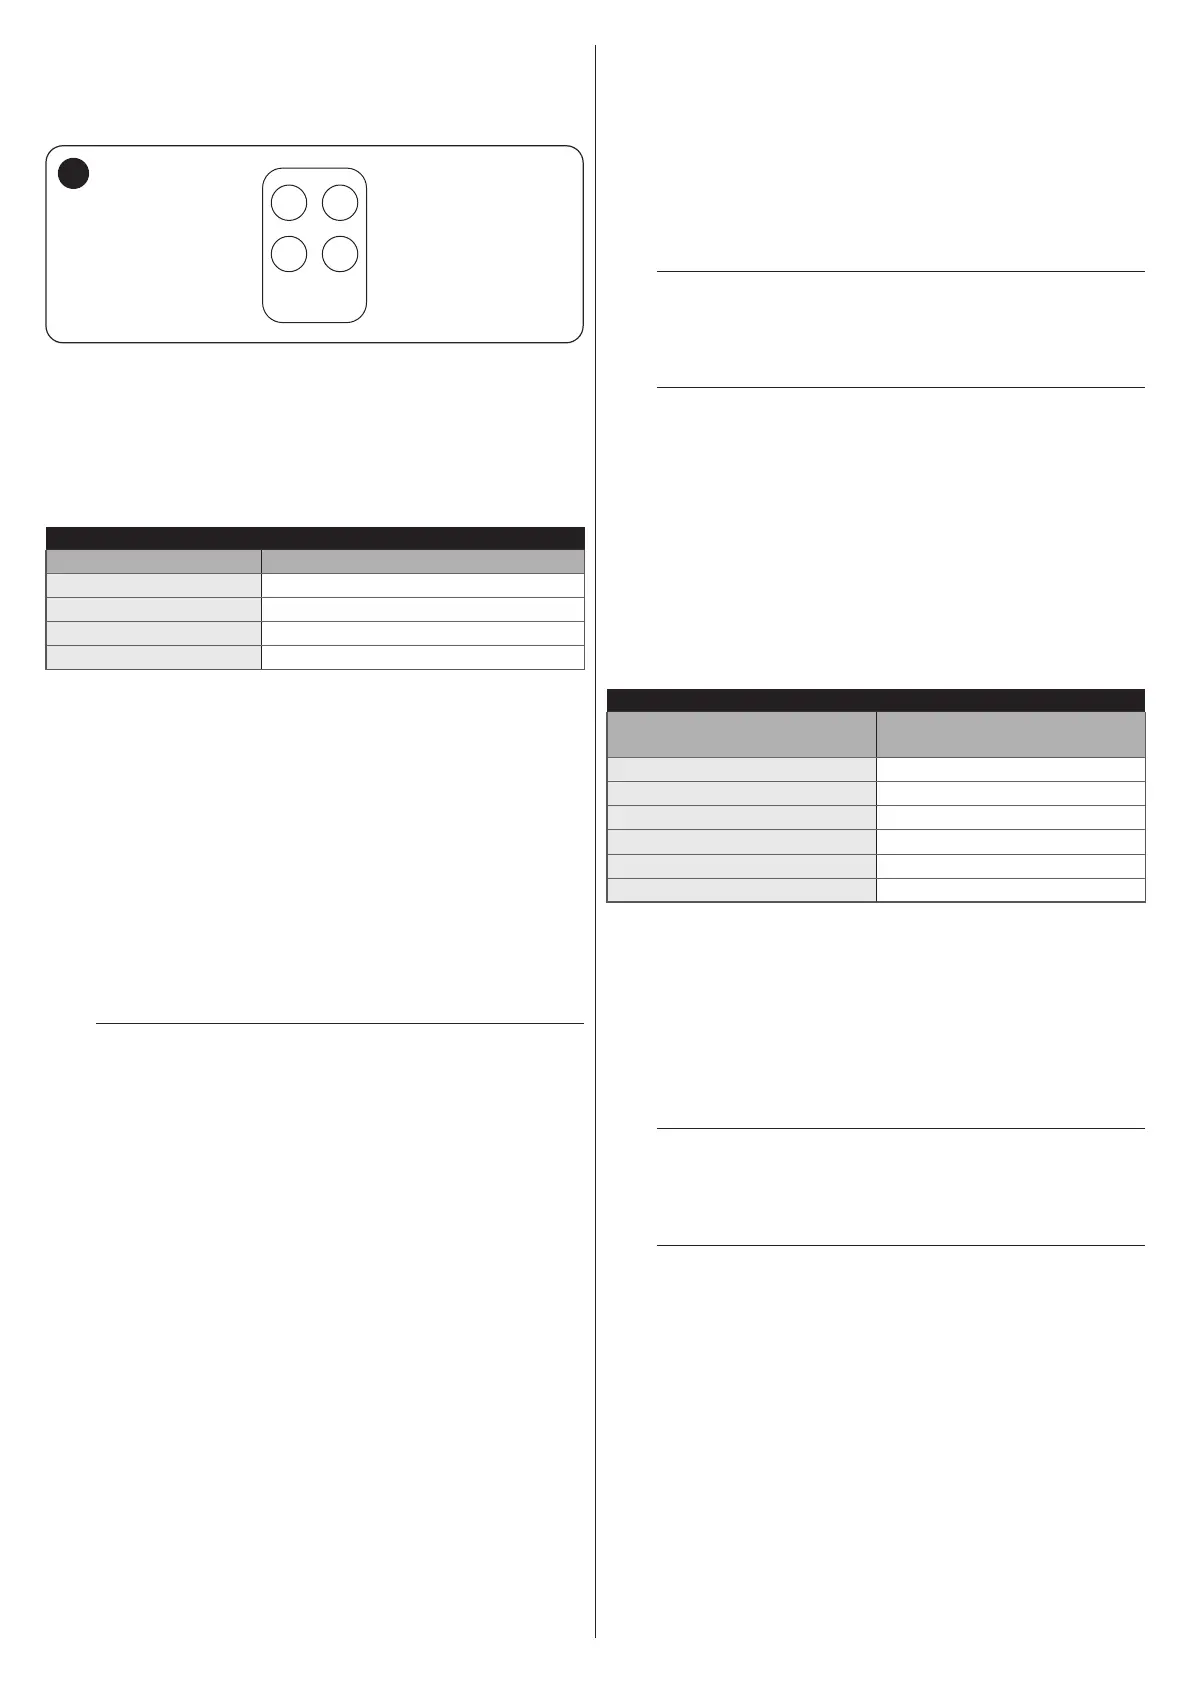
1 2
3 4
48
7.11.1.1 STANDARD memorisation (Mode 1: all buttons)
Procedures of this kind allow for simultaneously memorising, dur-
ing their execution, all the buttons on the transmitter. The sys-
tem automatically associates each button with a pre-dened com-
mand, according to the following scheme:
Table 13
TRANSMITTER FUNCTION PAIRINGS
Command Button
Step-by-Step Will be paired with button 1
Partial opening Will be paired with button 2
OPEN Will be paired with button 3
CLOSE Will be paired with button 4
7.11.1.2 CUSTOM memorisation (Mode 2: one button
only)
Procedures of this type allow for memorising – during their execu-
tion – a single button among those present on the transmitter.
The installer decides which button to associate with the command
on the basis of the automation’s needs.
7.11.2 Number of transmitters that can be memorised
The control unit’s receiver has 90 memory locations. A location can
memorise either a single transmitter (i.e. the combination of its but-
tons and commands) or a single button with the relative command.
7.11.3 Transmitter memorisation and deletion procedures
a
To be able to run Procedures A, B, C and D de-
scribed below, the control unit’s memory must be
unlocked. If the memory is locked, perform the un-
locking procedure described in the “LOCKING AND
UNLOCKING THE MEMORY” chapter (page 23)
7.11.3.1 PROCEDURE A - Memorising ALL buttons of a
single transmitter (STANDARD mode or Mode 1)
To perform this procedure:
1. on the control unit: press and hold the
i
button
until the “LR” LED lights up
2. release the button
i
3. (within 10 seconds) on the transmitter to be memorised:
press and hold any button and wait until the “LR” LED emits
3 long ashes (= memorisation completed correctly)
4. release the transmitter button.
l
After the 3 long ashes a further 10 seconds remain
to memorise an additional transmitter (if desired),
starting from step 3. To terminate the learning pro-
cedure, press the
i
button again.
l
The “LR” LED can also emit the following signals: 1
fast ash, if the transmitter is already memorised, 6
ashes, if the transmitter’s radio encoding system
is not compatible with that of the control unit’s re-
ceiver, or 8 ashes, if the memory is full.
7.11.3.2 PROCEDURE B - Memorising a SINGLE BUTTON
of a transmitter (CUSTOM mode or Mode 2)
To perform this procedure:
1. choose the command to be paired with the relevant button
to be memorised:
Table 14
COMMANDS FOR TRANSMITTER
Command
Number of
i
button
presses
Step-by-Step 1
Partial Open 2
OPEN 3
CLOSE 4
Timer courtesy light 5
On/Off courtesy light 6
2. on the control unit: press and release the
i
button for a number of times corresponding to the desired
command, as shown in Table 14.
3. verify that LED “LR” on the control unit emits a number of
ashes equal to the number of the desired command
4. (within 10 seconds) on the transmitter: press and hold the
button to be memorised and wait for the “LR” LED to emit 3
long ashes (= memorisation completed correctly)
5. release the transmitter button.
l
After the 3 long ashes a further 10 seconds remain
to memorise an additional button (if desired), start-
ing from step 1. To terminate the acquisition pro-
cess, wait 10 seconds.
l
The “LR” LED can also emit the following signals: 1
fast ash, if the transmitter is already memorised, 6
ashes, if the transmitter’s radio encoding system
is not compatible with that of the control unit’s re-
ceiver, or 8 ashes, if the memory is full.

 Loading...


