14 – ENGLISH
5.3 AUTOMATIC FORCE SEARCH
The control unit requires this procedure after certain settings are
modied (e.g.: speed, opening and closing positions, tension re-
lease value, etc.) and is signalled by the ashing of the courtesy
light.
To start this procedure:
1. press one of these buttons to move the door (press
f
if the door is in the closing position, or
h
if it is in the opening position) (“Figure 38“)
DISPLAY
OPENCLOSE
38
2. an opening and closing manoeuvre (or inversely) will be car-
ried out automatically in succession so that the control unit
can assess the necessary force required for the subsequent
manoeuvres
m
These manoeuvres will be carried out with high
force. During their execution, check that there are
no assembly/adjustment defects or other anoma-
lies, for example points of excessive friction, and
solve them.
3. the procedure has been completed, the courtesy light (LC)
switches off.
m
It is important that the procedure is not interrupted,
for example with a STOP command or through an
intervention of the PHOTO. Should this occur, it can
be restarted by imparting a
f
or
h
command.
5.4 CHECKING THE DOOR MOVEMENT
After the automatic force learning procedure, it is advisable to carry
out a few manoeuvres in order to verify that the door moves prop-
erly.
To do this:
1. press the
f
button to command an opening ma-
noeuvre; verify that it occurs smoothly without any speed
variations; the door must slow down when it lies between 30
and 20 cm from the maximum opening set previously.
2. press the
h
button to command a closing manoeu-
vre; verify that it occurs smoothly without any speed varia-
tions; the door must slow down when it lies between 30 and
20 cm from the ground and stop when it comes into contact
with the oor. It will then perform a brief opening manoeuvre
to release the belt/chain tension (“Figure 39“)
DISPLAY
OPENCLOSE
39
3. during the manoeuvre, check that the warning light ashes
at intervals of 0.5 seconds on and 0.5 seconds off
4. open and close the gate several times to make sure that
there are no points of excessive friction and that there are no
defects in the assembly or adjustments
5. check that the gearmotor and guide are fastened in a sol-
id, stable and suitably resistant manner even during sudden
door acceleration or slowdown movements.
5.5 INVERTING THE DIRECTION OF MOTOR
ROTATION
The following procedure allows for modifying the motor’s direction
of rotation if the installation must be inverted.
l
This procedure is only available during the control
unit’s start phase.
To perform this procedure:
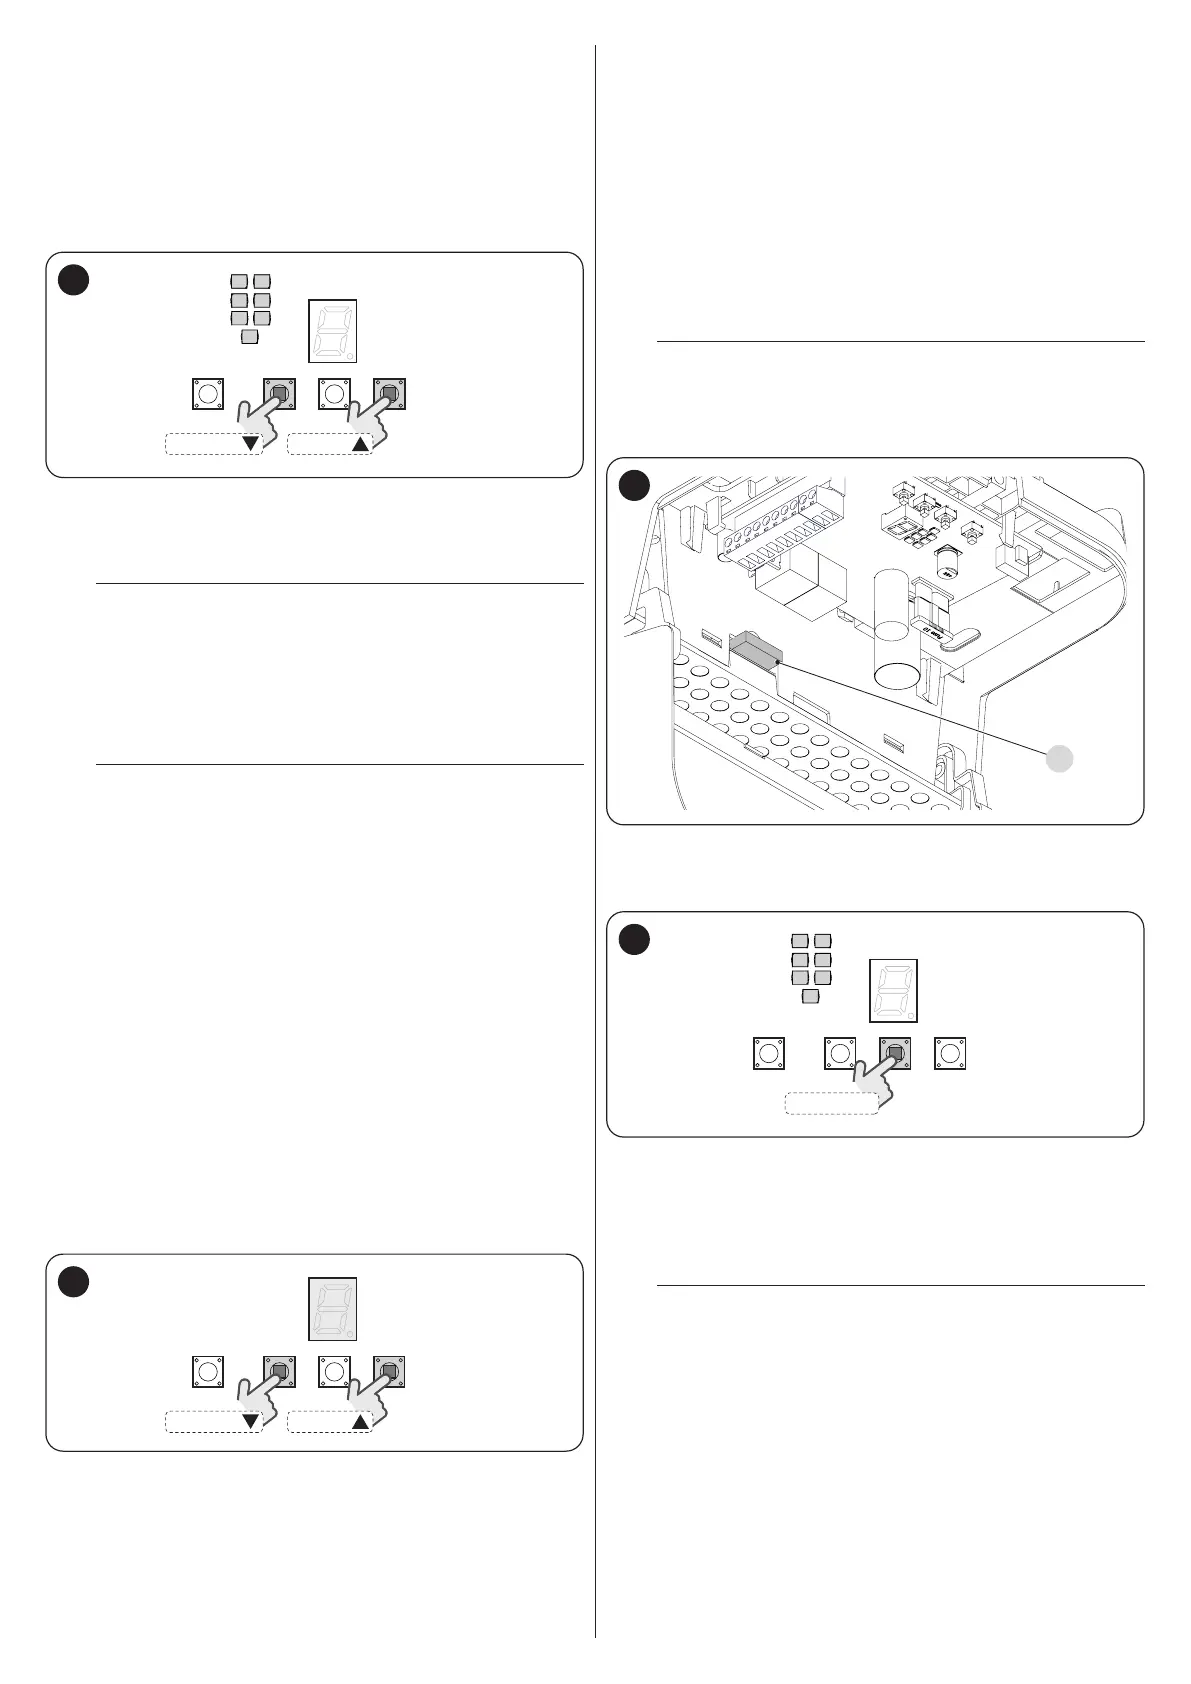
1. switch the control unit off and remove fuse F1 (“Figure 40“)
F1
40
2. press and hold the
g
button
3. reinsert the fuse: the control unit will switch on
4. release the
g
button after 3 seconds (“Figure 41“)
DISPLAY
STOP/SET
41
5. press the
g
button to modify the direction of rota-
tion which will shown by means of the courtesy light (LC):
– with the LC on, the rotation direction will be inverted
– with the LC off, the rotation direction will be standard
6. wait 3 seconds without pressing the buttons to conrm and
exit the programming mode.
m
After modifying the rotation direction it will be nec-
essary to rerun the position acquisition procedure
(consult the “Programming the door opening and
closing positions” chapter on page 12).

 Loading...