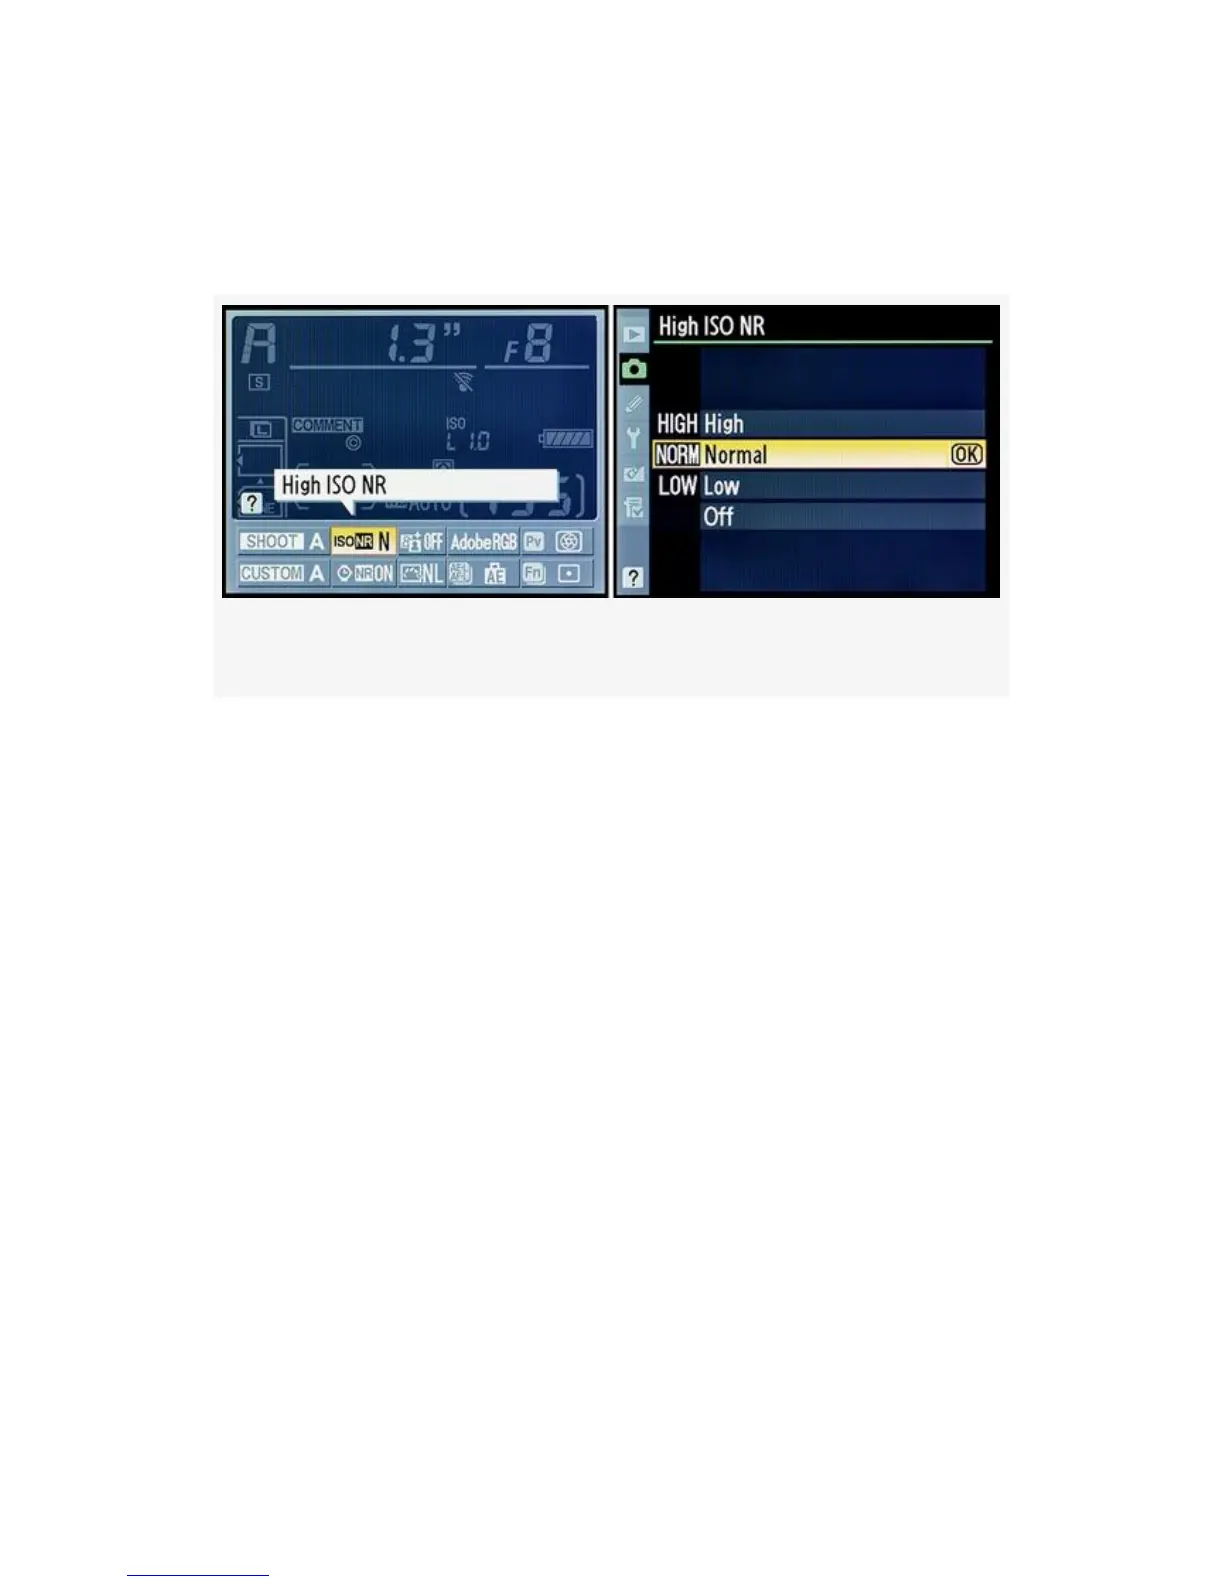
Press the Info button twice, select the High ISO NR position,
press the OK button, and then use steps 2 and 3. Figure 3-46’s
second screen is the same as Figure 3-47’s second screen.
Figure 3-47. D300S Info. display edit screen – High ISO NR
My Recommendation: I leave High ISO NR set to Low. I
do want some noise reduction at levels above ISO 800.
However, since any form of noise reduction blurs the image, I
don’t go too far with it. Of course, I shoot RAW, so it really
makes no difference since I can change everything later in the
computer. If I were shooting JPEG, it would make a serious
difference.
Why not test a few images at high ISO sensitivity settings
above ISO 800 with High ISO NR turned On? You may like
the output of High, or you may prefer Normal or Low.
Remember that you can set this differently for each Shooting
menu bank since your camera will be configured for different
shooting styles.
Note: If you have High ISO NR turned On, your in-camera
memory buffer for images shot in Continuous release mode
will decrease by at least one image.
208