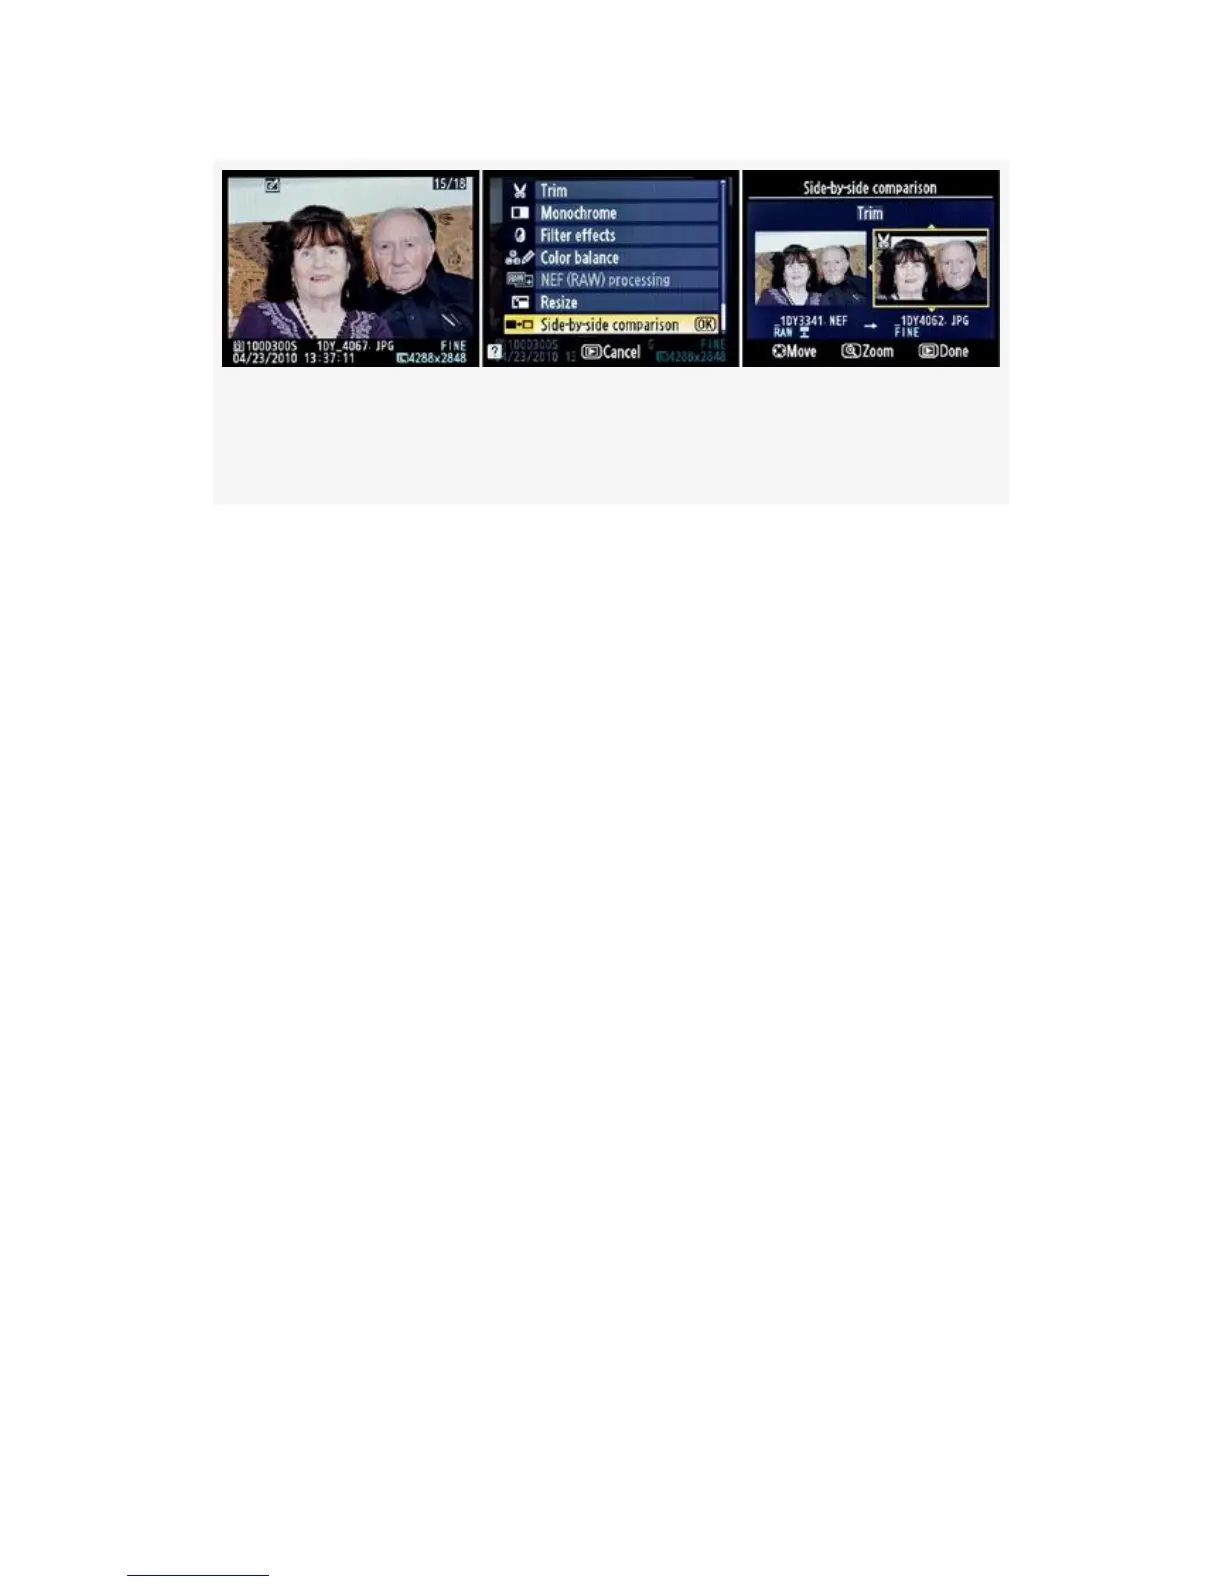
Figure 6-27. Comparing original and retouched images side
by side
1. Press the Playback button and find the image you want
to compare (see Figure 6-27, image 1).
2. Press the OK button to bring up the Playback Retouch
Menu.
3. Select Side-by-side comparison and scroll to the right
(see Figure 6-27, image 2).
4. The original image will appear on the left, and one of its
retouched children will show on the right (see
Figure 6-27, image 3). You may have retouched an
original image in more than one way, leading to multiple
retouched copies. In that case, a tiny yellow arrow tip
will appear above and below the retouched image (see
Figure 6-27, image 3). This simply means that you can
scroll up or down to see the other retouched images that
sprang from the original.
My Recommendation: I often use this function when I want
to compare images to which I’ve added a color cast so that I
can see how they compare with the original. It’s very
convenient since you can choose the original or one of the
retouched copies, from the Monitor and the camera is smart
enough to place them in the proper position in the
564