5. Figure 7-3, image 3, shows the Exposure delay mode
function that I wanted to add. All I have to do is
highlight it and press the OK button. Once I’ve done that
the D300(S) switches to the Choose position screens (see
Figure 7-3, image 4, and Figure 7-4).
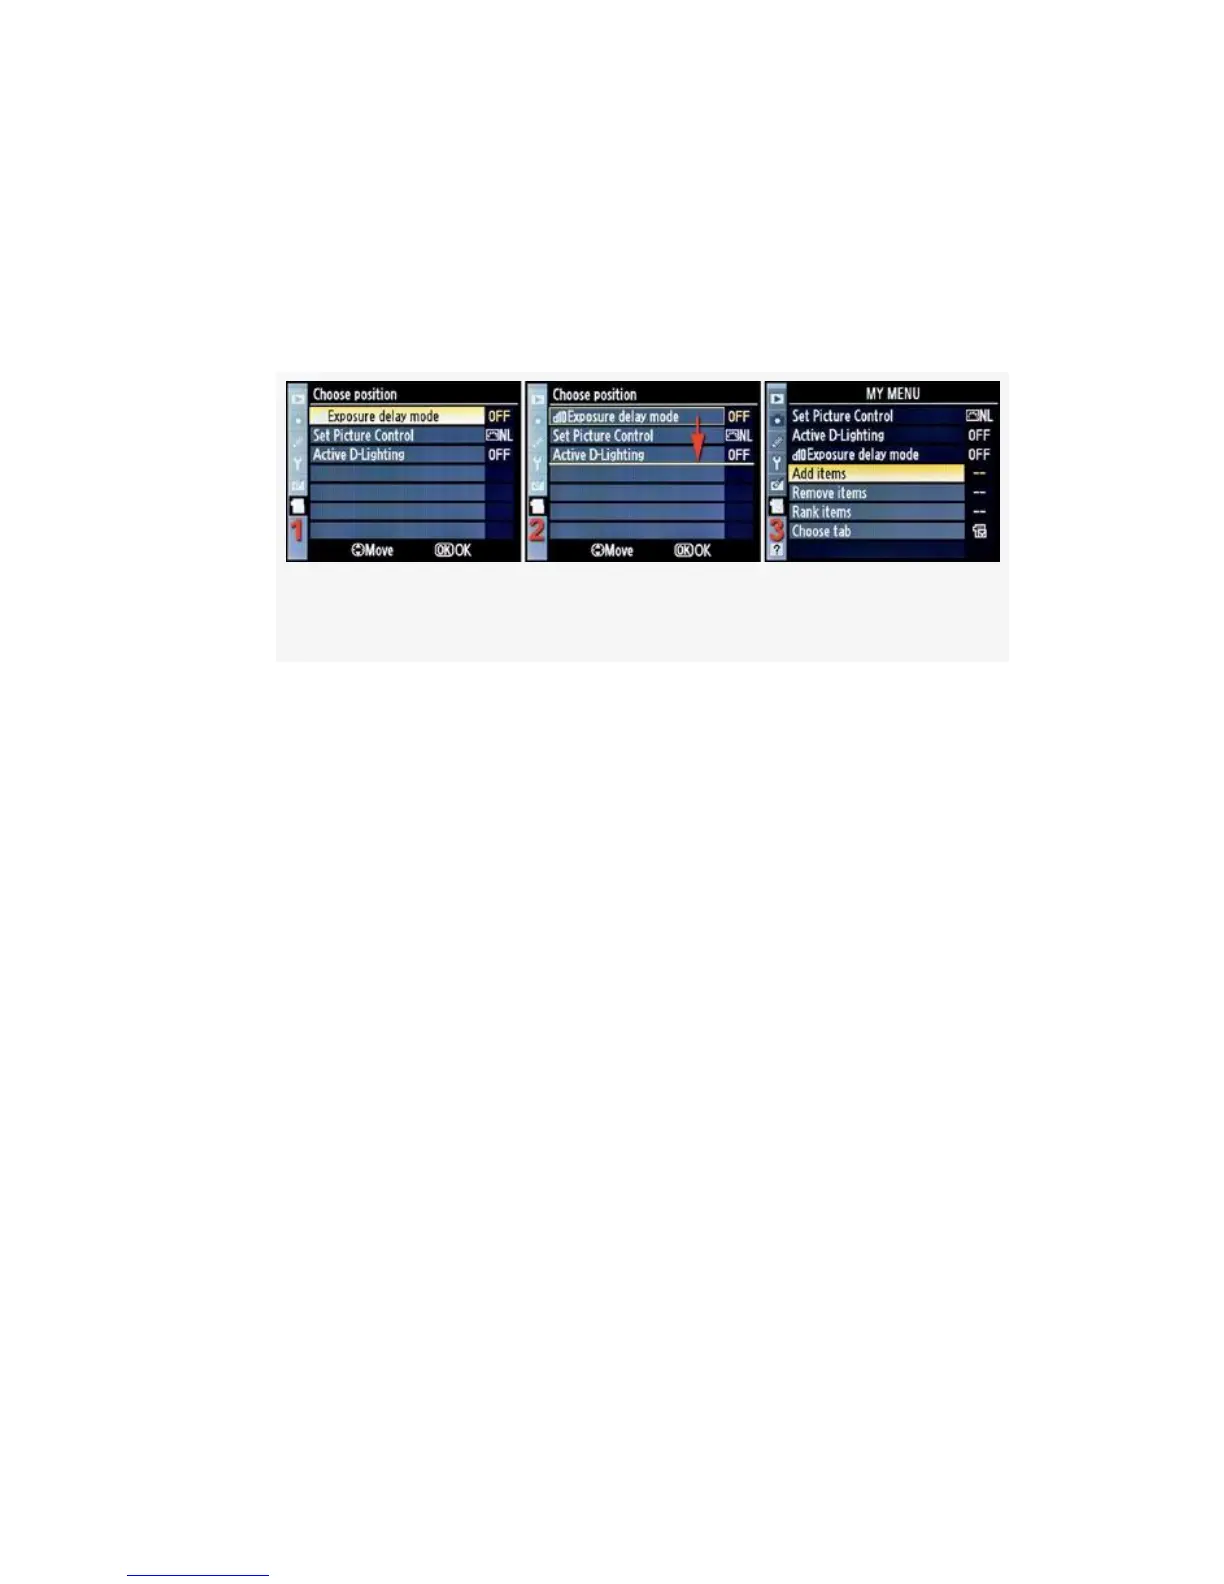
Figure 7-4. Choose position screens
6. Figure 7-4 begins where Figure 7-3 ends. Since I’ve
already added a couple of other items to My Menu, I
now have to decide in which order I want them to be
presented. The new Exposure delay mode is on top,
since it is the newest entry (see Figure 7-4, image 1). I
think I’ll move it down two rows and let Set Picture
Control move to the top position.
7. To move the position of the selected item, I must simply
scroll down. Exposure delay mode stays highlighted with
a yellow box surrounding it (see Figure 7-4, image 2).
As I scroll down, a yellow underline moves to the last
position (see Figure 7-4, image 2, red arrow). This
yellow underline represents the place to which I want to
move Exposure delay mode. Once I’ve decided on the
position and have the yellow underline in place, I just
press the OK button. The screen pops back to the first
My Menu screen, with everything arranged the way I
desired (see Figure 7-4, image 3).
573