Adjusting System Settings
Adjusting System Settings
58 59
Internet Settings
Internet Settings
Connecting using AOSS
If your access point supports AOSS, you can set up a connection quickly and easily. Refer to the instruction manual for your access point in
addition to this manual.
Note: Using AOSS may cause your access point settings to change. If your computer is connected to the access point without using AOSS, it may
no longer be able to connect after using AOSS. Establishing a connection using an access point found through a search will not change any
of the access point’s settings (page 60).
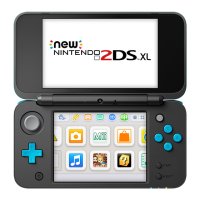
Press and hold the AOSS button on the access point until the AOSS light
ashes twice in succession.
Note: If you have tried and failed several times to set up a connection using AOSS, wait
approximately 5 minutes before trying again.
AOSS button
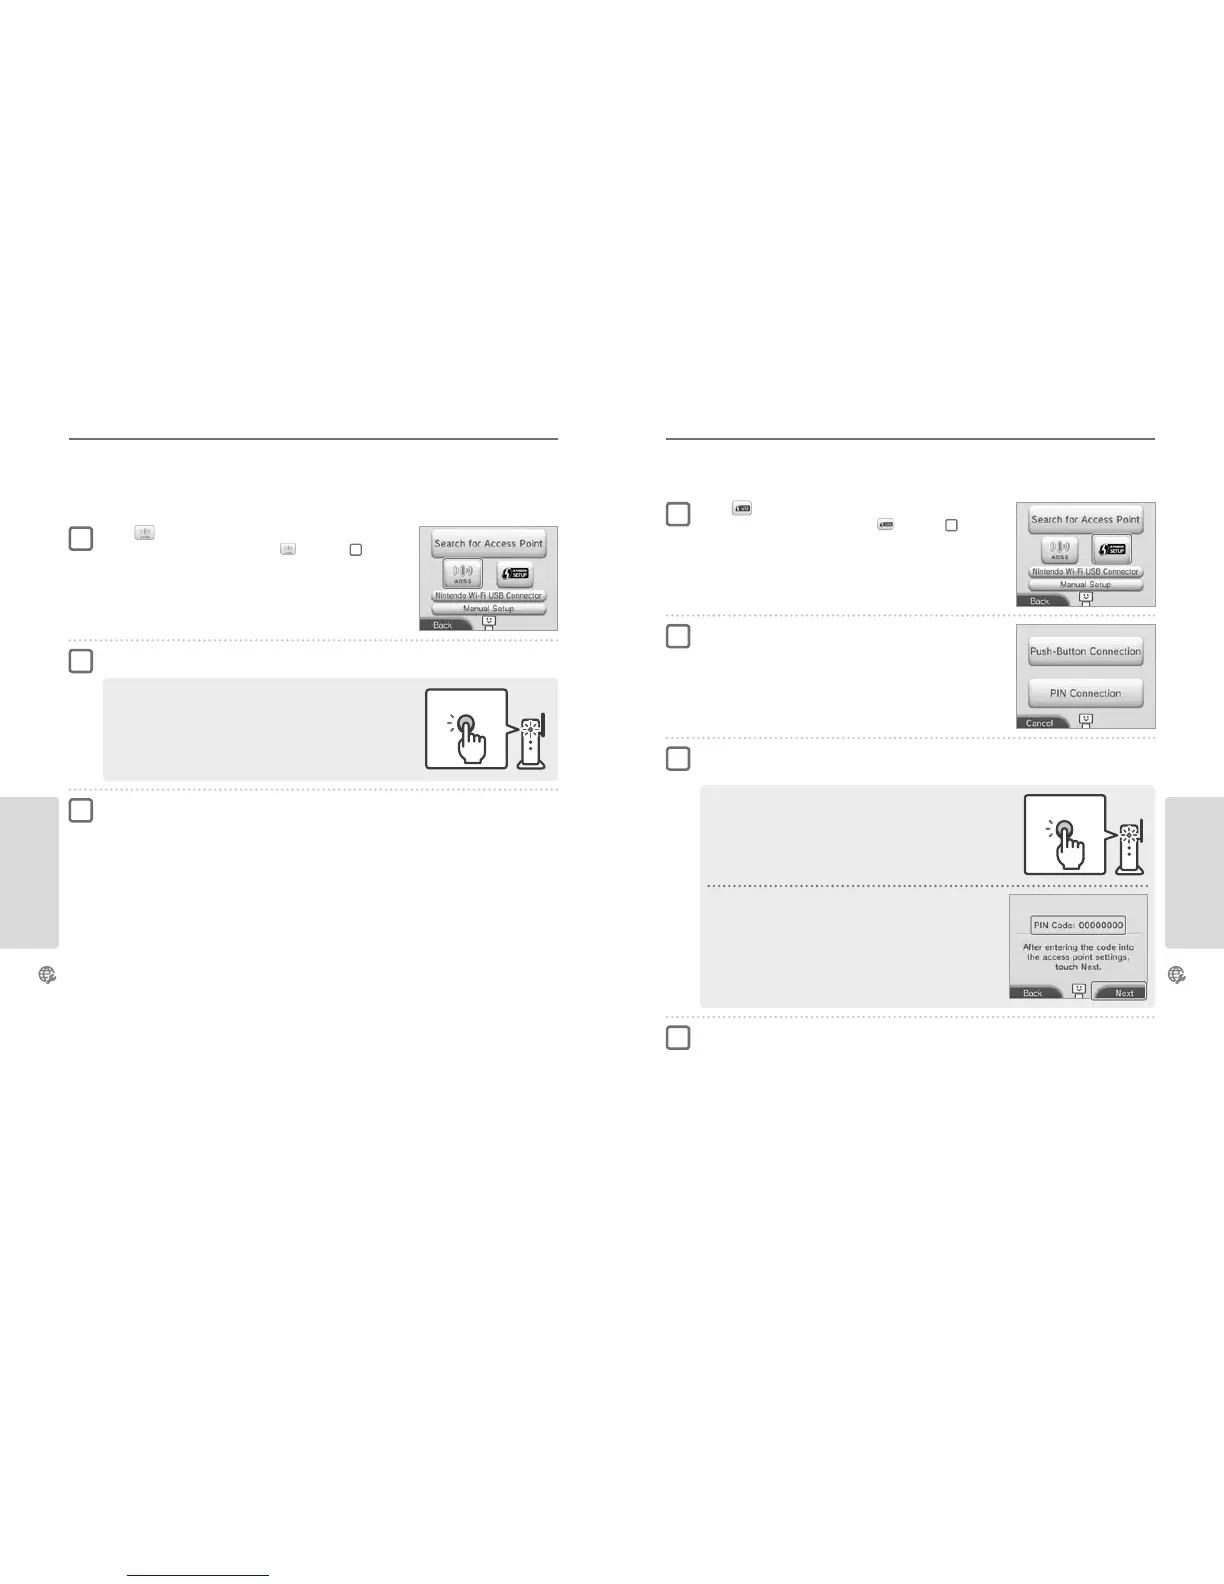
Touch AOSS
Note: If you are using the tutorial and you have selected , start from step
2
.
Steps for the access point
Once the Setup Complete Screen appears, touch OK to begin a connection test
•
If the test is successful, setup is complete.
•
Failure to establish a connection can sometimes occur after AOSS setup is complete. If this happens, please wait a short while
before trying to reconnect.
1
2
3
Connecting using Wi-Fi Protected Setup
You can set up a connection quickly and easily using Wi-Fi Protected Setup. Refer to the instruction manual of your access point for further
information.
Note: If the security type for your access point (page 60) is set to WEP, you will not be able to connect using Wi-Fi Protected Setup.
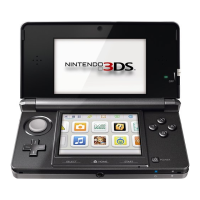
For PIN Connection
A PIN will be displayed on the Touch Screen. Enter the code into the
access point settings, then touch NEXT.
Note: After conguring the access point, touch NEXT on the Touch Screen of your
Nintendo 2DS system.
For Push-Button Connection
Press and hold the Wi-Fi Protected Setup button on the access point
until the LED blinks.
Wi-Fi Protected
Setup button
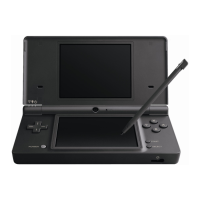
Touch
Note: If you are using the tutorial and you have selected , start from step
2
.
Touch the connection method supported by your
access point
Steps for the access point
Note: It may take around 2 minutes to complete setup.
Once the Setup Complete Screen appears, touch OK to begin a connection test
•
If the test is successful, setup is complete.
•
Failure to establish a connection can sometimes occur after Wi-Fi Protected Setup is complete. If this happens, please wait a short
while before trying to reconnect.
1
2
3
4