11
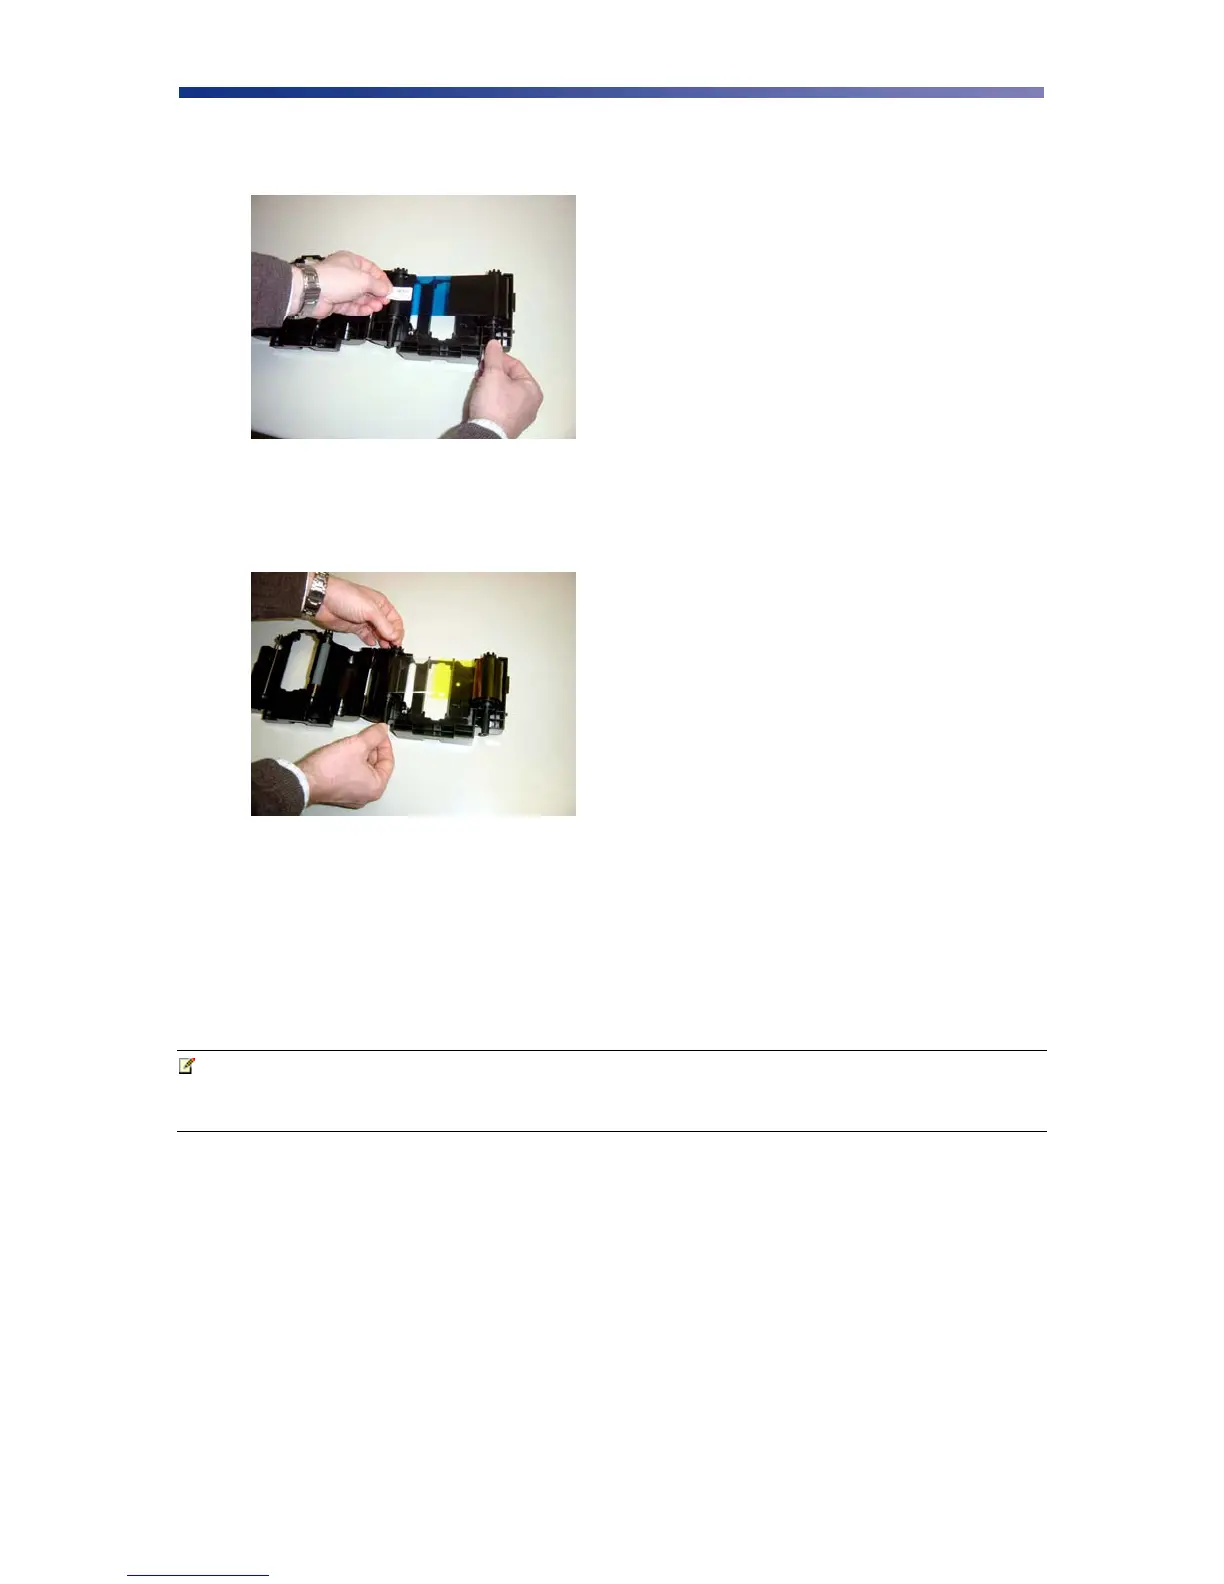
4. Remove the tape and pull the released ribbon towards the take up bobbin. Attach the tape
to the bobbin making sure the ribbon is centered on the bobbin.
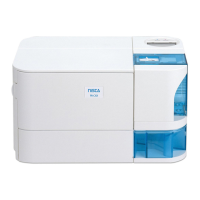
5. Advance the takeup bobbin 2-3 turns to verify that the ribbon is properly seated on the
bobbin and all slack has been removed from the ribbon.
6. Close the ribbon cartridge and slide the release lever to the right ensuring the cartridge is
securely locked.
7. Slide the ribbon back into the printer and lower the green retaining lever to lock the
ribbon cartridge in place.
8. Close front access panel.
Note Store ribbons in a cold, dark place. Maximum storage period is 6 months after
delivery if they are kept in an environment of 25º C (77º F), 50% RH. Beyond
this time frame, print quality may be affected.
Figure 2-10: Remove tape
Figure 2-11: Advance bobbin