11
Operation Modes
Sensor Activation Mode
Sensor Activation mode may be selected through nVISION software. In this mode, the
device turns on when the activation switch is pressed or when the sensor is disconnected
and reconnected. This mode is useful when using a sensor that is not easily removed from
the sensor site (e.g., disposable or wrap sensor).
If the sensor is not used for at least 10 minutes or if an
inadequate pulse signal is detected,
the device automatically enters Standby mode. To turn the device on again, press the
activation switch or disconnect and reconnect the sensor.
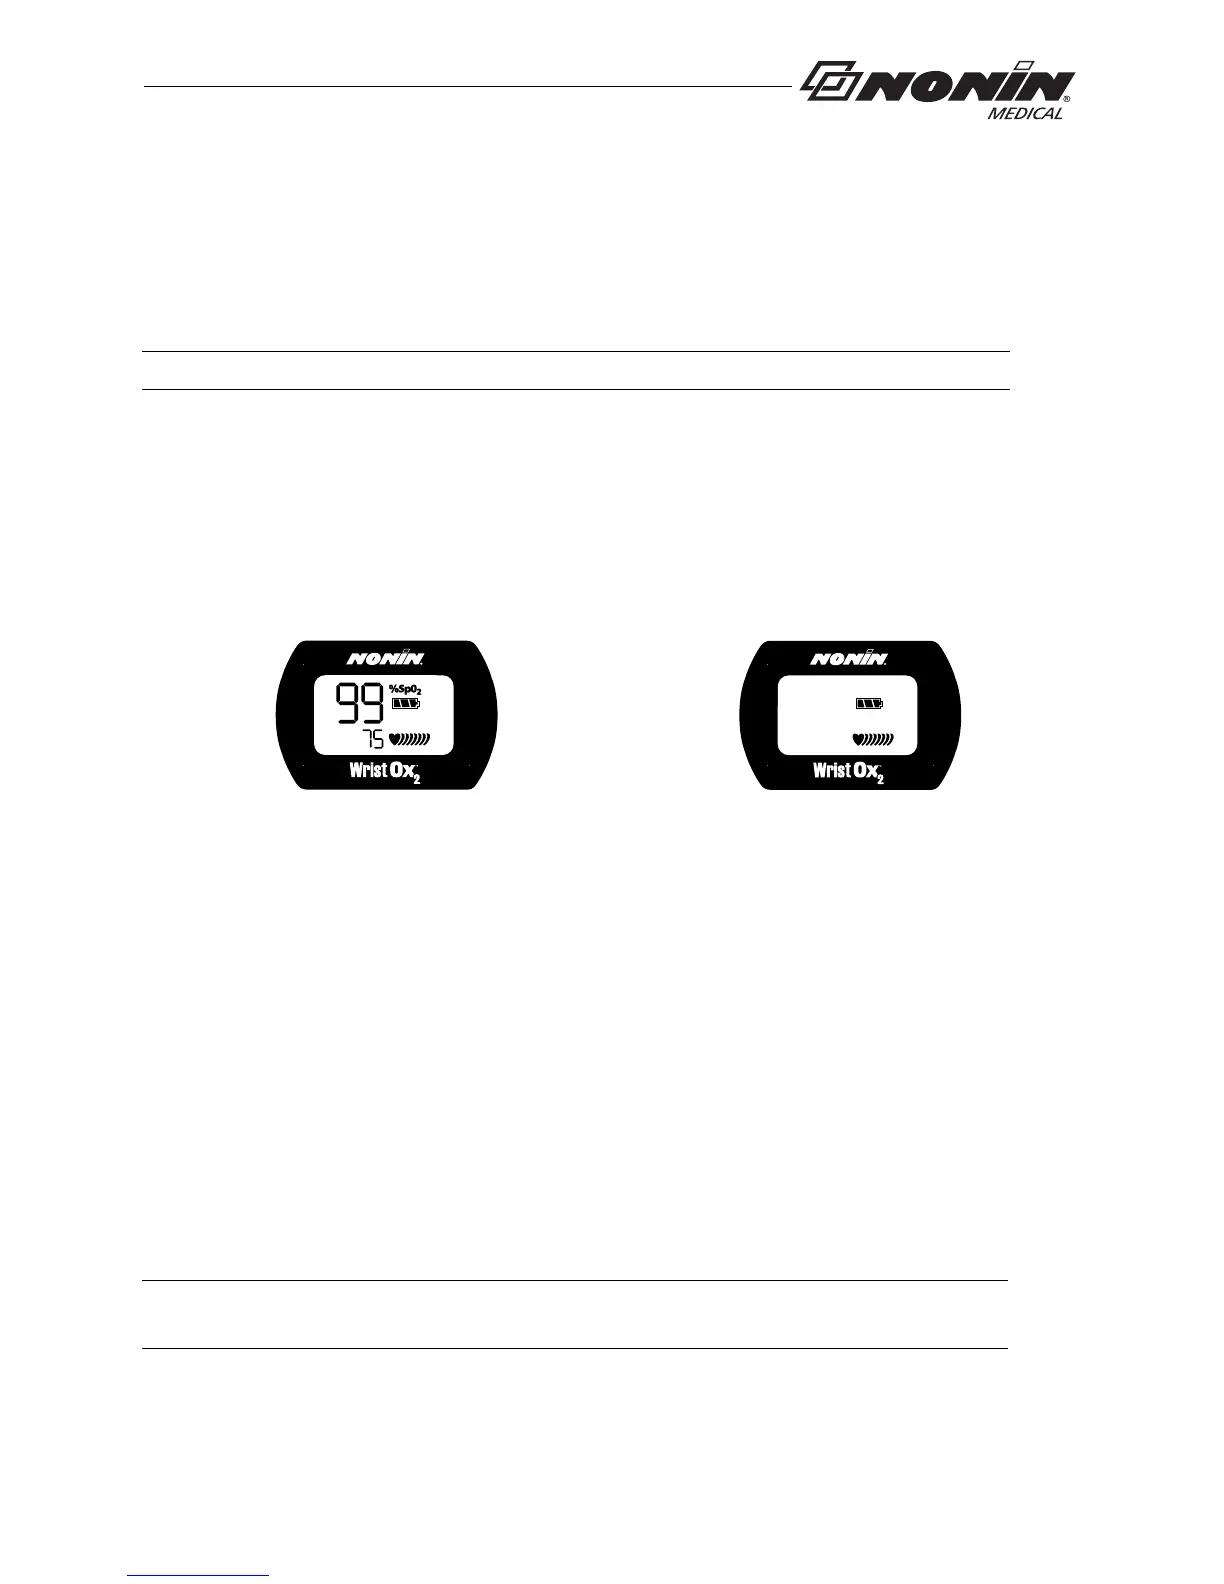
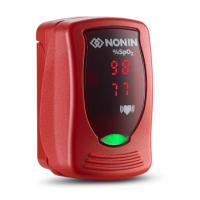
This mode allows for Full or Partial display (see figure 2 for display comparison). When
using Partial d
isplay, the SpO
2
and pulse rate readings do not display. The user will only
see the battery indicator and the animated pulse strength indicator.
Full Display
Partial Display
Figure 2: Comparison of Full and Partial Display
Programmed Mode
Programmed mode may be selected and setup through nVISION software. With the
software, the user can program the device to start and stop for up to three sessions. Once
programmed, the next start time displays on the LCD every 30 seconds in HH:MM format.
A sensor must be connected for Programmed mode to function.
If the programmed device is in Standby mode and the a
ctivation switch is pressed, the user
activates the Bluetooth radio and the device for 3 minutes. During this time, the user is able
to take and store measurements. After 3 minutes, the device returns to Standby mode.
This mode allows for Full or Partial display (see figure 2 above for display comparison).
When
using Partial display, the SpO
2
and pulse rate readings do not display. The user will
only see the battery indicator and the animated pulse strength indicator.
NOTE: The sensor doe
s not need to be applied to a finger to turn the device on.
NOTE: A programmed device reverts to Spot Check mode if the clock is not set or if the
clock settings are lost when replacing the batteries.