32
nVISION Software
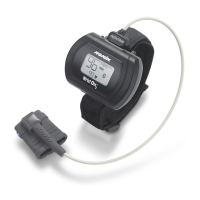
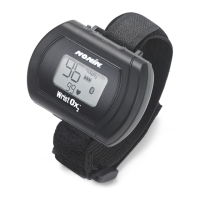
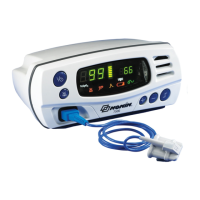
4. When the device is ready to use with nVISION, these indicators display on the LCD:
• CP
• Battery indicator
5. For more information about nVISION, refer to nVISION Help.
USB Driver Installation (XP)
1. The USB driver software is on the Operator’s Manual CD. Insert the CD into the PC’s
CD-DVD drive.
2. Connect the USB cable to the sensor port on the device and a USB port on the PC.
3. The Found New Hardware wizard opens and asks if Windows should connect to
Windows Update to search for software. Select No, not this time and click Next.
4. Select Install from a list or specific location (Advanced) and click Next.
5. When asked to choose search and installation options:
a. Select Search for the best driver in these locations.
b. Unselect Search removable media
c. Select Include this location in the search:
d. Browse to the USB Driver folder on the Operator’s Manual CD and click OK.
e. Click Next.
6. If the Hardware Installation/Windows logo testing window appears, click Continue
Anyway to continue the installation.
7. When the wizard is done with the software installation, click Finish.
8. Look up the communications (comm or COM) port for the device:
a. Click Start / Settings / Control Panel.
b. Select System. System Properties window opens.
c. On the Hardware tab, select Device Manager.
d. Expand Ports (COM & LPT). One port should say “Nonin Model 3150 (COM#).”
Make a note of the COM#. It is needed to set up the device with nVISION.
NOTE: Disconnect the USB interface cable from the device when the data transfer or
device configuration is complete. Leaving the cable connected will reduce battery life.