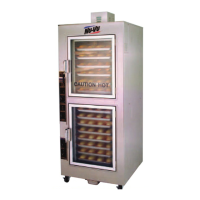
OP–2FM OWNER'S MANUAL RECEIPT, INSTALLATION AND START-UP
NU–VU® FOOD SERVICE SYSTEMS PO BOX 35 MENOMINEE, MICHIGAN 49858-0035
(800) 338-9886 SALES FAX (906) 863-5889 • SERVICE FAX (906) 863-6322 page 7
F. Turn on the water supply to the unit. If the connection leaks when tested, and further gentle
tightening does not stop the leak, the compression fitting must be replaced. Also inspect the
copper plumbing on the inside of the equipment to make sure there are no leaks.
Careful attention to these simple procedures will help to ensure an installation without leaks. If you have
any questions or problems please call the NU-VU
®
Service Department at (800) 338-9886.
IMPORTANT: Please be sure to install any desired or required drain plumbing at this time. Any required
plumbing must be installed before starting up the unit for the first time.
NOTE: The OP-2FM is constructed with a drain tube in the floor of the Proofer section. This
drain tube prevents the build-up of any excess water, and helps to prevent damage to the
Proofer Motor, Heating or Humidity Elements, or Control Sensors. Please attach a length of
tubing or light hose to the drain tube where it comes through the base of the unit and run it to
a floor drain, OR position the Proofer drain tube directly over a floor drain. If no floor drain
is available in the immediate area, please install the included Drain Pan [80] in the brackets
under the Proofer to catch any draining water.
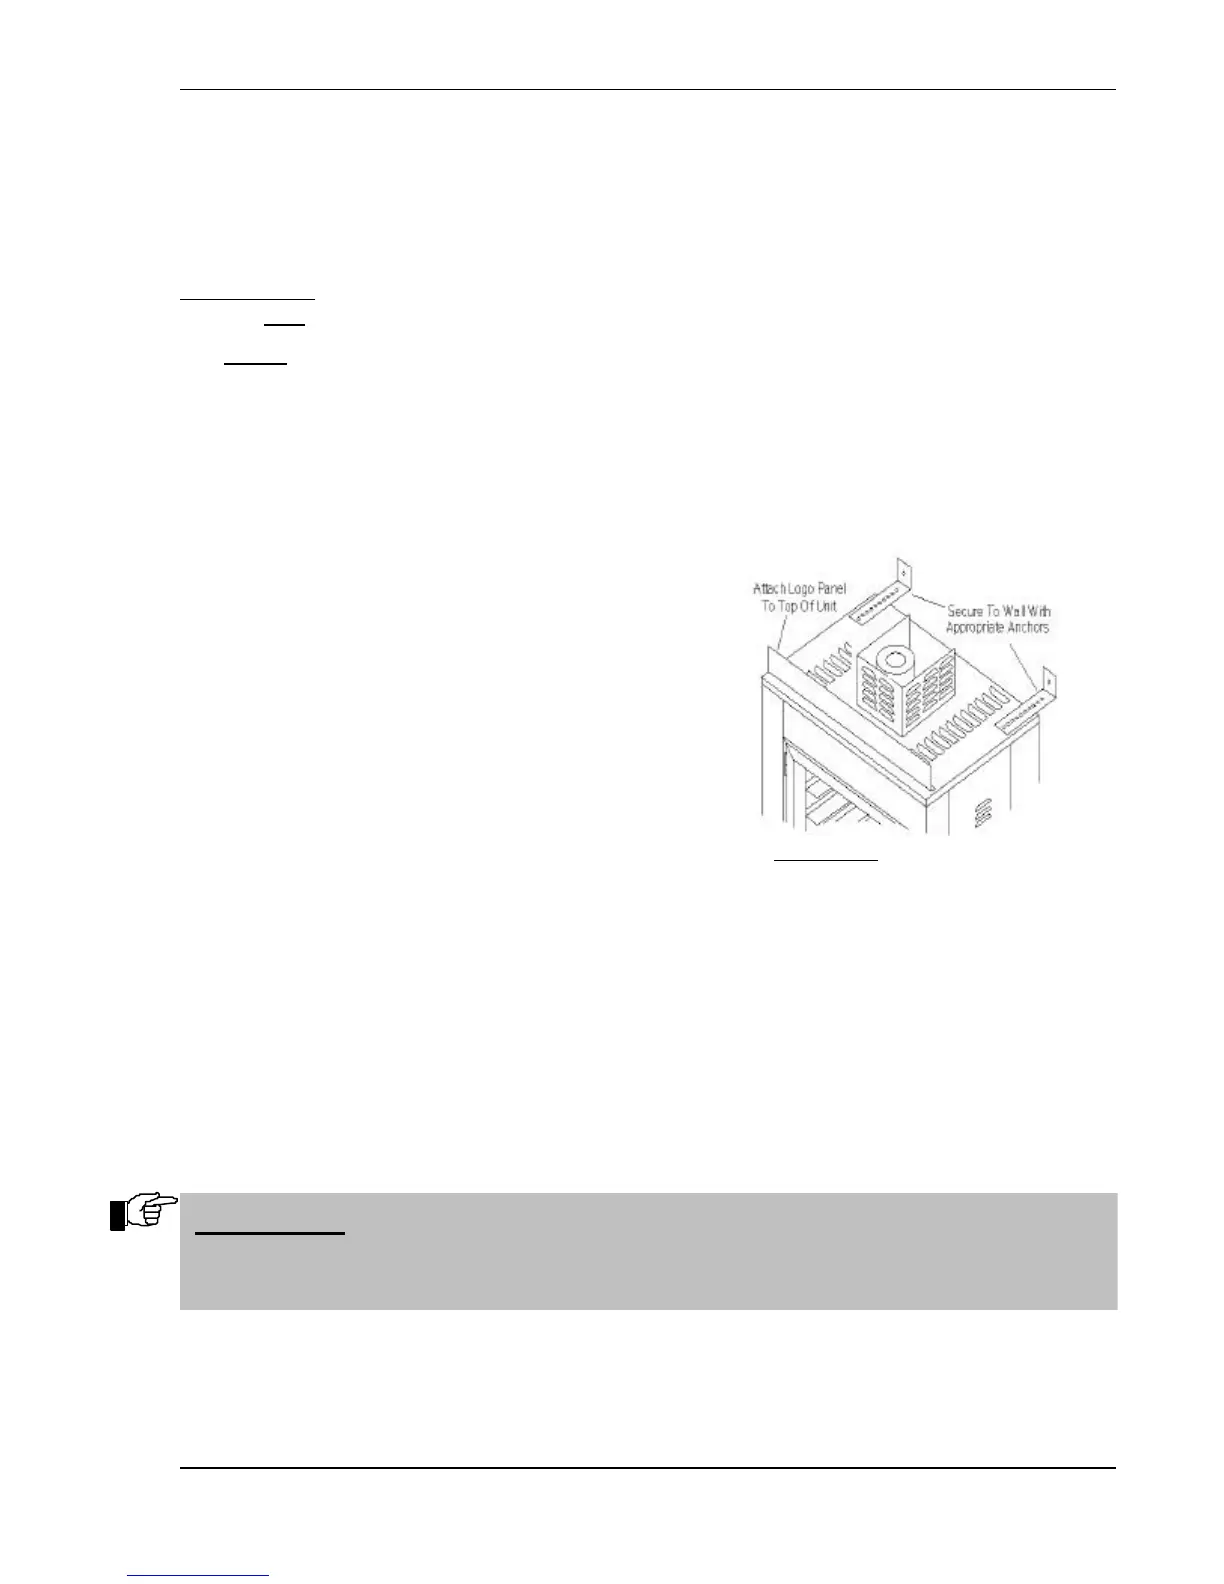
Final Positioning - -
A. Push the unit back into place and secure the unit
to the wall with the Mounting Brackets [75] on
top of the Oven (refer to Figure #4):
1. Turn the Mounting Brackets over so that
the end flange points up. Attach the
Brackets to the top of the Oven so as to
provide a minimum of four (4) inches
clearance between the back of the unit and
the wall.
2. Attach the end flanges of the Mounting
Brackets to the wall by any suitable means
such as lag bolts or anchors.
B. Attach the Logo Panel (if included) to the top of the unit. Remove the two front screws on the
Outside Top of the unit, and fasten the Logo Panel in place with the hex-head thumbscrews
provided with the Panel.
C. Set the braking locks on the front Casters [77].
D. Unscrew the glass Light Globes [18] in the Oven and Proofer sections. Install the included 40-
watt Appliance Bulbs and replace the Light Globes.
E. Install the supplied Proofer Shelves.
F. The Proofer compartment of the NU-VU
®
OP-2FM is equipped with a bottom drain centered
directly under the Proofer Door. Please install the included Drain Pan [80] in the brackets under
the Proofer if you have not already installed drain plumbing. This drain prevents the build-up
of excessive water that may damage the Proofer Motor, Heating or Humidity Element, or a
Sensor.
YOUR NU-VU
®
OP-2FM SHOULD NOW BE READY
FOR ITS INITIAL START–UP!!!
IMPORTANT: IMPROPER INSTALLATION, MISUSE OR OTHER FAILURE TO
FOLLOW THESE INSTRUCTIONS MAY CAUSE SEVERE EQUIPMENT DAMAGE
OR PERSONAL INJURY, AND MAY ALSO VOID YOUR NU-VU
®
WARRANTY!