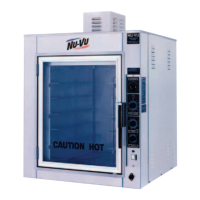
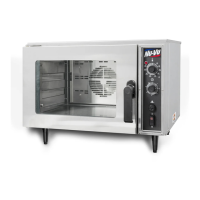
OP–2FM OWNER'S MANUAL SERVICE AND REPLACEMENT GUIDE
NU–VU® FOOD SERVICE SYSTEMS PO BOX 35 MENOMINEE, MICHIGAN 49858-0035
(800) 338-9886 SALES FAX (906) 863-5889 • SERVICE FAX (906) 863-6322 page 29
I. Route the Heating Element wires down the outside of the Oven and down to the contactor.
J. Position the Heating Element wires where they will be out of the way and cut off any excess.
Strip approximately ½" of insulation from the end of each wire and fasten them in the Contactor
terminals. Make sure each Contactor terminal contains one wire from each Heating Element.
K. Replace the Outside Top and the Side Access Panel. Be sure not to pull or pinch any wires
while replacing these panels.
L. Restore power to the unit and test the Heating Elements for proper operation.
M. Replace the Oven Element Cover. Make sure the ½" flange on the back of the Element Cover
fits into the guide strip welded to the ceiling of the Oven and that the Element Cover is all the
way back and tight to the Oven ceiling. Tighten the thumbscrews securely.
PROOFER HEATING ELEMENT, How To Replace:
MAKE SURE ALL POWER TO THE UNIT IS OFF. FAILURE TO DO SO MAY CAUSE
SEVERE EQUIPMENT DAMAGE OR PERSONAL INJURY!
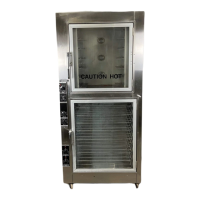
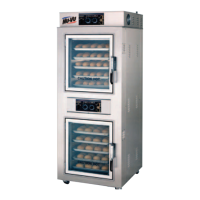
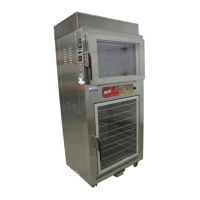
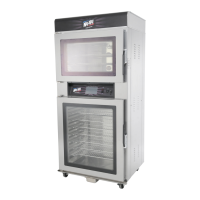
A. Remove the Proofer Element Cover [62] to expose the Proofer Heating Elements. The standard
manual-fill Proofer uses two 225 watt Heating Elements [12], each bent in a simple "U" shape.
The AUTOMIST Proofer uses two larger 600 watt Heating Elements [87] bent in an extended
block "W" pattern. Both types of Elements are mounted near the bottom on each side of the
Proofer (refer to Figure #7 on page 25 and/or Figure #15 on page 37).
B. Remove the Side Access Panel [76] on the control side of the unit as well as the side with the
defective Heating Element.
C. Trace the electrical wires from the defective Heating Element to where they are connected to
the unit wiring. Label these wiring junctions, then disconnect and remove the Element wires
from these junctions.
D. Remove the defective Proofer Heating Element from its mountings and pull it from the Proofer.
Clean away any old sealant around the mounting holes in the Proofer sidewall.
E. To install a new standard Heating Element [12]:
1. Carefully push the Element lead wires through the mounting holes, position the replacement
element, and secure it in place.
2. Apply high-temperature silicone or gasket sealant around the new Element on both the
inside and outside of the Proofer wall.
To install a new AUTOMIST Heating Element [87]:
1. Apply a small " bead of fresh high-temperature silicone or gasket sealant around the
Heating Element mounting holes.
2. Carefully push the Element lead wires through the mounting holes, position the replacement
Heating Element, embed it in the sealant, and secure it into place.
F. Reconnect the electrical wires as labeled. All connections must be clean and tight.
G. Replace the Side Access Panels and the Proofer Element Cover.
H. Restore electrical power to the unit and test the replacement Element for proper operation.
PROOFER HUMIDITY ELEMENT, How To Replace:
MAKE SURE ALL POWER TO THE UNIT IS OFF. FAILURE TO DO SO MAY CAUSE
SEVERE EQUIPMENT DAMAGE OR PERSONAL INJURY!
A. Remove the Water Pan [64] to expose the Humidity Element [13]. Clean the pan and set it
aside.
B. Remove the Side Access Panel [76] from the control side of your unit to expose the Humidity
Element wiring connections.