OPERATING INSTRUCTIONS OP–2FM OWNER'S MANUAL
NU–VU® FOOD SERVICE SYSTEMS PO BOX 35 MENOMINEE, MICHIGAN 49858-0035
page 14 SALES FAX (906) 863-5889 • SERVICE FAX (906) 863-6322 (800) 338-9886
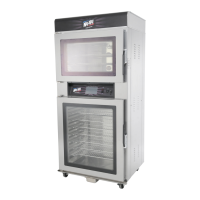
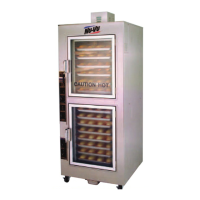
C. Load the product. Center the pans front to back as much as possible on each Proofer Shelf to
allow for proper air circulation over and around your product.
NOTE: The Indicator Lights will turn on and off as the Temperature and Humidity
Controls regulate the conditions in the Proofer. This is normal, and may happen several
times during a proofing cycle.
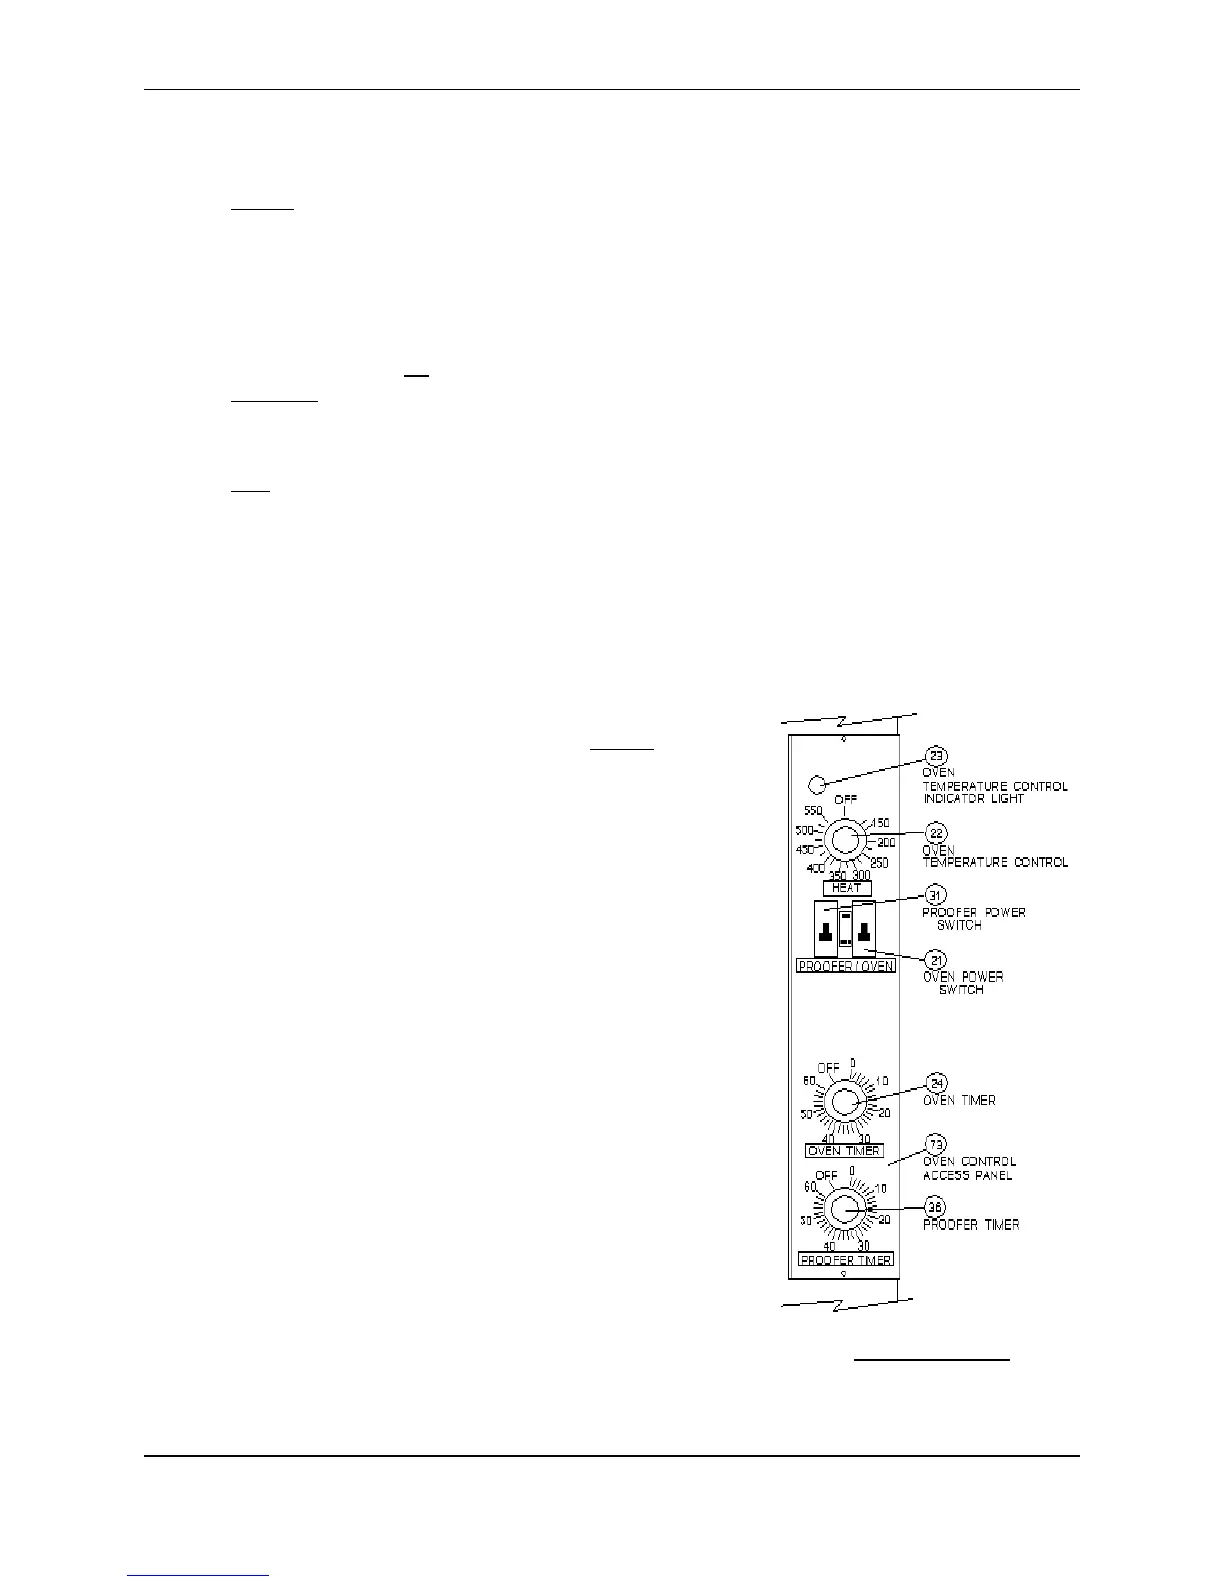
D. Set the Proofer Timer [36] on the bottom end of the Oven Control Panel as a reminder to check
your proof.
E. Monitor the proofing process. Your Proofer is functioning properly if there is a slight fogging on
the Proofer Door. No fogging means your Proofer may be running too hot, too dry, or both.
Excessive fogging (with water running down the glass) means your Proofer may be running too
cold, too wet, or both. Check the product and adjust the Proofer Temperature and Humidity
Controls as necessary.
TIP: If water accumulates on the floor in front of your Proofer from drippings out of the
Proofer Door you are probably proofing with too much humidity. Decrease the Humidity
Control setting. If water on the floor is a constant problem for you please call the
NU-VU
®
Service Department at (800) 338-9886.
F. Load the Oven when your product is fully proofed. Yeast products should be 75% to 90% of the
desired finished size at the end of the proof cycle. Generally speaking yeast products should also
be slightly tacky to the touch as they are loaded into the Oven.
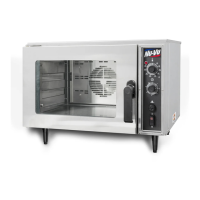
OVEN:
At the beginning of each day you may want to preheat your Oven
about 25
°
higher than the required baking temperature. Since your
Oven requires time to reach the proper temperature you must plan
ahead so your Oven and product are ready at the same time. When
the desired temperature is reached (about 15-20 minutes after start-
up) the Oven Temperature Control Indicator Light [23] will go out. It
is not necessary to reset to preheat temperature with each load unless
you are baking new items at a much higher temperature.
A. Turn the Oven Power Switch [21] ON and set the
Temperature Control [22] to the desired preheat or baking
temperature (refer to General Settings on page 15 and the
Baking Chart on page 16). The Oven is ready for baking
when the Temperature Control Indicator Light goes out.
B. Load the Oven from the top shelf down. If the top shelf is
too high to be reached safely and easily an empty pan should
be placed on the shelf. If you are baking less than a full load
please insert an empty pan on any empty shelf immediately
above or below your product. This is necessary to guide the
ducted air flow over and around your product for the best
possible results.