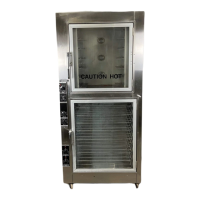
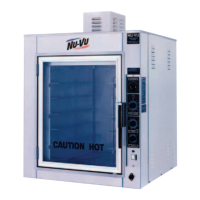
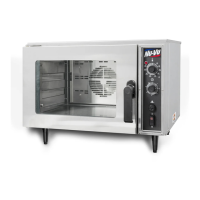
OP–2FM OWNER'S MANUAL SERVICE AND REPLACEMENT GUIDE
NU–VU® FOOD SERVICE SYSTEMS PO BOX 35 MENOMINEE, MICHIGAN 49858-0035
(800) 338-9886 SALES FAX (906) 863-5889 • SERVICE FAX (906) 863-6322 page 27
BLOWER WHEEL INSTALLATION AND BALANCING:
When installing a new Blower Wheel it is imperative that the Wheel be balanced correctly. An
improperly balanced Blower Wheel will cause premature failure of the Oven Motor.
The Blower Wheel should rotate under power in a counter-clockwise direction when viewed from the
open side of the Wheel (refer to Figure #8 on page 26). An up and down wobble may be noticeable
when the wheel slows to a stop. A wobble of less than 1/16" is acceptable; anything more must be
corrected.
The easiest method of eliminating the wobble is to locate the narrowest distance between the Blower
Wheel and the ceiling of the Oven. Place this point toward you and gently pry the Blower Wheel
down from the top. Repeat this procedure until the wobble is eliminated. Check the tightness of the
set screws on the Blower Wheel hub; they should be torqued to 175 inch/pounds.
A new Blower Wheel may already have one or more weights attached; these have been installed by
the original manufacturer. If the Blower Wheel is not in balance when you test it please remove and
save these weights.
The Blower Wheel should now be ready for balancing.
A. Clip a weight to the inside of an air vane. Turn the Oven ON and depress the Door Micro
Switch [15] in the door jamb just below the top Hinge. Watch the Oven Motor [7] for any sign
of vibration. Release the Micro Switch and allow the Blower Wheel to come to a stop.
B. Move the weight 4 to 6 vanes in either direction. Run the Motor again. Note any change in
vibration. If the vibration increased move the weight in the opposite direction. If the vibration
decreased move the weight in the same direction another 4 to 6 vanes. Repeat this procedure
until the vibration begins to increase.
C. Now move the weight back 1 or 2 vanes at a time until the vibration is at its lowest level. Secure
it there.
D. Repeat the entire procedure with more weights until the vibration is eliminated. Make sure that
all weights are securely fastened to the inside of the air vanes before closing up the Oven.
Failure to do this may cause the loss of a weight, resulting in an unbalanced condition.
PROOFER MOTOR ASSEMBLY, How To Replace:
MAKE SURE ALL POWER TO THE UNIT IS OFF. FAILURE TO DO SO MAY CAUSE
SEVERE EQUIPMENT DAMAGE OR PERSONAL INJURY!
A. Remove the Proofer Element Cover [62] to expose the Proofer Fan Blade [61] or Blower
Wheel [86]. Loosen the set screw on the Fan Blade/Blower Wheel hub and remove the Fan
Blade/Blower Wheel from the Motor shaft.
B. Remove the four screws holding the Motor Mount in place. Use a pocket knife or other sharp
instrument to cut loose the sealant around the Motor Mount. Gently pry up on the Motor Mount
to break it loose from the floor of the Proofer.
C. Remove the Proofer Motor [14] assembly far enough to expose and disconnect the wire nut
connections. These wires are interchangeable and do not need to be labeled. Remove the
Proofer Motor assembly from the Proofer.
D. Remove all old sealant from the floor of the Proofer with a putty knife or scraper.
CAUTION: DO NOT PLACE FINGERS NEAR THE BLOWER WHEEL WHILE IT IS
STILL TURNING, EVEN IF THE MOTOR IS TURNED OFF. THE MOVING VANES
STILL HAVE SUFFICIENT FORCE TO CAUSE SERIOUS INJURY!