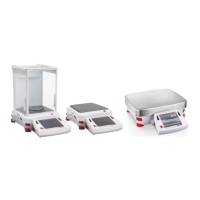
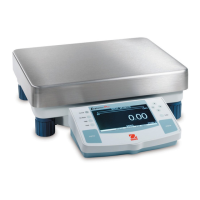
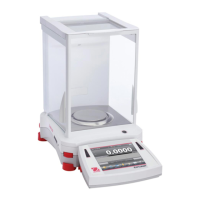
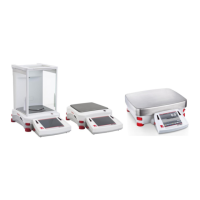
EN-120 EXPLORER BALANCES
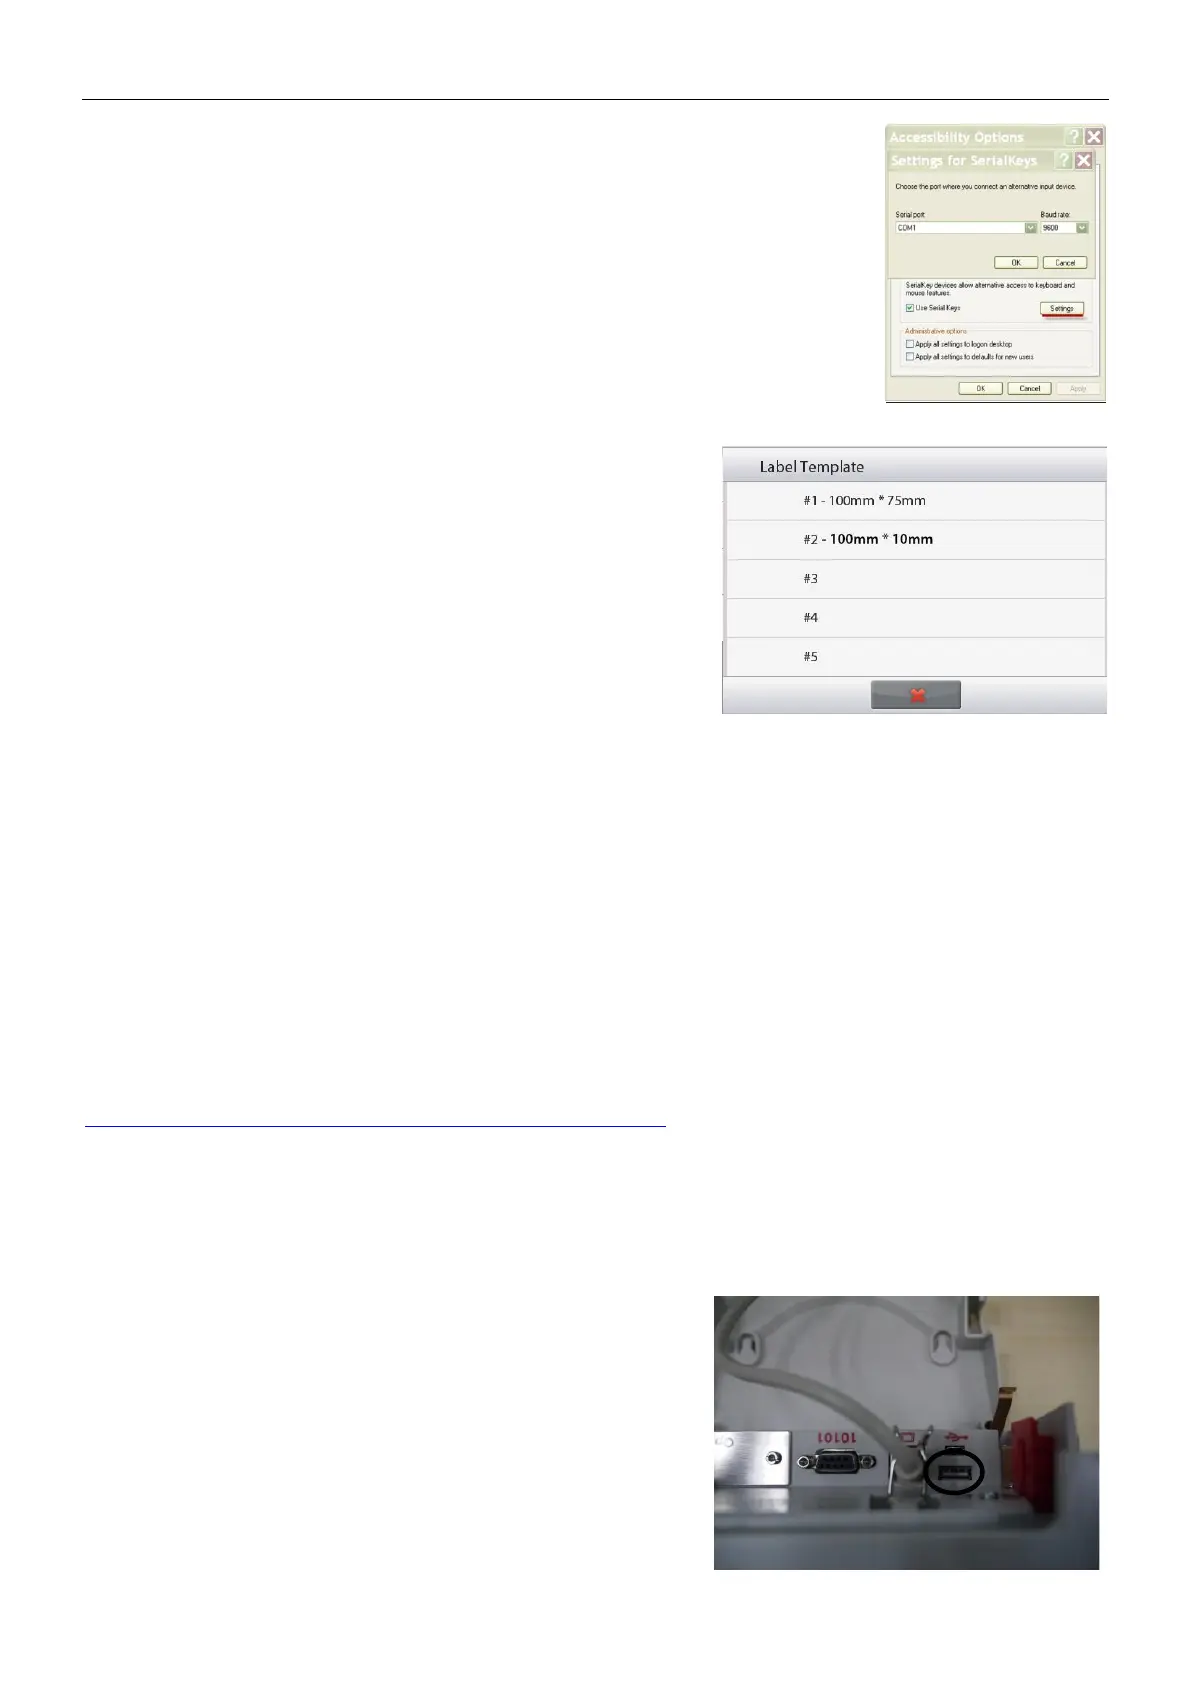
Select the Serial Port, and set the Baud rate to 9600.
After selecting, click OK to close setting for serial keys.
Close the Control Panel.
Run Excel to open one blank sheet. Focus the cursor on one item.
At this time, if scale sends data to the PC through the RS232 port, the data
will be put into the cell, and the cursor will automatically move to the next
vertical cell.
Note: If the weighing value is a negative number, set the target cell in
TEXT format. Otherwise, Excel will not distinguish it as a negative number.
Label Printing Menu:
OFF = deactivate label printing function
ON = activate label printing function
When Label Printing menu is set to ON, Label Template menu
appears with default selection, English label template “100mm x
75mm”.
This function is compatible with any label printer using the ZPLII
programming language. We recommend Zebra GC420t label printer.
5.10.12 Label Template
There are 2 built-in templates:
● #1 - 100mm x 75mm, which is designed based on label size “100mm x 75mm”. This
template includes all basic information “Data/Time”, “Sample ID”, “Sample Name”, “Batch
ID”, “Result”, “Gross Weight”, “Tare Weight”, “Net Weight”, and “User Name”.
● #2 - 100mm x 10mm, which is designed for small label size “100mm x 10mm” with
weighing result only.
To select another label template, touch the other numbers. Templates #3 - #5 are empty templates in Explorer until
they are edited by OHAUS label Designer and written to the balance. Overall 5 label templates can be stored in the
balance.
All templates including the default one can be edited via OHAUS Label Designer. Please go to the website below to
download the software. For how to use the software, please contact an authorized dealer to obtain the software's
instruction.
https://dmx.ohaus.com/WorkArea/DownloadAsset.aspx?id=28916
5.10.13 Save to USB flash drive
OFF = deactivate save to USB function
ON = activate save to USB function
When this menu is activated, insert the USB flash drive into the balance's USB port:
1. Locate the USB port on the back side of the
Explorer terminal.



 To Next Page