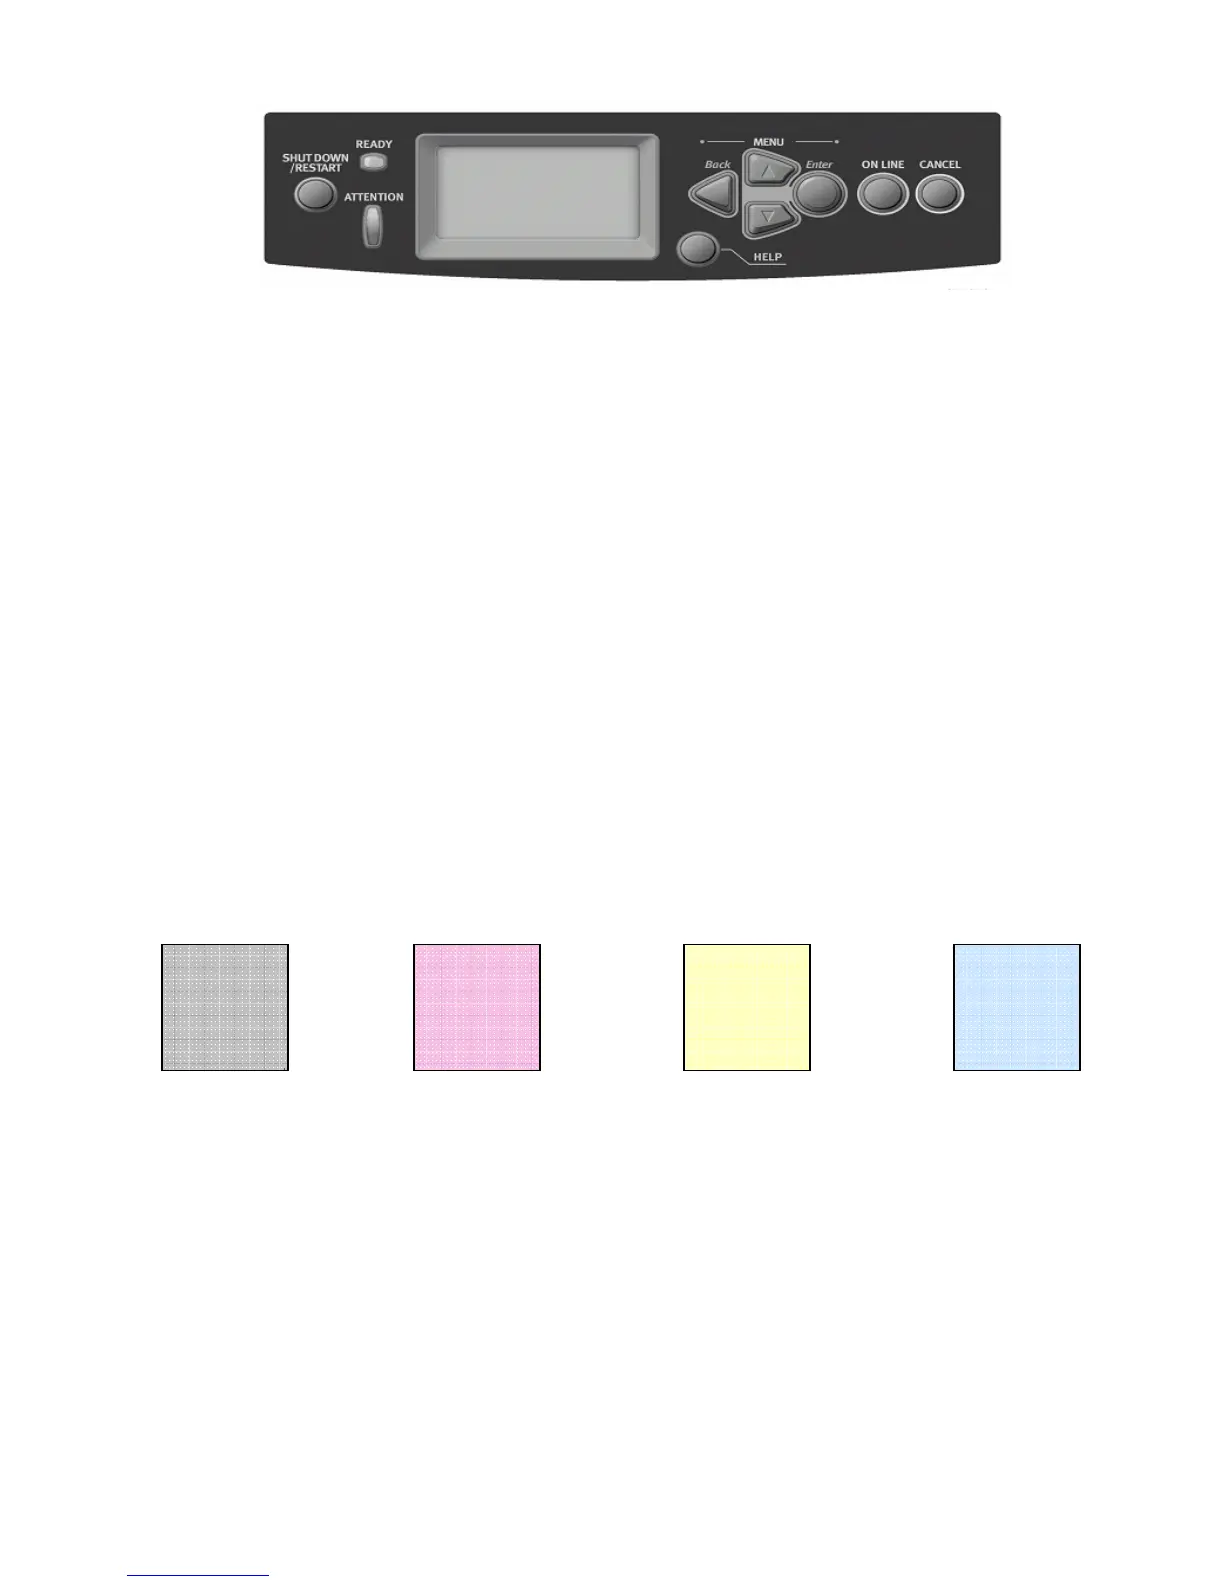
Page down to “Print Execute” – Select “Enter” to print selected test page
Things to observe when analyzing the 100% fill test page include:
2 Wrinkling
3 Creases
4 Roller marks
5 Scratches
6 Repeating defects or banding
7 Missing Color(s)
8 Streaks
9 Voids
1. Consistent fills in each color. Each color should be consistent across the page with no voids.
2. Look for thin white lines that would indicate a dirty LED lens or a scratched Imaging Unit.
3. Look for dark lines that would indicate a dirty or damaged Imaging Unit.
4. Look for complete fusing. Cold or hot offset fusing could indicate the incorrect paper weight has
been selected.
Generating and Analyzing 25% Color Fill Test Pages
The following print consists of 25% fill in CMYK. Follow the service mode procedure above and select
Test Pattern # 2.
Things to observe when analyzing the 25% fill test page include:
3 Repeating defects or banding
4 Missing Color(s)
5 Streaks
6 Voids
1. Consistent fills in each color. Each color should be consistent across the page with no voids.
2. Look for thin white lines that would indicate a dirty LED lens or a scratched Imaging Unit.
3. Look for dark lines that would indicate a dirty or damaged Imaging Unit.
4. Look for complete fusing. Cold or hot offset fusing could indicate the incorrect paper weight has
been selected.
Test Print
Print Execute
 Loading...