94
8-2 Assembly procedures
Assemble the units using the Allen screwdriver (opposite side: 3 mm ) and the Allen wrench
(opposite side: 4 mm
or 3 mm ) provided with the microscope. Use the Allen screwdriver if not
specified.
Before attaching units, remove dust and dirt from the attaching area and attach units carefully so as
not to scratch them.
Attaching the overturning prevention plate
If the height of the microscope is increased by the accessories
combined, there is a risk that the microscope may overturn. To
prevent the microscope from overturing, the overturing prevention
plate must be attached.
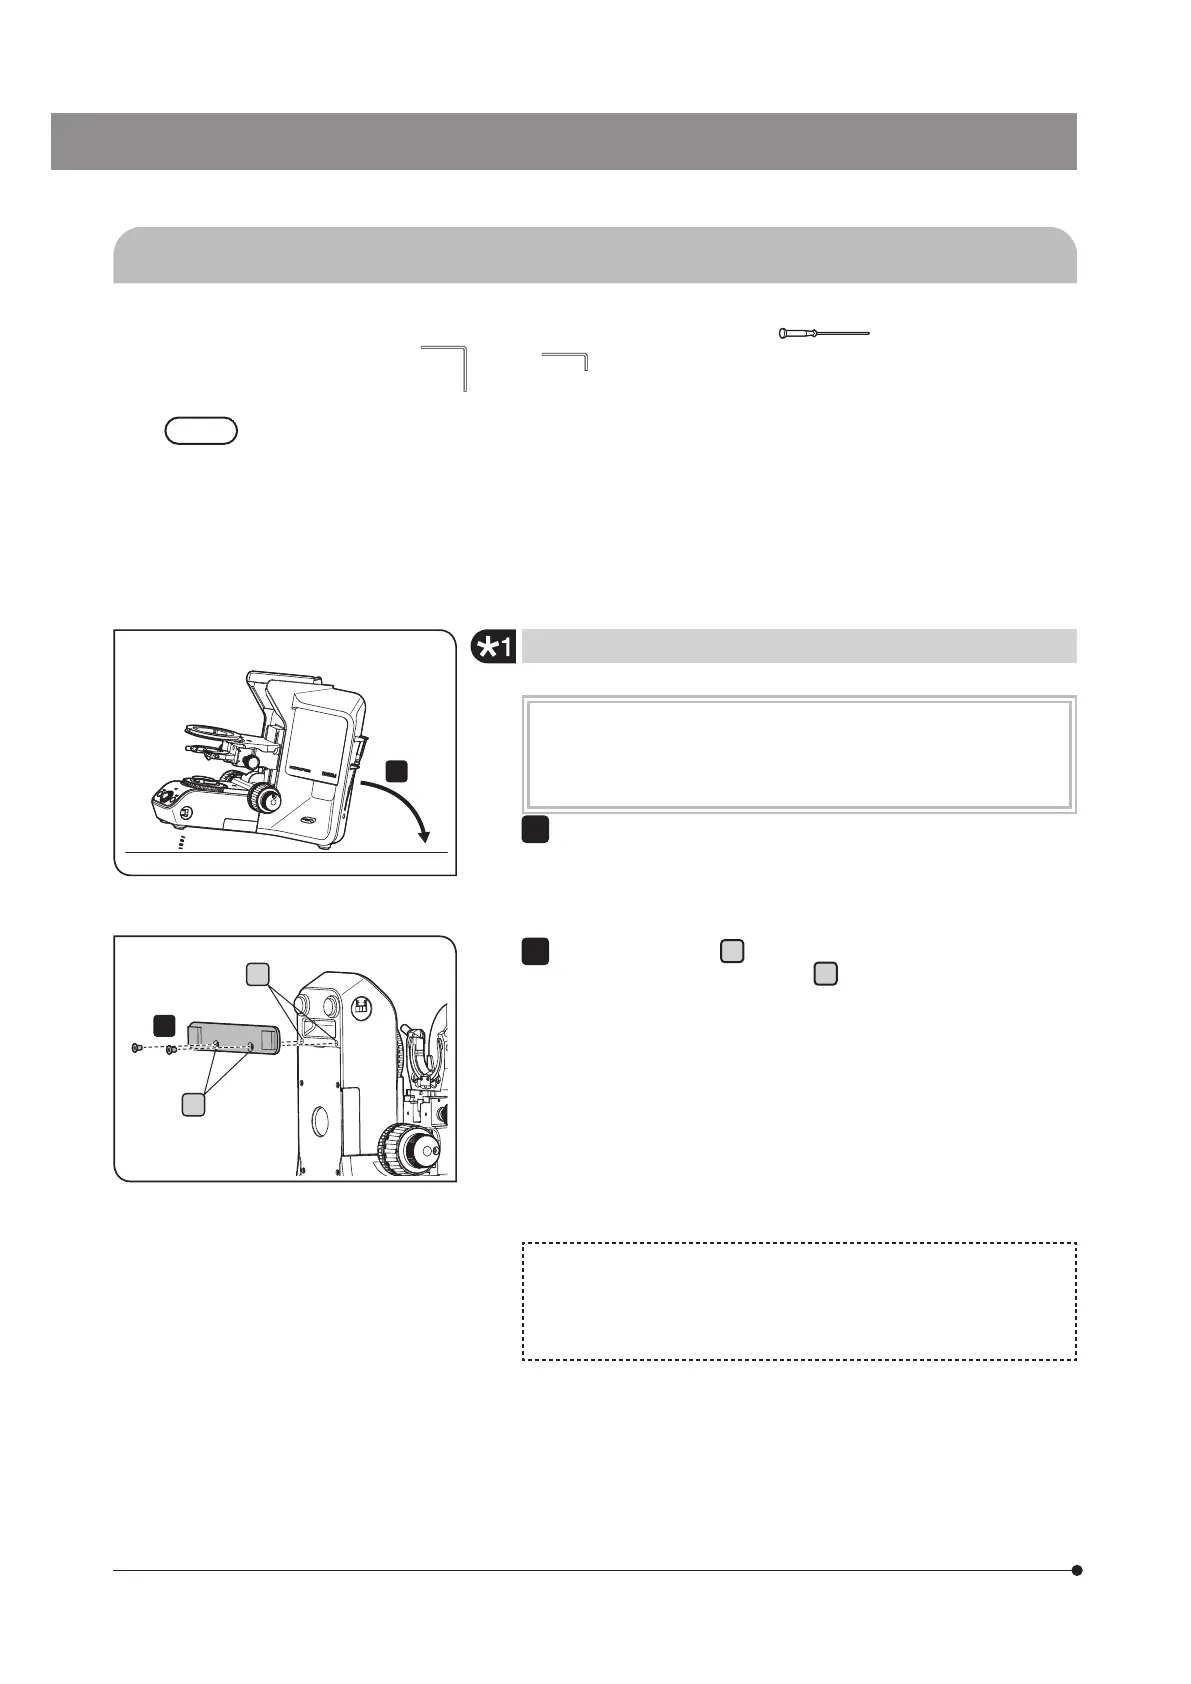
Tilt the microscope frame so that the back of the microscope frame
faces down.
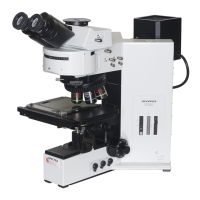
1
Align the screw holes
a
(2 positions) on the bottom of the microscope
frame with the mounting holes
b
(2 positions) of the overturing
prevention plate, and tighten the provided screws to secure the
overturing prevention plate.
2
1
2
a
b
If you lost the overturning prevention plate, contact Olympus and
purchase the following parts.
· Overturning prevention plate (Parts No. AW3640)
· Clamping screw for overturning prevention (Parts No. JA5284)