98
1
3
a
3
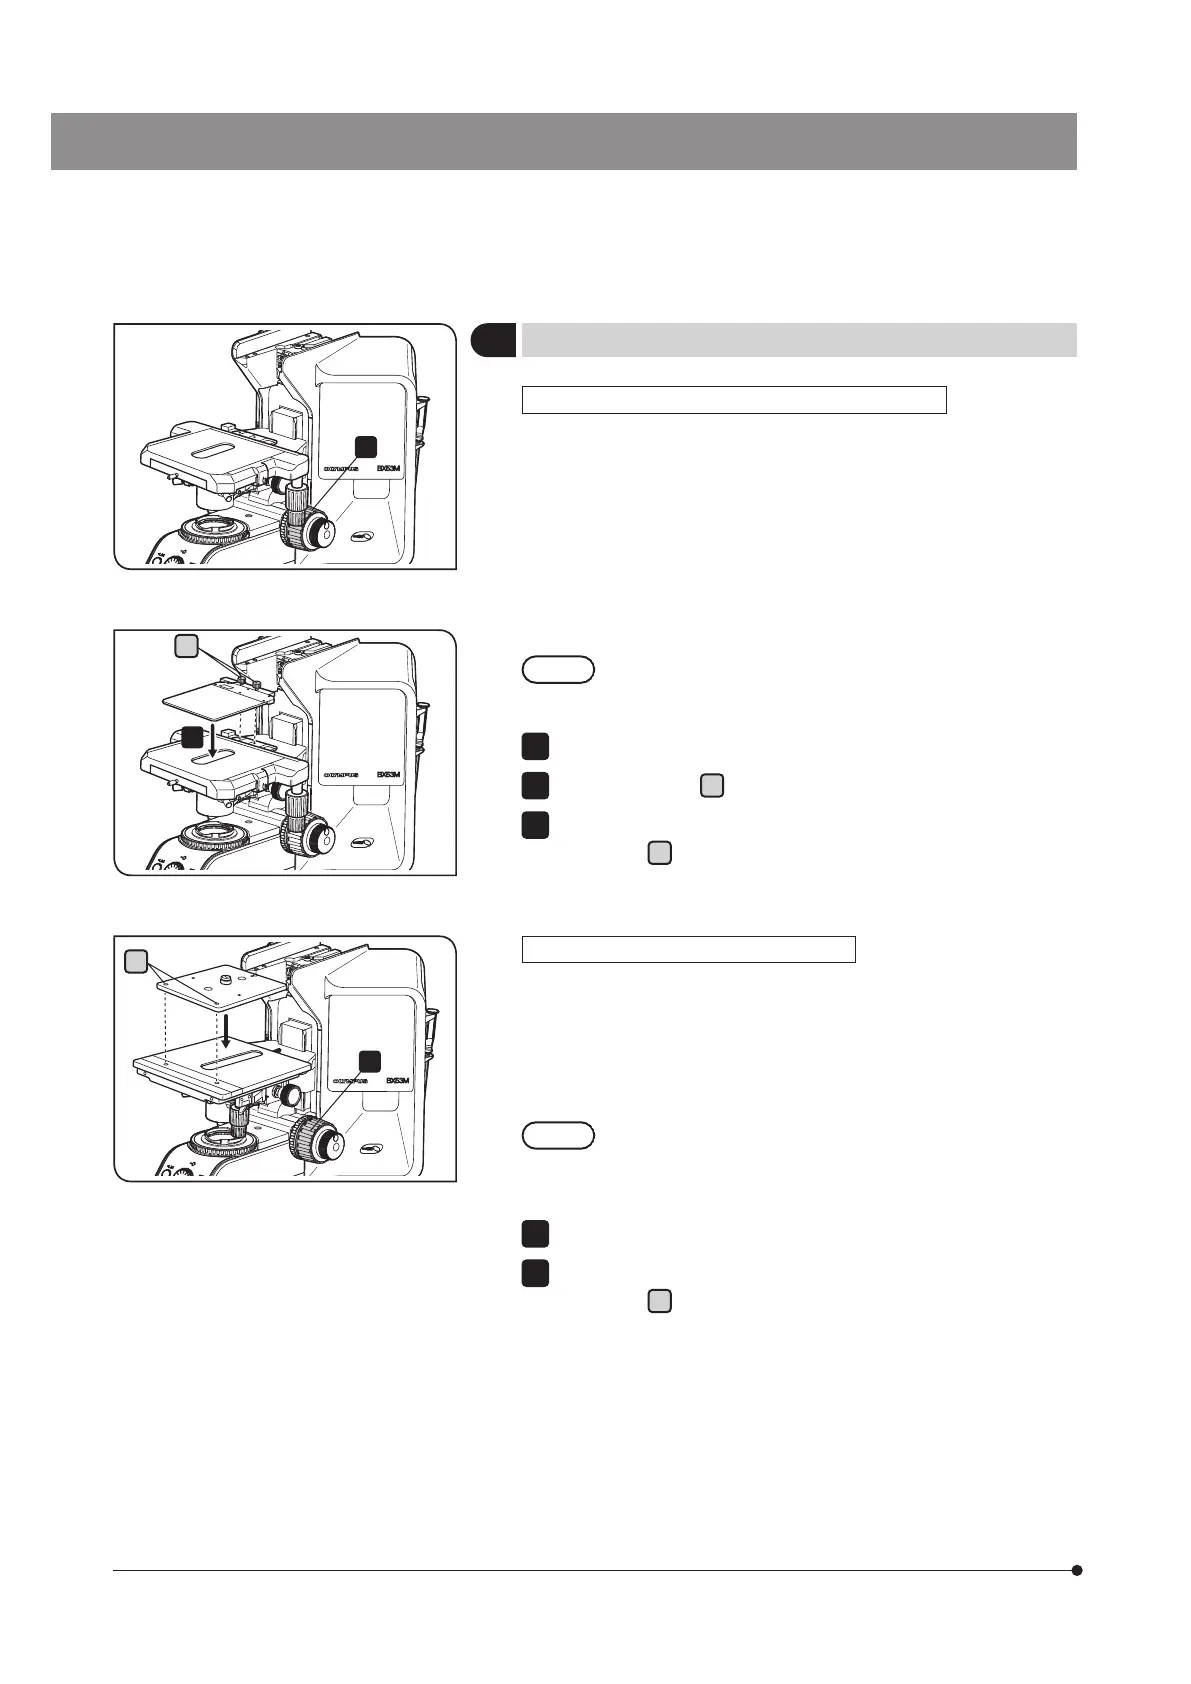
Attaching the stage plate / holder plate
Attaching U-HRD, U-HRDT, U-HLD, U-HLDT or U-MSSP
Following units can be attached to the stage with coaxial knobs on
the bottom right (U-SVRM) and the stage with coaxial knobs on the
bottom left (U-SVLM).
· Right-hand thin specimen holder (U-HRD)
· Right-hand thick specimen holder (U-HRDT)
· Left-hand thin specimen holder (U-HLD)
· Left-hand thick specimen holder (U-HLDT)
· Stage plate for use with U-SVRM (U-MSSP)
The bend prevention pins (2 pcs.) are attached to the
stage plate (U-MSSP) as factory defaults. Remove them
before attaching the plate.
Turn the coarse focusing knob to lower the stage sufficiently.
Loosen the screw
a
(2 positions) of the stage plate.
Combine the stage plate or the holder plate to the stage, and tighten
the screws
a
(2 positions).
1
3
a
Attaching U-WHP2, U-MSSPG or U-MSSP4
Following units can be attached to the 4x4 inch stage (U-SIC4R2/U-
SIC4L2).
· Wafer holder (U-WHP2)
· Stage glass plate for use with U-SIC4R/L2 (U-MSSPG)
· Stage plate for use with U-SIC4R/L2 (U-MSSP4)
The bend prevention pins (2 pcs.) are attached to
the stage plate (U-MSSP4) and the stage glass plate
(U-MSSPG) as factory defaults. Remove them before
attaching the plate.
Turn the coarse focusing knob to lower the stage sufficiently.
Combine the stage plate or the holder plate to the stage, and tighten
the screws
a
(2 positions).
2
1