25
4.4.3.2 Server
http://192.168.1.200Address
Server
Readings
Chart
Web Link Setup
Overview
Network
Configuration
Management
Security
Recording
System
Diagnostics
Log Out
SensorsServer Alarm RelaysDate and Time
Save Changes Reset
ServerType
Interval
Disconnect After Data Sent
Time Stamp
Command
5 secs
Server
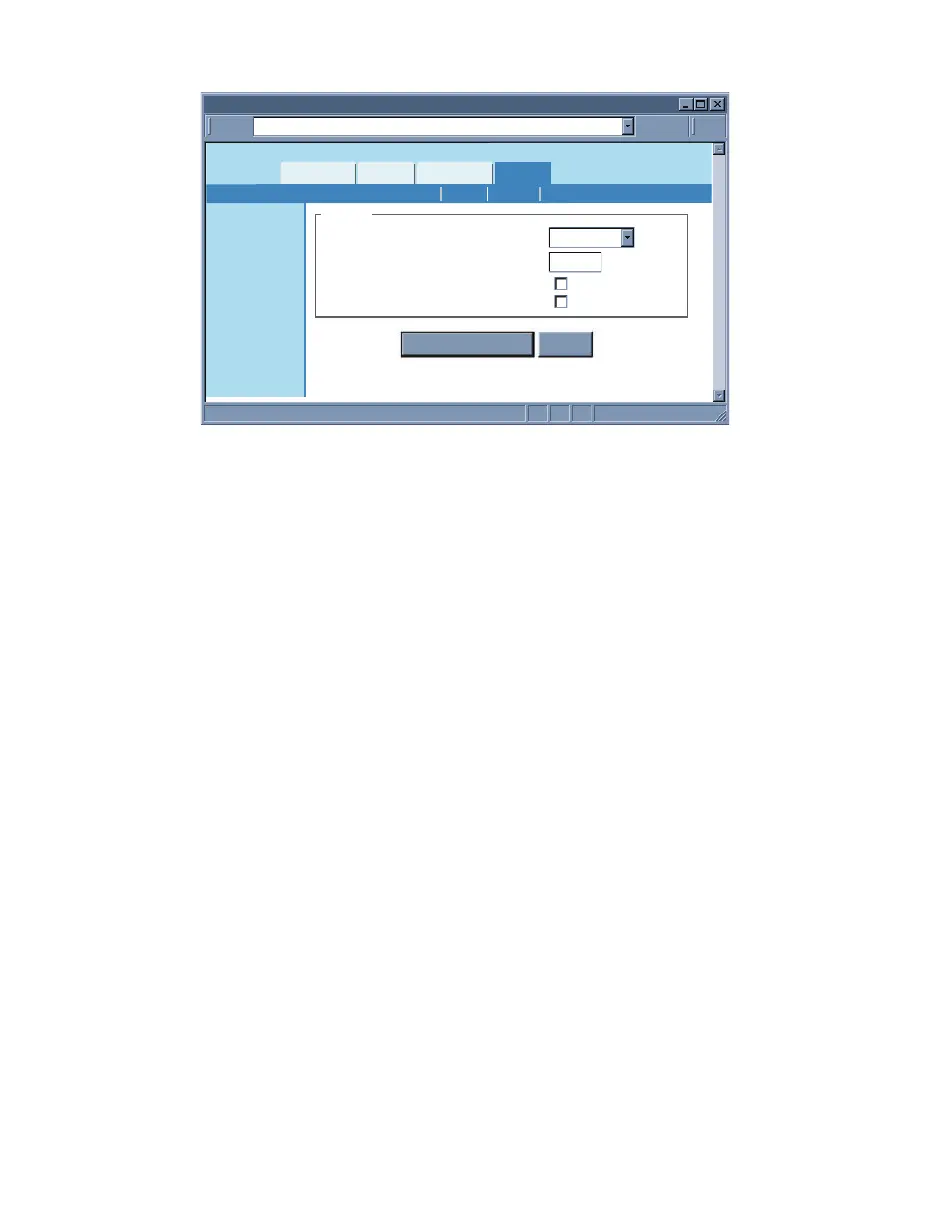
Figure 4.16 Configuration Menu: Server
Server Type – Options are Command and Continuous.
If Command is selected the iServer will respond to commands sent from a network host
(for the list of commands refer to Section 4.9.1).
If Continuous is selected the iServer will send temperature, humidity, dewpoint values
and alarm relay status once every time amount selected in the Interval box.
The Command and Continuous modes operate when a network host opens a TCP
connection to the iServer’s IP address with port 2000.
In UDP Command mode, iServer will respond back with a UDP packet (to the _ address
and port) if a host application sends a UDP command to iServer’s IP address with port
2000.
In UDP Continuous mode, iServer starts sending continuous data if a host application
sends a trigger or UDP packet to iServer’s IP address with port 2000.
Interval – This is the time interval (in seconds) between each data transmission when
the iServer is in Continuous mode. The default value is set to 5 seconds and the
minimum is 2 seconds.
Time Stamp – If checked, the iServer will stamp the data with date and time before
sending it out to a network host. This will apply to Command and Continuous modes.
Default is unchecked.
Disconnect After Data Sent – If checked, once the iServer responds back with data, the
iServer will close the TCP connection that had been made from the network host.
This feature should be used if data acquisition software expects data to be ended by
closing TCP connection from the client.
4.4.3.3 Sensors
This is the page where the Sensor Parameters are defined. Reading 1 is for
Temperature, Reading 2 is for Humidity, and Reading 3 is for Dewpoint.
Enabled Probes – Choose Both Probes if you have two probes (sensors). Choose Only
Probe 1 if you just have one probe, or if you have two probes but only want to show
Probe 1. Default is Both Probes.
Degree Unit – This would be the units of measurement for the probe sensor. Examples
are F and C for temperature and dewpoint. Once the unit of temperature is selected,
either C or F, it will be a global change throughout the web server, as well as on the LCD
display. If you use the front C/F buttons to change the unit of temperature it will have no
effect on the web pages.