4-2 1:N Host Connection
4-13
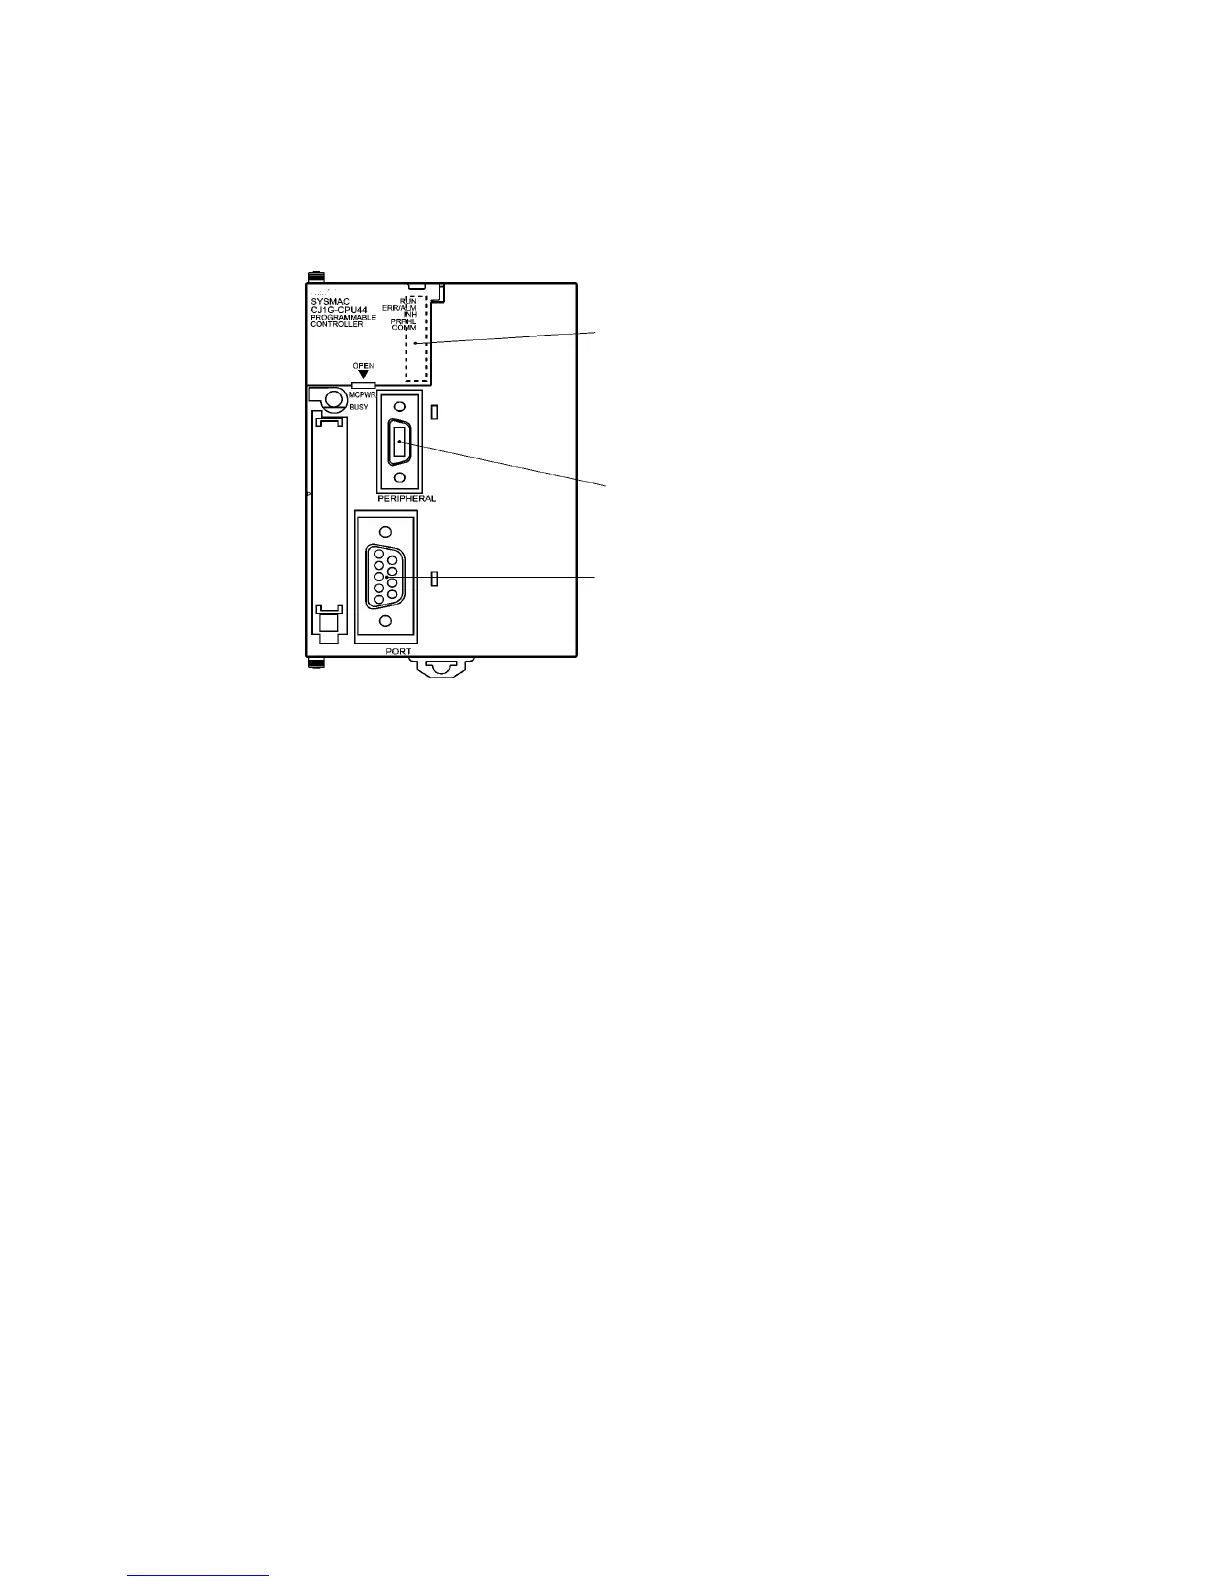
Setting the Front Panel Switches
• Using RS-232C
Set DIP switch pin 4 or 5 of the CPU Unit according to the port to which the PT is connected,
as shown below. (The following figure shows a CJ1G CPU Unit. The arrangement depends
on the CPU Unit, but the DIP switch settings are the same.)
DIP switch (inside battery compartment)
Turn ON pin 4 when connecting the PT to the
peripheral port (to use the communications
settings in the PLC Setup).
Turn ON pin 5 when connecting the PT to the
RS-232C port (to use the communications
settings in the PLC Setup).
Peripheral port
Connected to a Programming Console or other
device.
RS-232C port
Connected to a Programming Console or
other device.