42
Connection to a PC by the Host Link
Section 2-4
Connecting to a CPU
S C-series CjjH, CVM1/CV-series (-EVj)
Set the operating conditions with the PC System Setting functions when a C
jj H, CVM1/CV-series host link unit is connected to the NT20S. The PC sys-
tem settings can be made directly from the peripheral tool (LSS etc.) or the PC
system setting information created with a peripheral tool can be transferred to
the CPU.
The following describes the switch settings so as to enable the PC system set-
tings. For the details of the PC system settings, refer to the “SYSMAC CjjH
User’s Manual (Programming)” (W176-E1-j) and the CVM1/CV500/CV1000/
CV2000 User’s Manual (W195-E1-j).
(1) C-series CjjH : C20H/C28H/C40H/C60H
No switch settings are required when connecting to a C-series CjjH CPU.
(2) CVM1/CV-series : CV500-CPU01-EV1
CV1000-CPU01-EV1
CV2000-CPU01-EV1
CVM1-CPU01-EVj
CVM1-CPU11-EVj
CVM1-CPU21-EVj
Only CVM1/CV series CPU units designated “-EV1” or higher can be con-
nected.
When connecting to a CVM1/CV-series CPU, set the switches as given be-
low.
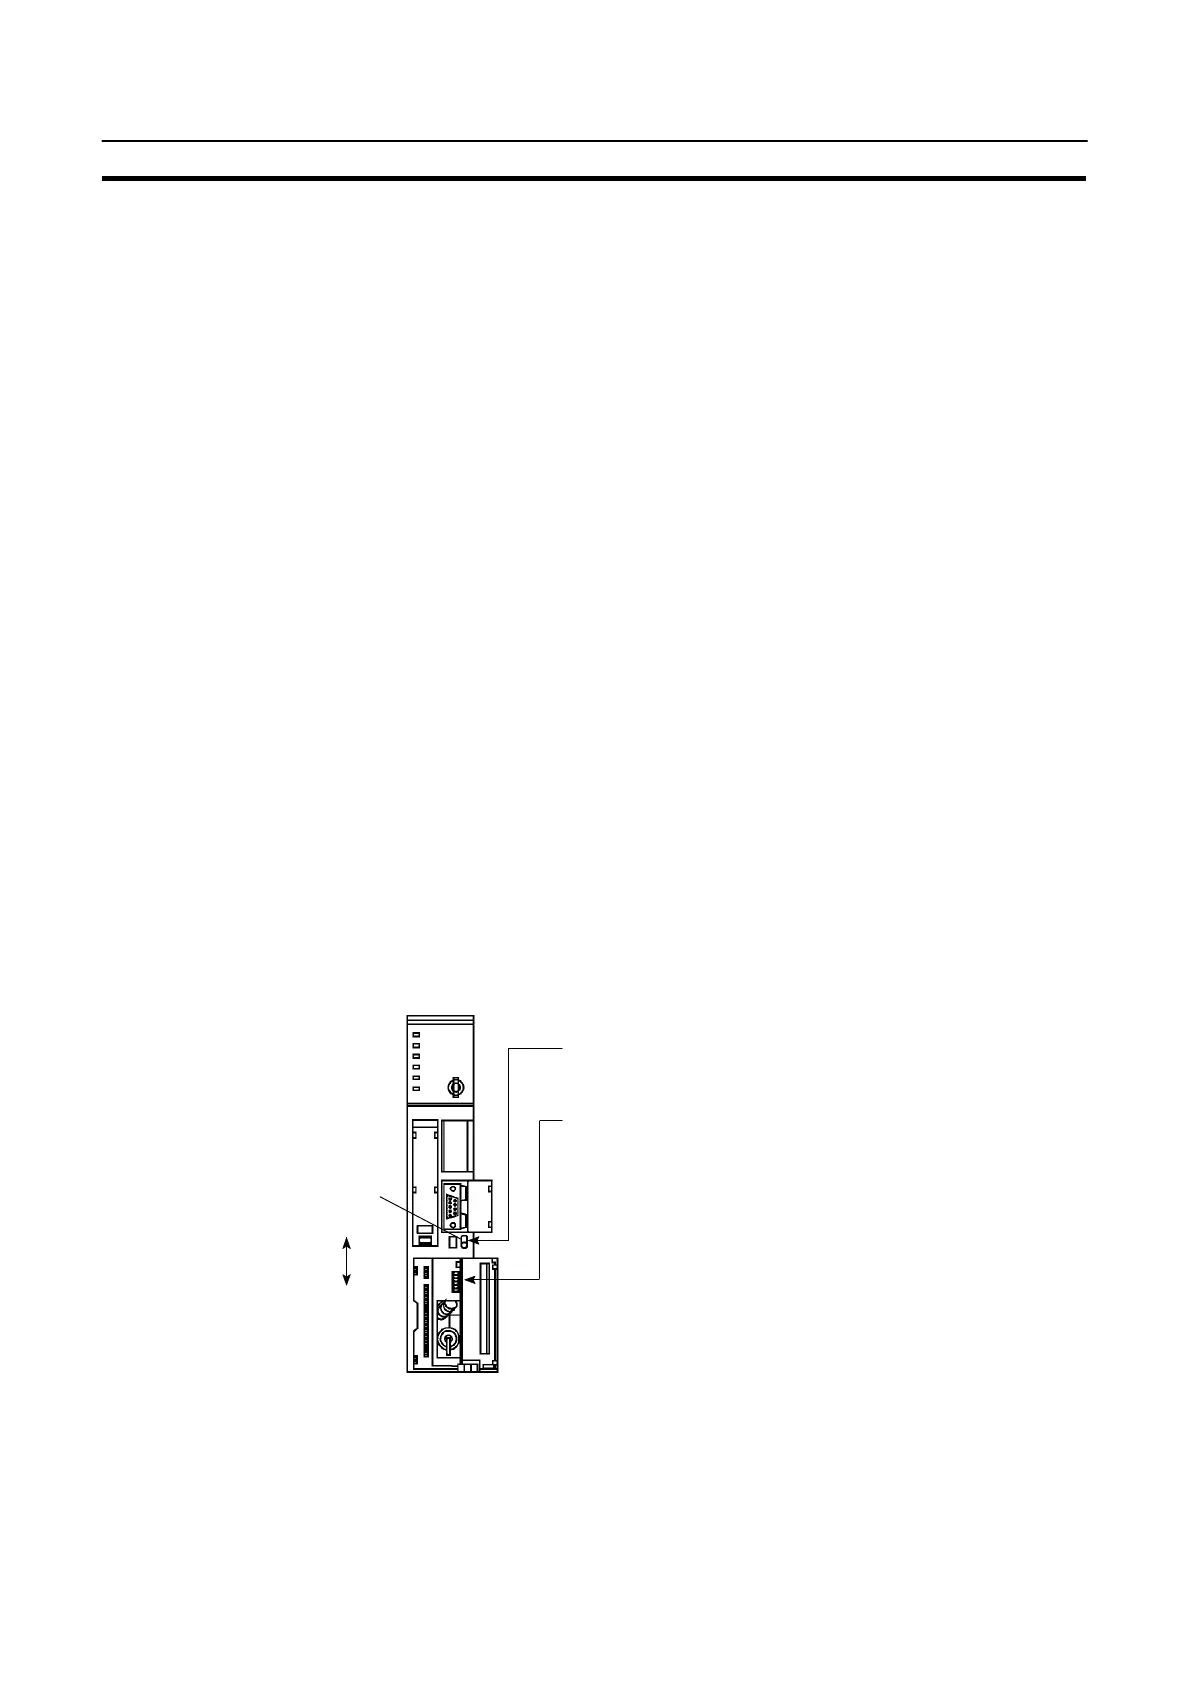
[Setting the front switches]
S System setting (DIP SW4)
To effect the existing DIP switch settings, set SW4 to “ON”.
To effect the existing PC system settings, set SW4 to “OFF”.
Note: In the case of CPU units manufactured before June
1995 (lot No. “
jj65”), the factory settings of the DIP
switches do not agree with the factory settings for the
PC system settings.
S The factory settings for the DIP switches are:
2400 bps, 1 stop bit, even parity, 7-bit data length.
S The factory settings for the PC system settings are:
9600 bps, 2 stop bits, even parity, 7-bit data length.
For CPU units manufactured from July 1995 (lot No.
“jj75”) onward, the factory settings for the DIP
switches are also 9600 bps and 2 stop bits.
I/O port
selector
switch
RS-232C
S I/O port selection (selector switch)
Set this to “RS-232C”.
RS-422A