30
Installation Section 3-1
3-1 Installation
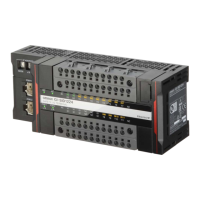
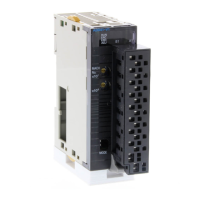
The Slice I/O Terminal is installed and set up as a network Slave. The Com-
munications Unit’s communications connector connects to the Master Unit
through a communications cable.
Up to 64 Slice I/O Units can be connected to one Communications Unit.
Note (1) Do not connect or disconnect the Communications Unit’s communica-
tions cable while the network is operating. Short-circuits or poor contacts
in the cable may prevent normal communications.
(2) Be sure that the power supplies for the Communications Unit, Slice I/O
Units connected to the Communications Unit, and external I/O are wired
correctly through the Communications Unit’s terminal block.
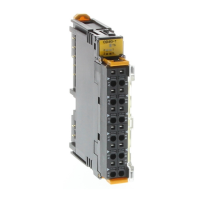
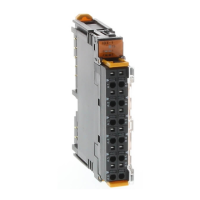
3-1-1 Connecting the Communications Unit and Slice I/O Units
Connect the first Slice I/O Unit to the Communications Unit by aligning the
sides of the Units and sliding in the Slice I/O Unit from the front. Additional
Slice I/O Units can be connected consecutively to the first.
In the following example, a Slice I/O Unit is being connected to a DeviceNet
Communications Unit.
Note Do not touch the connector on the Unit’s base block.
Master
Communications Unit
Slide Slice I/O Units in from
the front to install.
Slice I/O Units (64 max.)
24 VDC
for Unit
24 VDC
for I/O
Slide the Slice I/O Unit toward the DIN Track from
the front. Insert the Unit until you hear a click,
which indicates that the Unit has locked on the Track.
It is not normally necessary to release the DIN Track
mounting hook when mounting the Unit.
 Loading...