49
Setting
Note:
Ɣ HDMI option can be chosen onlu in HDMI 1 and
HDMI 2 (MHL) channel.
When the external device is connected to the HDMI
terminal of the projector, and the images can not be
projected normally, please switch on the Image or
Sound setting.
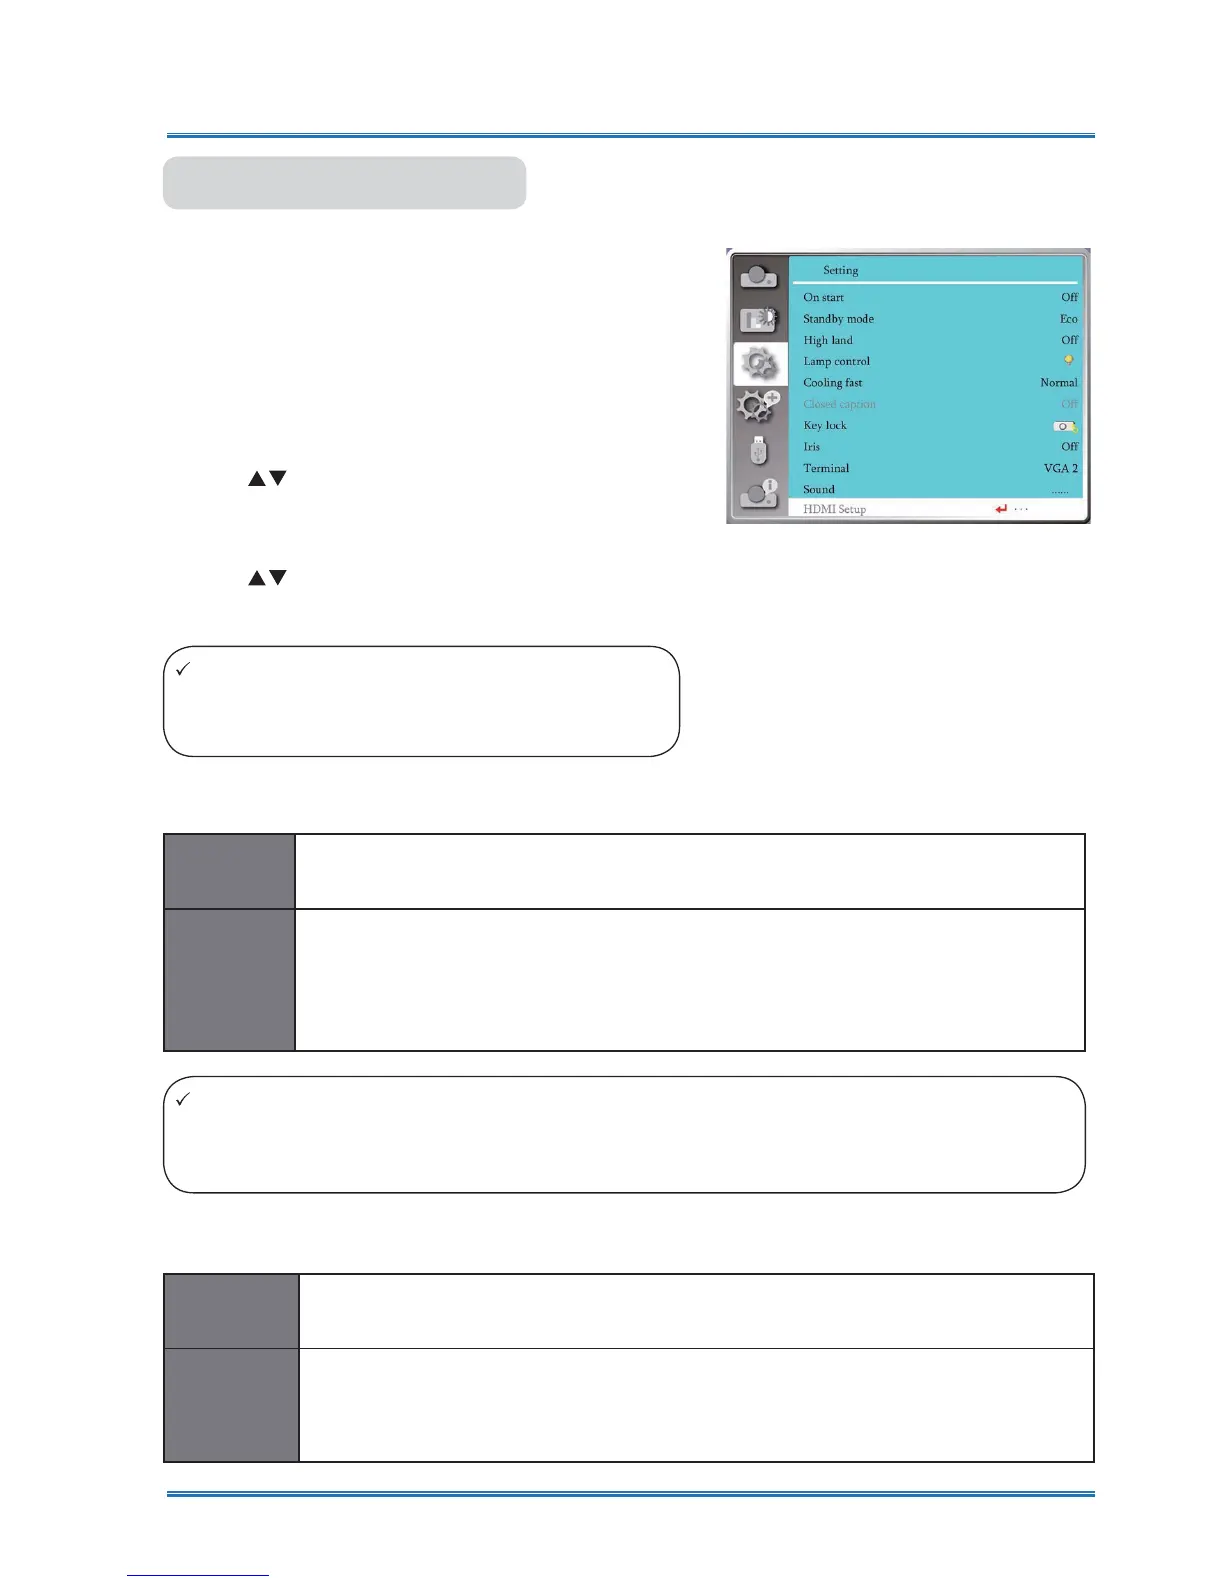
Press < MENU > button on the remote controller or on
the top control panel to display the OSD menu.Press
ST
button to select the Setting menu ,then press
<OK> or
X
button to enter the sub-menu
.
1) Press
button to select [HDMI setup] menu.
2) Press <OK> button.
ƔDisplay [HDMI Setup] instantly
.
3) Press
button to select [Image] or [Sound] .
4) Press <OK> button.
HDMI setup
Note:
Ɣ The best settings about projectors may differ slightingly from your external output device .
Ɣ For external output, please refer to the instructions for use of the external device.
[
64-940
]
When external device (such as:a blu ray disc player) is connected to the HDMI
setup terminal .
[
0-1023
]
When the output of an external device (such as a computer), via a conversion
cable or a similar cable ,
is connected to the HDMI setup terminal.
Select this option
when
the output of
the PC or any other device is connected to
the HDMI setup terminal also.
Image
[
HDMI
]
When connect to the HDMI cable to tansmite images and audio while the users
donot need connect to audio signal separatly.
[
Computer
]
When the output of an external device (such as a computer), via a conversion
cable or a similar cable ,
is connected to the HDMI terminal .
The audio signal would be output according the connection of AUDIO IN terminal.
Sound
HDMI Setup