5.
To verify that the address has been accepted, enter the static IP address into the
address field of the browser and log into the WebUI again.
6.
To continue with your configuration; see: "Configuring Network Settings" on
page62.
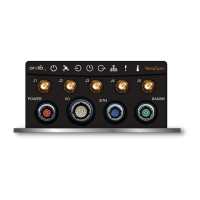
2.7 Configuring Inputs/Outputs
This Section covers the configuration of the inputs and outputs of the I/O connector.
When you configure an input our output via the I/O connector, you will need to adjust both
the pin configuration ("Assigning I/O Pins" on the facing page) and (for some types) the
settings for that input or output via the Web UI ("Configure I/O Input and Output Set-
tings" on page44).
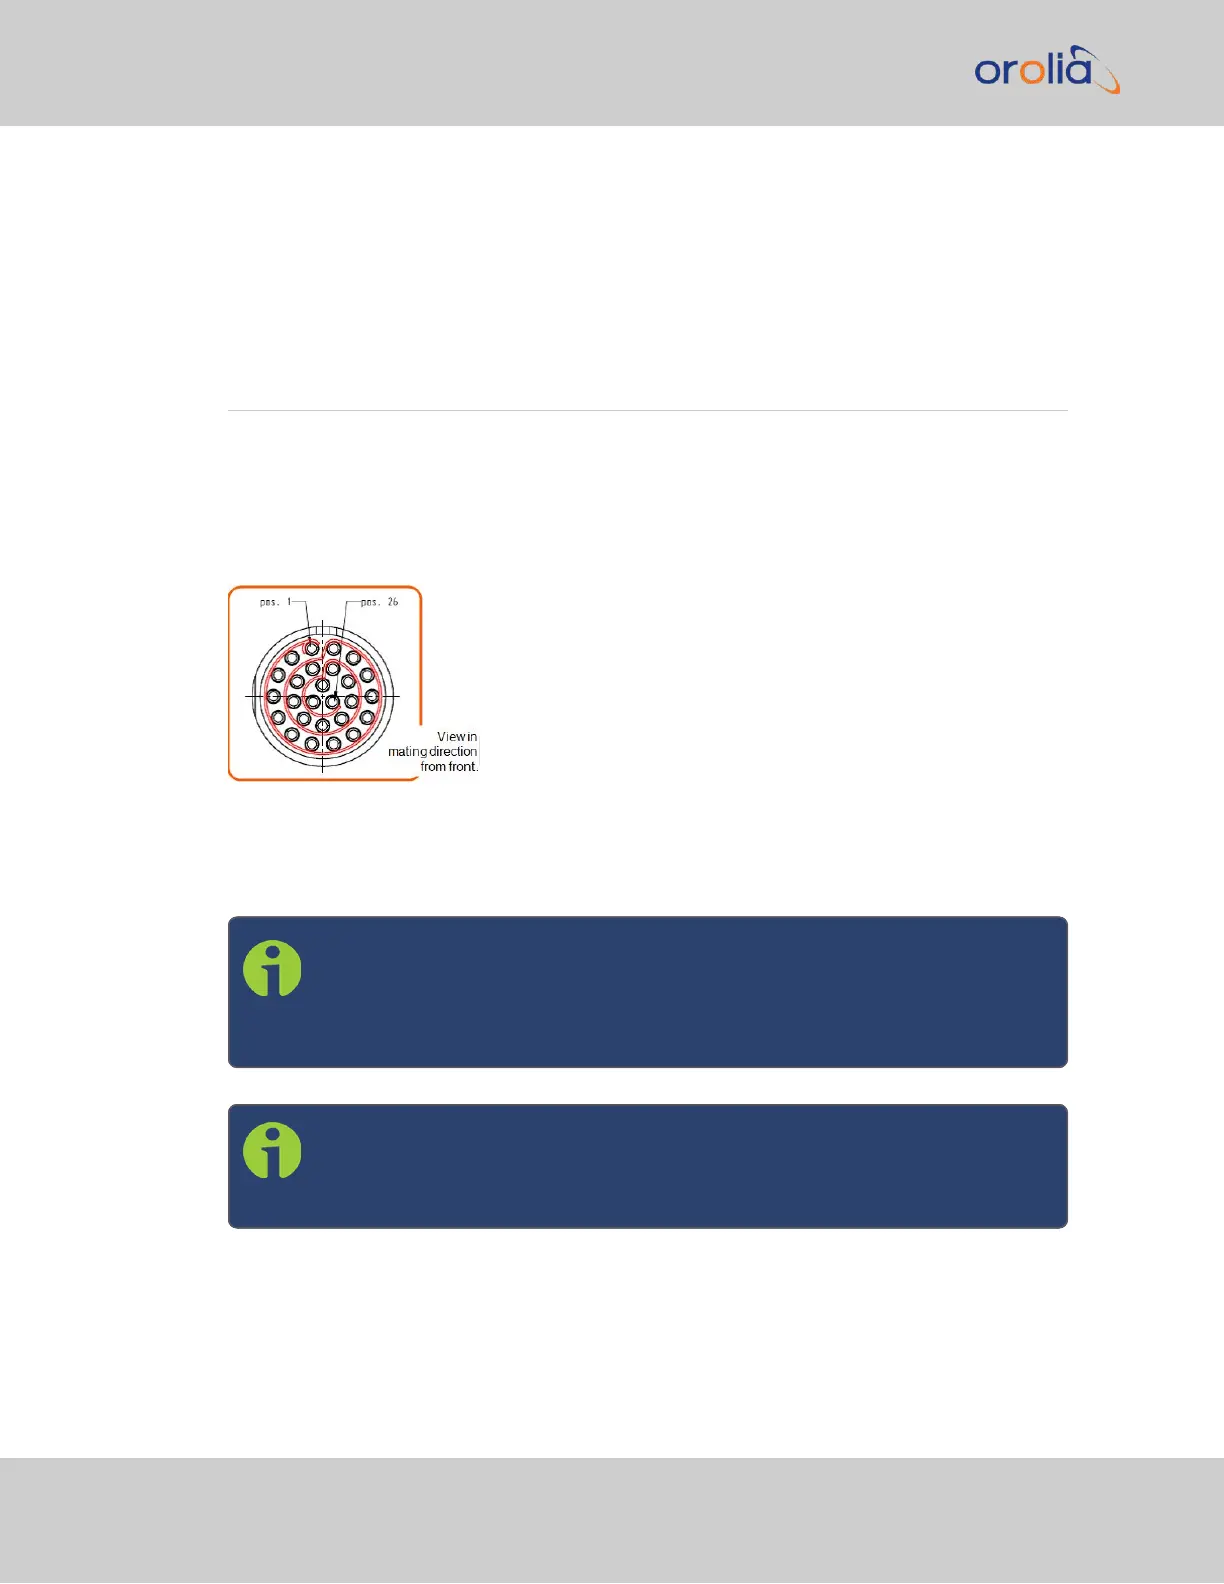
Figure 2-2: I/O connector
For more information on the I/O connector, see "Connectors and their Pinouts" on
page9.
Note: The GNSS input reference as well as the 10 MHz outputs are not fed
into the unit via the I/O connector and are therefore not explained in this
Chapter; for instructions on how to configure the GNSS reference, see
"The GNSS Reference" on page171 in the Chapter MANAGINGTIME.
Note: The Network Ports eth0 and eth1 can be configured under
MANAGEMENT > Network Setup. For more information, see "Configuring
Network Settings" on page62.
38
CHAPTER 2 • VersaSync User Manual Rev. 7.0
2.7 Configuring Inputs/Outputs