INF-50
SECTION 1 SERVICE INFORMATION
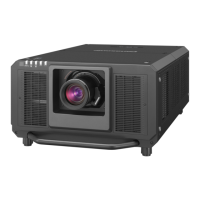
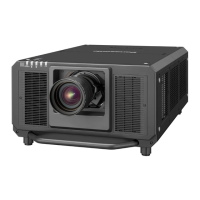
<RZ31K/RS30K>
■ Light source does not turn on. (Both of [LIGHT1,LIGHT2] LED blink 3 times)
■ Light source does not turn on. (Either of [LIGHT1,LIGHT2] LED blinks 3 times)
■ Light source does not turn on. (Either of [LIGHT1,LIGHT2] LED blinks twice)
Check the connection of each connector.
PF6/PF7/PF8/PF9~D1, G4/G5/G6/G7~D3, D2~DR2/DR5,
D5~DR7/DR8, DR1/DR3/DR4/DR6~LD
NG
Connect the cables firmly.
Check the connection of each connector.
PF6/PF7/PF8/PF9~D1, G4/G5/G6/G7~D3, D2~DR2/DR5,
D5~DR7/DR8, DR1/DR3/DR4/DR6~LD
NG
Connect the cables firmly.
Check up the failure part on the LD with the self-check or logs.
D
Check the driver input voltage.
Check the voltage [DC380V] between pin 1 and 3, and voltage
[DC16V] between pin 4 and 3 of connector [D1] at the lighting
mode.
NG
PF
PB
Replace [PF] or [PB] P.C.Board
D
Check the driver input voltage.
Check the voltage [DC380V] between pin 1 and 3, and voltage
[DC16V] between pin 4 and 3 of connector [D1] at the lighting
mode.
NG
PF
PB
Replace [PF] or [PB] P.C.Board
D
Check the connection of each connector.
D2–DR2/DR5, D5~DR7/DR8, DR1/DR3/DR4/DR6~LD
NG
Connect the cables firmly.
D
Check the driver input voltage.
Check the voltage [DC12V] at pin 13 of connector [D3] at the
lighting mode.
NG
G
Replace [G] P.C.Board
D
DR
Replace [D] or [DR] P.C.Board
D
DR
Replace [D] or [DR] P.C.Board
Replace appropriate LD unit.
OK
OK
OK
OK
OK
OK
OK
 Loading...
