No.
1
2
3
4
5
Function OFF ON
Receive terminating resistance on trans-
parent side
Not terminated Terminated
Transmit terminating resistance on trans-
parent side
Not terminated Terminated
Send/receive pin wiring cross SW on trans-
parent side
Straight Crossover
Host port changeover switch
Receive terminating resistance switch on
host side
Exclusively for
RS-232C
Changeover mode
Not terminated Terminated
6
Transmit terminating resistance switch on
host side
Not terminated Terminated
At the time of purchase, setting is
made at OFF only for No.4 SW.
No.
1
2
3
4
5
Signal name Name
CD
Receiving carrier
detection
RD Receiving data
SD Sensing data
ER
SG
Data connector ready
Signal ground
6 DR Data set ready
7 RS Request to send
8 CS Send enabled
9 N.C. Not used
Input
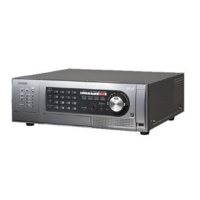
■ Host Port (RS-485/RS-232C)
Usage of the RS-485 port and the RS-232C port can differ according to the ON/OFF condition at the dip switch 4 set-
ting.
ON setting: Using port changeover takes place according to the CD signal of the RS-232C.
• Usage enabled on the RS-485 port when CD=OFF (including no connection).
• Usage enabled on the RS-232C port when CD=ON.
OFF setting: RS-232C only can be used (fixed).
Note
The data port wiring can be changed over between “straight” and
“crossover” by making ON/OFF switching at the No.3 dip switch set-
ting.
ON setting: CROSSOVER
To be set at ON when used for our matrix switcher
connection.
OFF setting: STRAIGHT
To be set at OFF when used for our SYSTEM CON-
TROLLER connection.
Note
Note: Multiple units cannot be connected in a daisy
chain mode.
 Loading...