25
2. OPERATION OF HARDNESS TESTER
Before starting work, make sure that the device has no external damage and is ready for use.
2.1 Preparation for use
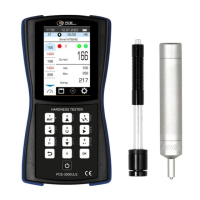
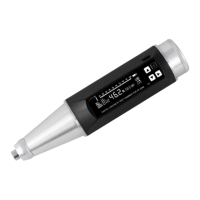
To get started - connect the probe and turn on the device.
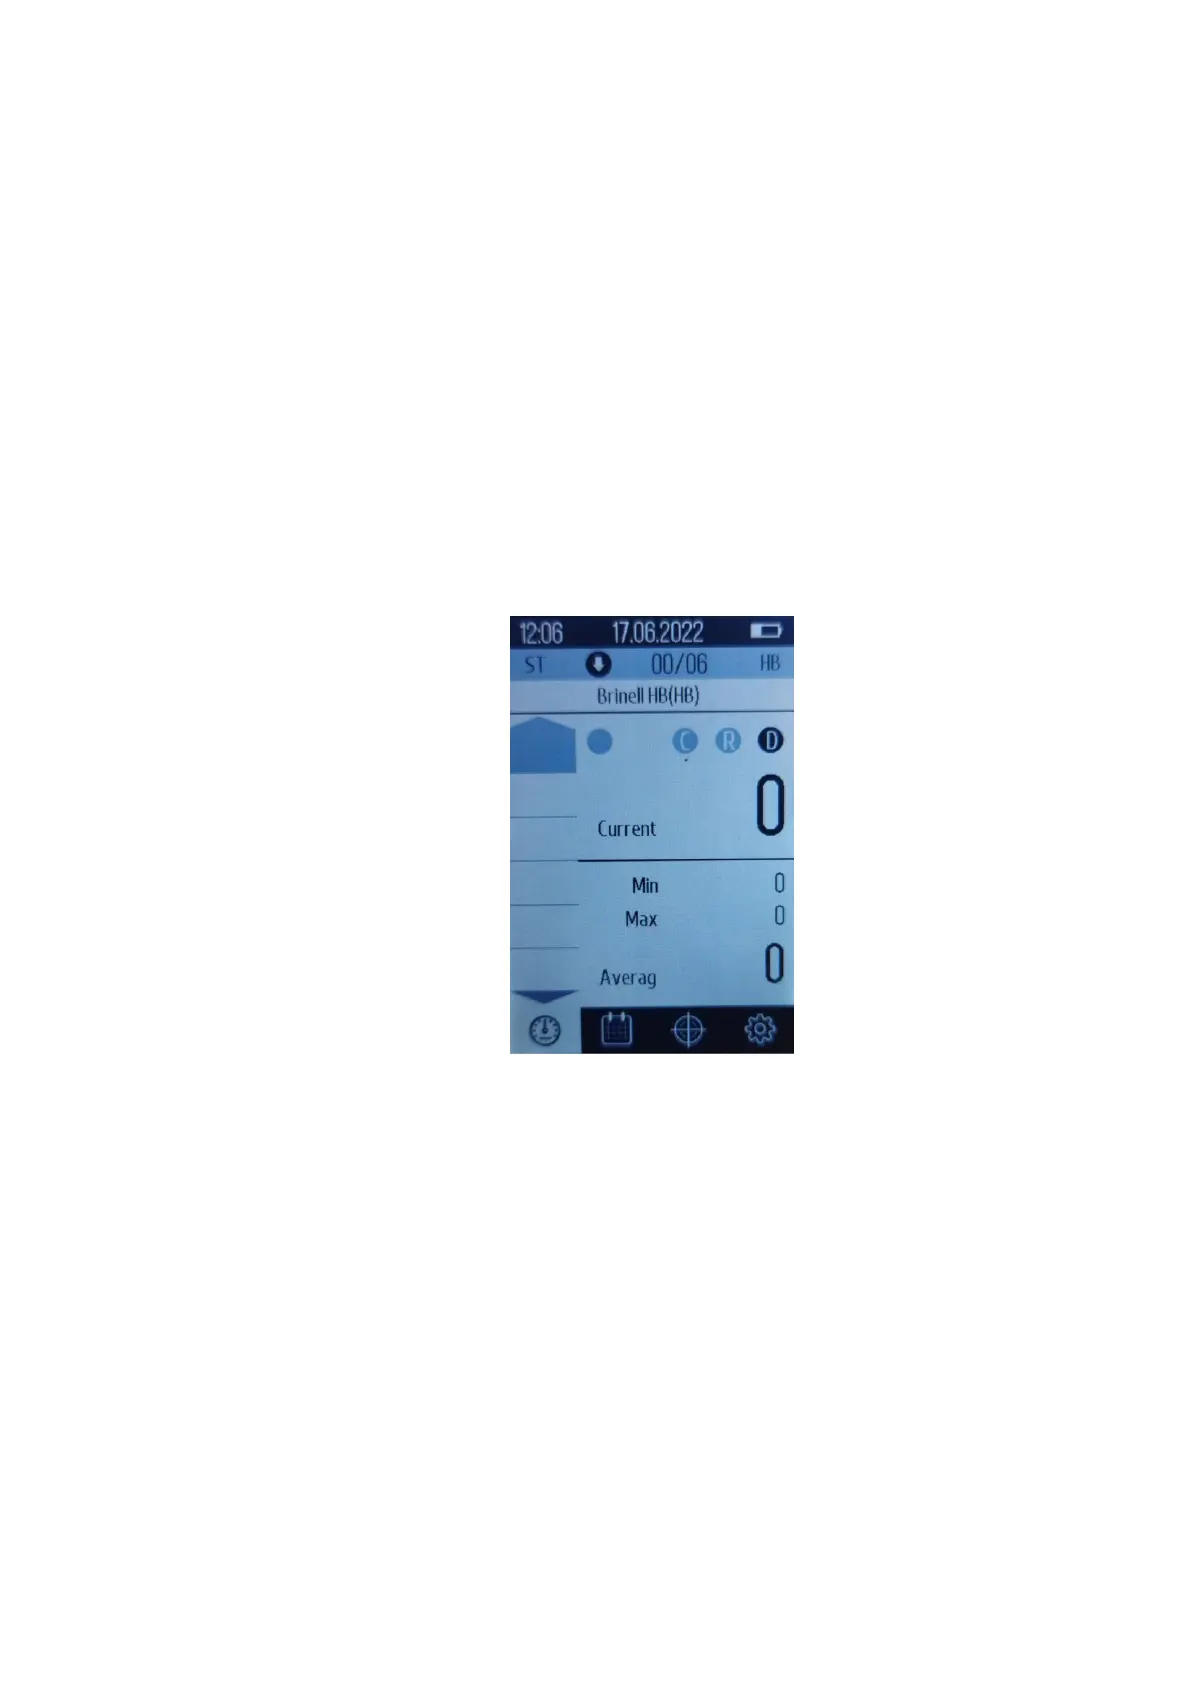
The appliance is switched on by pressing the power button at front panel of the
appliance for 1-2 seconds. After switching on the device, the following image will appear on
the display (Fig. 2.1):
Figure 2.1 - Image on the display of the hardness tester when turning on the device
If the appliance does not switch on, check the battery charge. If the battery is low,
charge the device.
To charge the battery, connect the charger cable connector to the USB type-C
connector located on the bottom end of the device, and connect the charger to the AC mains
with an operating voltage of ~ 220V and a frequency of 50 Hz.