Chapter E - DIMAX3 DIGITAL SYSTEM ADJUSTMENT
Planmeca Proline CC panoramic x-ray E-55
Technical Manual
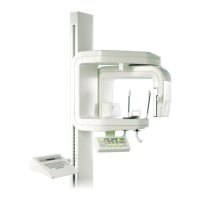
In case the triangle is not evenly shaped, it can be slightly edited. Enlarge the image if needed.
The sensor joint is marked with the red lines when the keyboard’s L-key is pressed. Move the
lower part of the triangle with the keyboard’s arrow keys as follows: the right edge of the triangle
(vertical) can be adjusted with the right/left arrow keys and the left edge with the up/down keys.
Figure 96
While editing the shape of the triangle the sensor is simultaneously recalibrated.
If the evenly shaped triangle can not be reached, the second primary slot position must be
adjusted in vertical direction. Refer to the section
“Second primary slot adjustment” on page E-64
for information on how to align it.
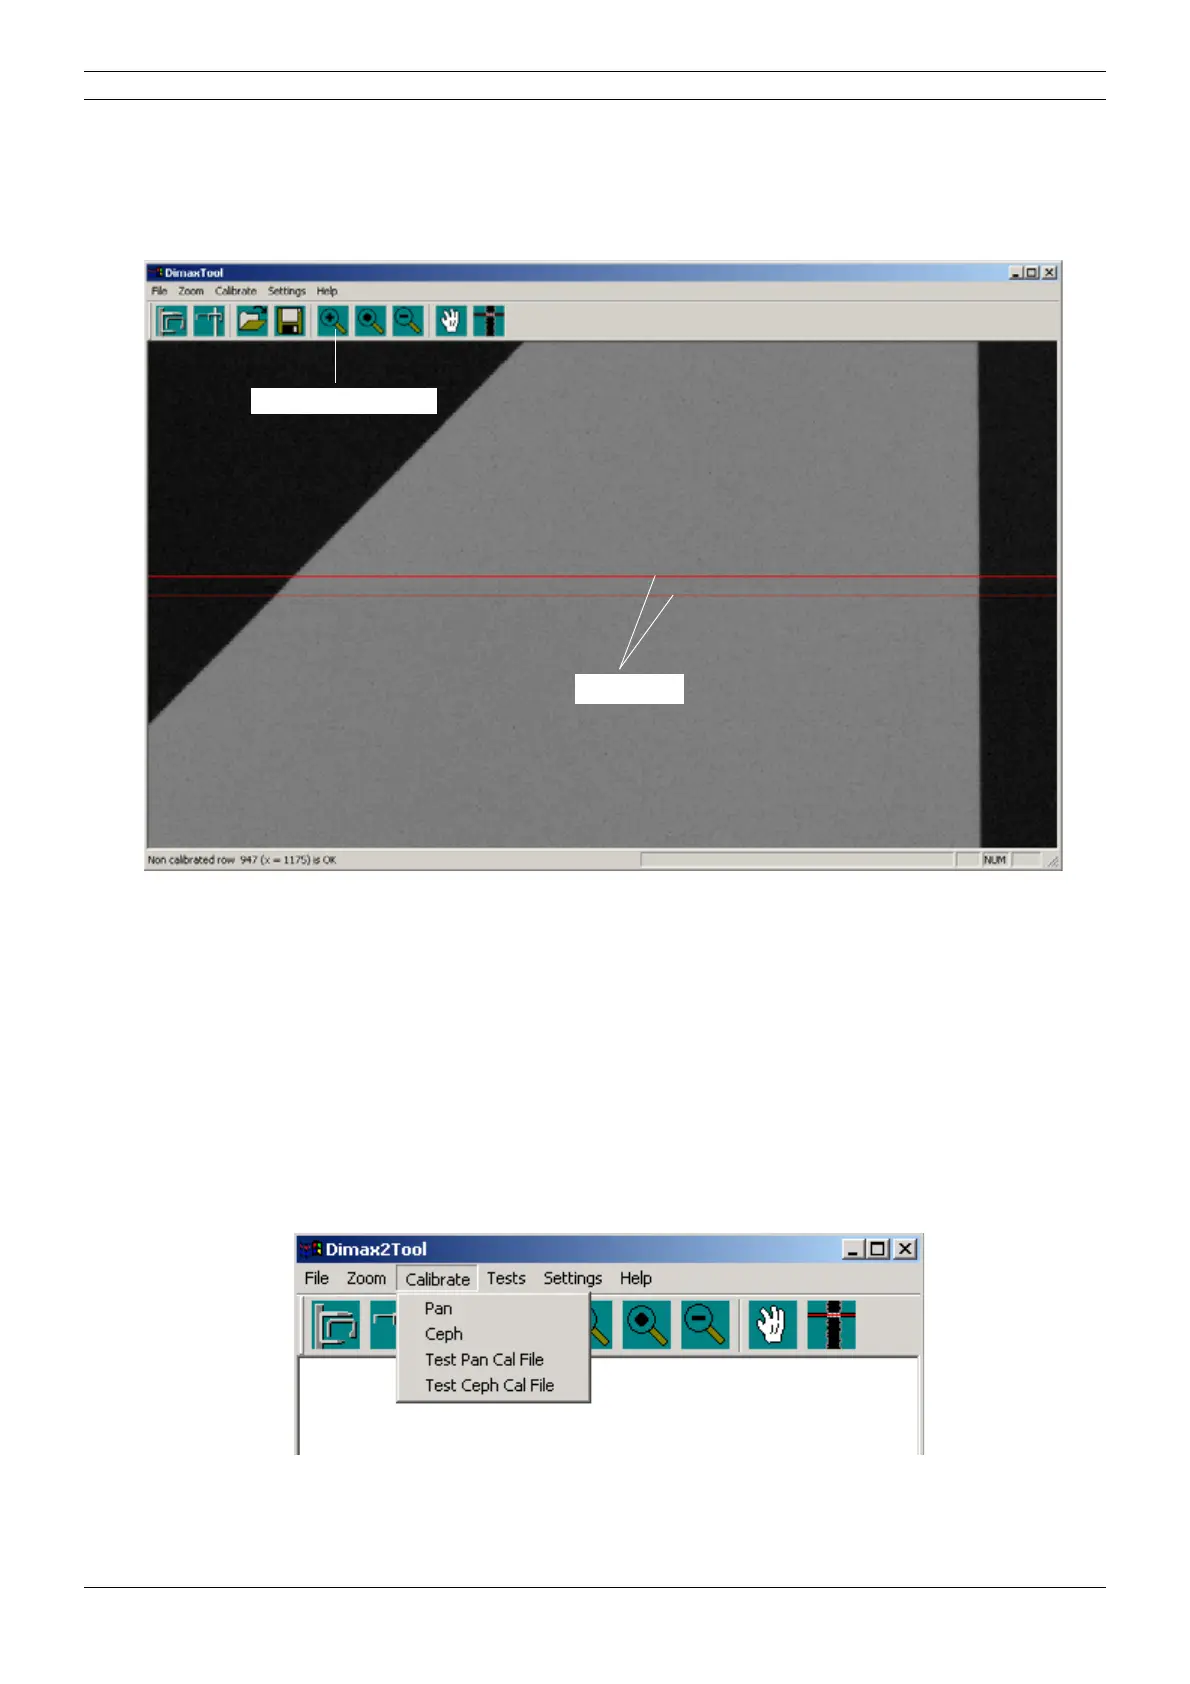
Checking the calibration
You can test whether the calibration succeeded as follows. Do not remove the calibration block
from the sensor head.
Take a test exposure by selecting Test Ceph Cal File from the Calibrate menu.
Figure 97
Enlarge the image
Red lines