40
2 Measurement Tool Calibration
C
lick the measurement toolbar at the top. (Figure 64)
Figure 64
Click on the first icon, CAL, and calibrate the Center Ball from top to bottom.
(Figure 65)
Figure 65
Enter the number 7 when asked to input a distance. (Figure 66)
Figure 66
3 Measuring the Image
C
lick the second icon now and measure the Center Ball top to bottom and left to
right. (Figure 67)
Figure 67
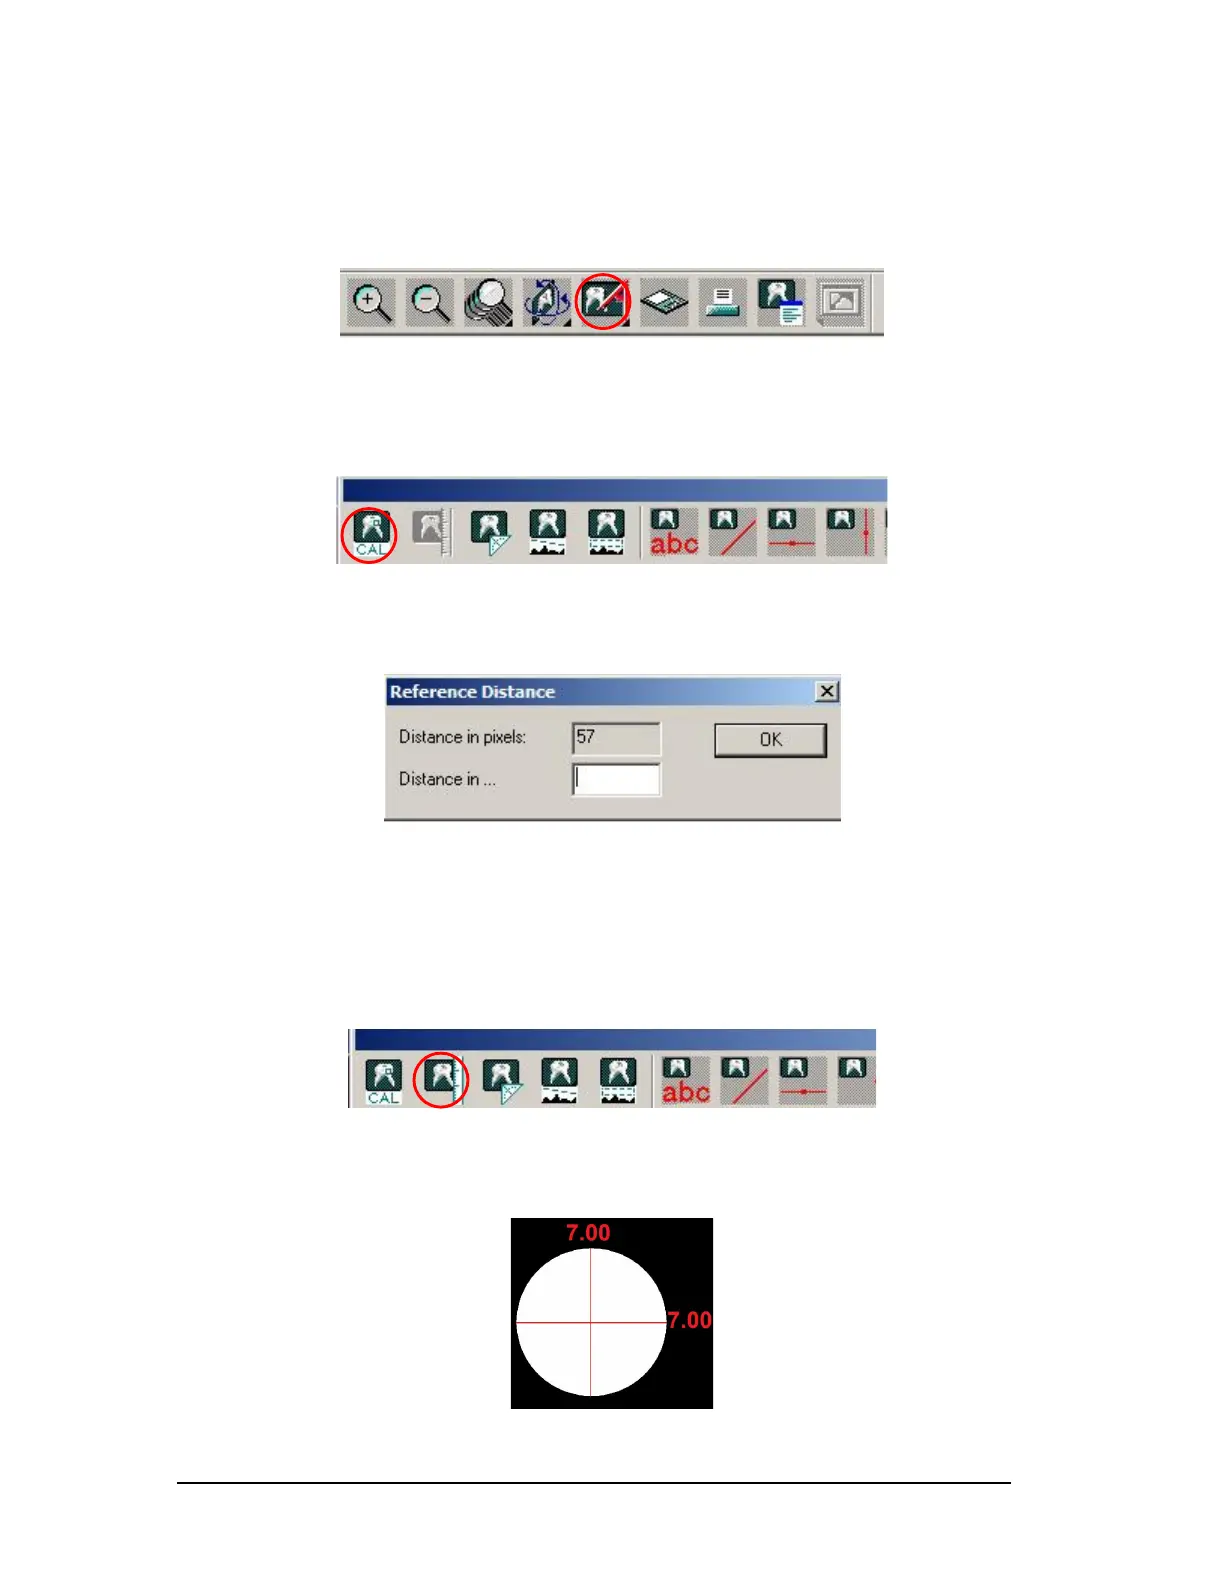
The ball should be 7mm top to bottom and left to right. (Figure 68)
Figure 68
Printed copies of this document are considered uncontrolled.
7535.11.Rev001 08.07.2018