34 Printing from a PC
You may have to make several adjustments to one
or more of these values. After each adjustment
you can click the Test button to print a small test
pattern on the label. This will help you find the
proper alignment value.
F. CREATING A FULL BLEED PRINT
1. If you are having trouble making the image cover the entire
label, first make sure the image is printing at least as big as the
label size you have selected. To accomplish this using
BarTender, make the image a few millimeters larger than the
label by dragging the image over the edge of the label on all
sides. The bounding box around the image will turn red when it
is over the edge of the label. Try printing again to see if it covers
the entire label. If not, move on to step two.
2. Adjust these settings in the printer driver preferences to create a
1.2mm (.05") over bleed.
Page Size. Increase the page size width in the driver
preferences by 2.54mm (.1 inches). Increase the height by
2.54mm (.1 inches).
If you are using BarTender, simply change the size under the
File Menu - Label Setup. Increase the size of the image to fit the
new larger page size. If you are using other
graphics programs you will need to change the page size
in the application and in the printer driver preferences.
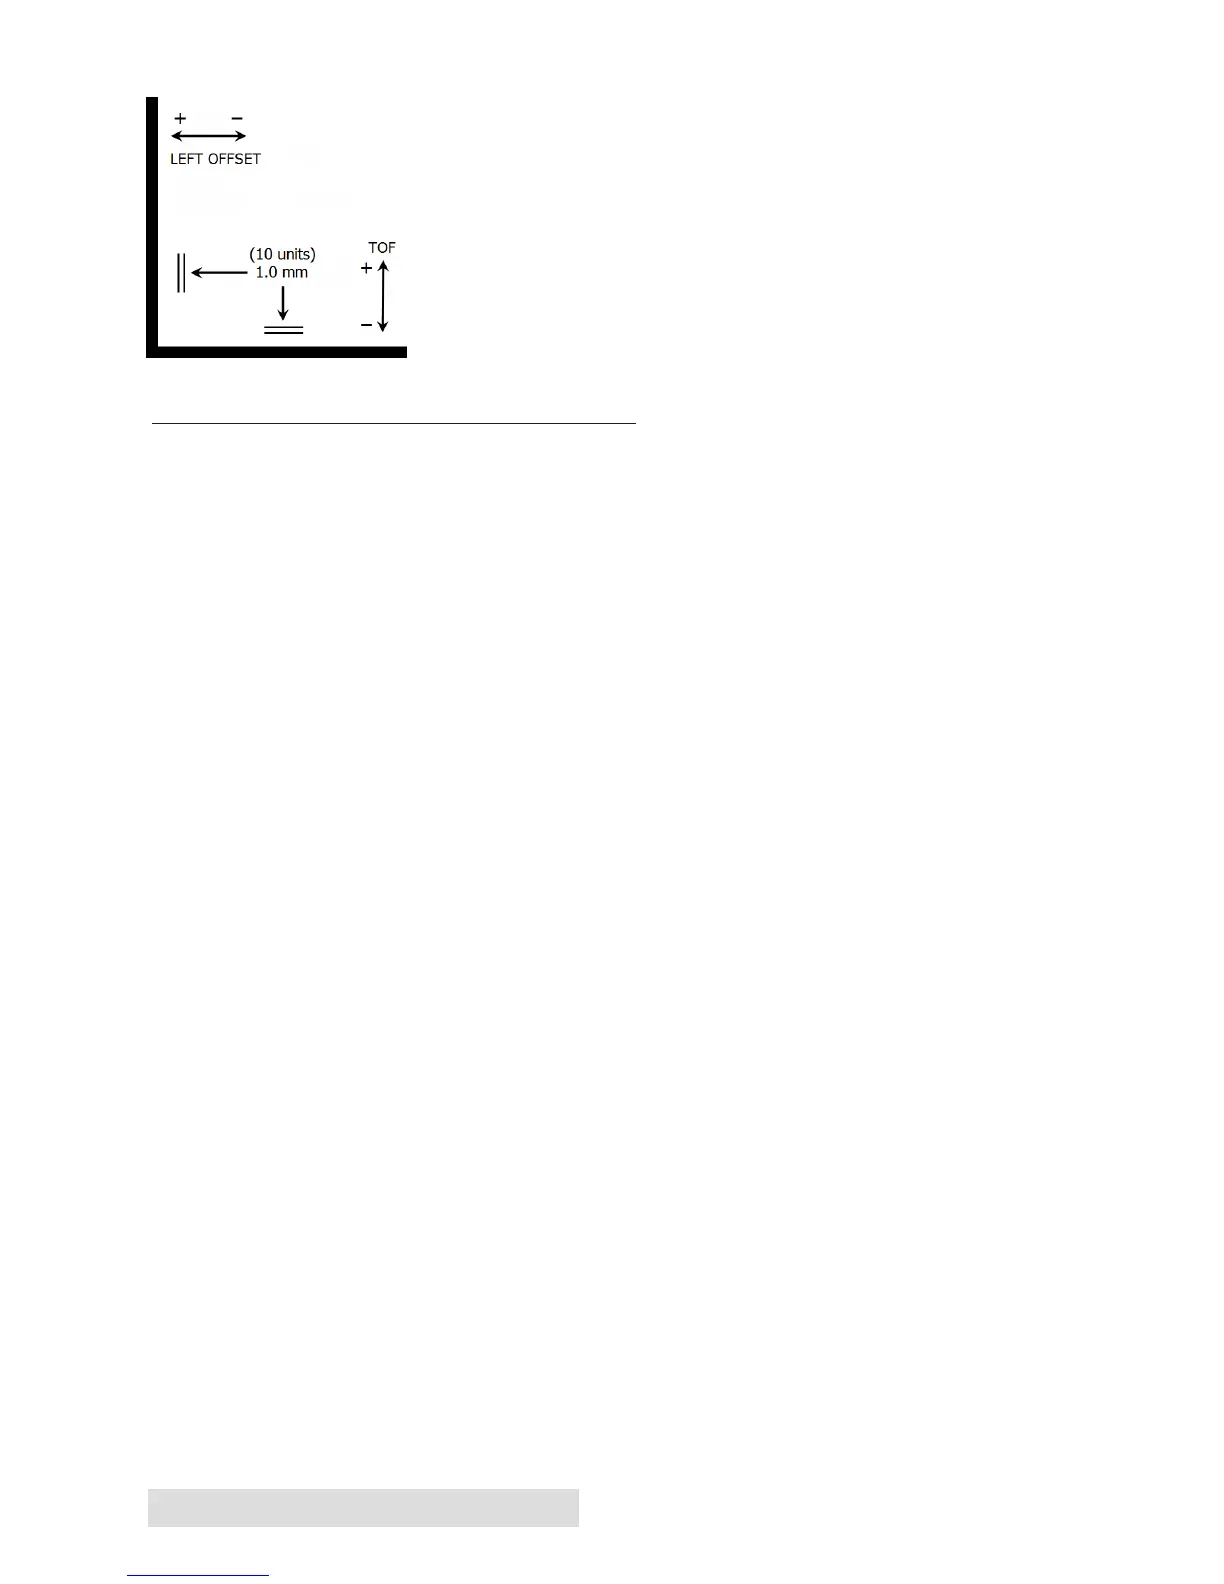
Left Margin Offset. You must decrease the left margin offset to
center the over bleed on the label. If you over bleed by 1.2mm
(.05") you will need to decrease the Left Margin Offset by 12.
This will center the page size increase so there is a .05 inch over
bleed on both left and right sides.
 Loading...