28
Be sure to calibrate in Auto Mode:
• Every 100 welds
• Every arm exchange
• Every time Auto Mode is entered
• You can NEVER calibrate too often!
Auto Mode Calibration zeroes out the measurement system to prepare it for an Auto Weld. Start the Calibra-
tion process by pressing the Calibrate button on the screen.
5.3 Auto Mode Calibration
CAUTION: During the calibration test cycle, the electrodes will close, creating a pinch point that will
cause injury.
Do not calibrate with metal between the electrodes!
CAUTION: Only “OEM” and “Radius Nose”
weld caps should be used in Auto Mode.
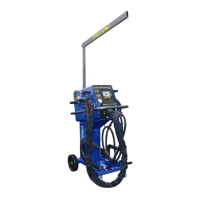
After each weld, the measured thickness feedback will be dis-
played on the screen (Figure 5.3).
Settings:
The Settings button can be used to modify weld settings. Only users at the advanced and expert levels are
permitted to access Weld Mode settings.
Measurement Only Mode:
The Caliper icon sets the i4s to Measurement Only Mode. While in Measurement Only Mode, the Caliper icon
will be highlighted in green.
Measurement Only Mode allows you to measure the thickness and resistance of steel without
welding it.
After a weld has been completed, the Weld Feedback screen will appear.
• If the weld was performed correctly, you will automatically return to the Auto Weld screen.
• If there was a was a problem with the weld, the screen will display what went wrong.
• Follow I-Car Uniform Procedures For Collision Repair WE51S Squeeze-Type Resistance Spot Weld and al-
ways perform routine test welds followed by destructive testing.
5.3 Auto Mode Calibration
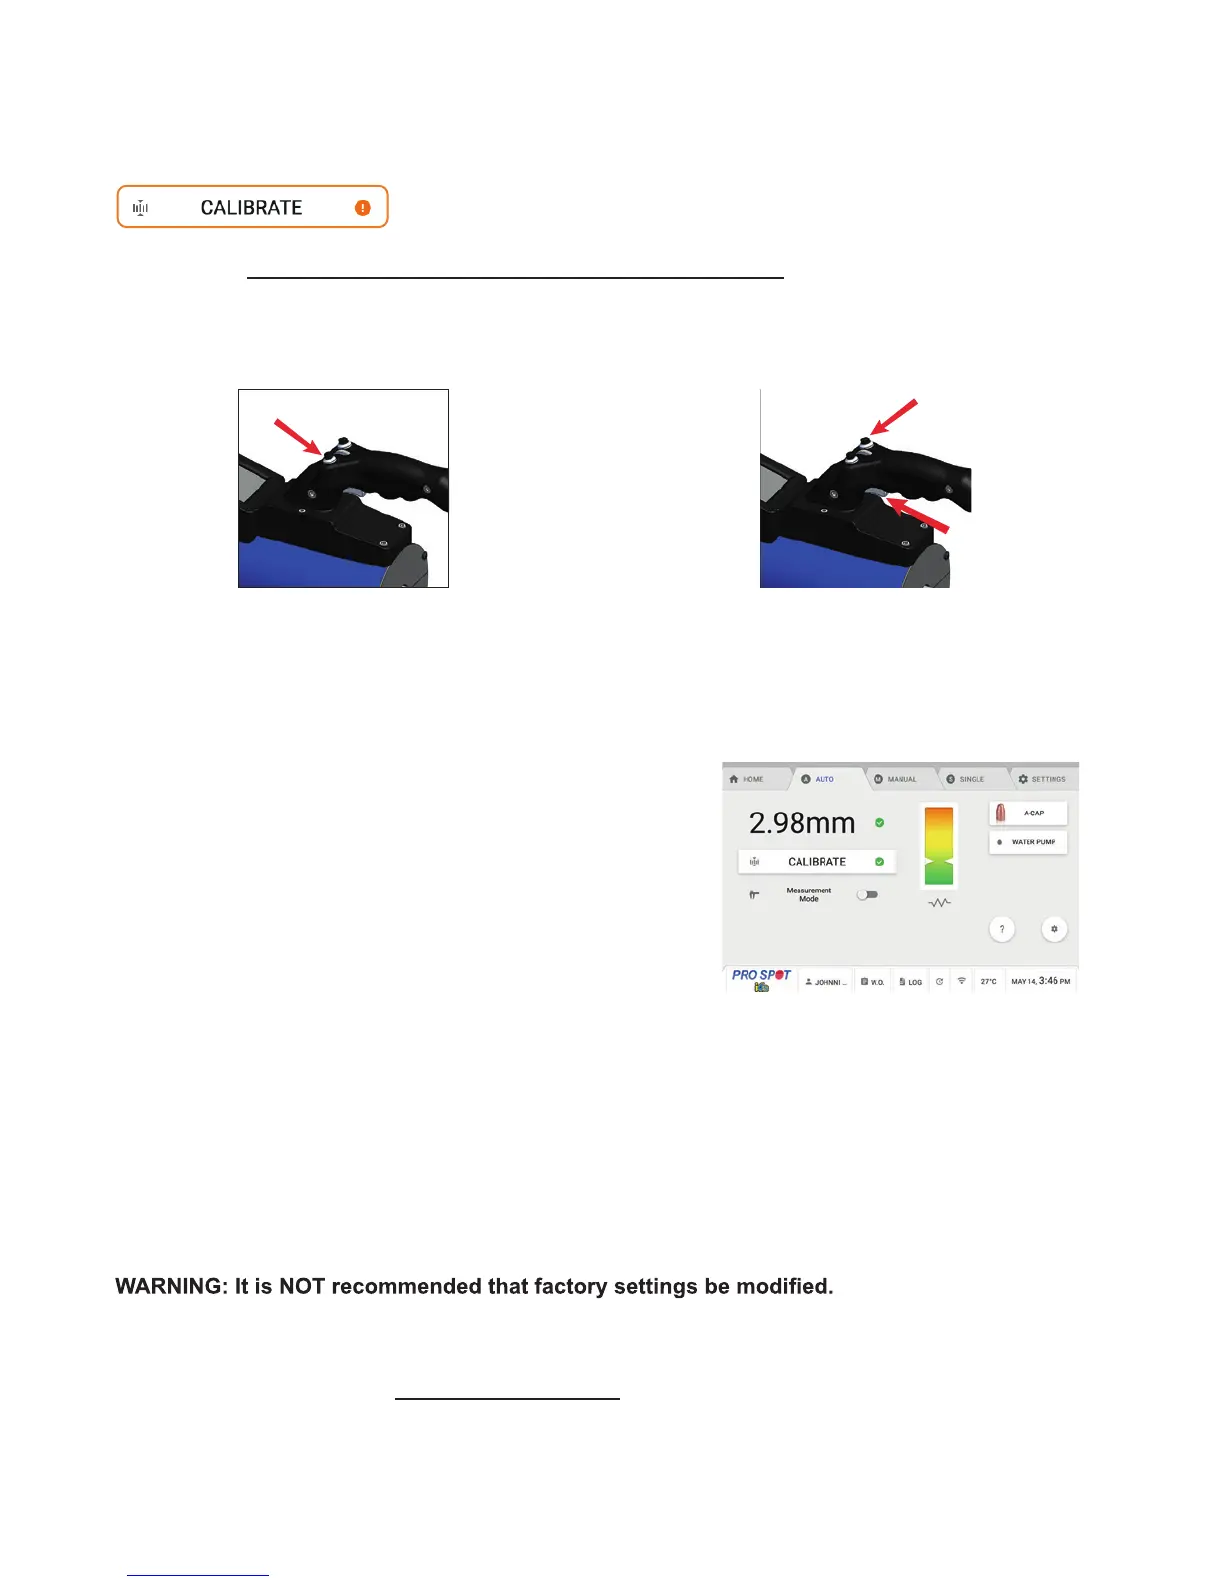
1. Press and hold the Release Trigger Button to
open electrodes wide.
2. Press and hold both, the Weld Trigger and
top right button on the gun to close electrodes.
Figure 5.3