ProtaSteel 2021 - Quick Start Guide 9
9. Macros
Most of the icons in ProtaSteel such as purlins, sag rods, girts & connections are called “macros”. A
macro is generally defined as a shortcut tool that specifies how a certain input sequence will result in a
desired output according to a defined procedure. The instruction on how to use each macro is shown in
the tooltip if you hover the mouse cursor over the icon.
• Before creating the element using the macro, you can set the macro settings, e.g. member profile,
plate offsets, bolts, etc. by right-clicking on the macro icon which will bring up the Macro dialog.
• Once a macro is clicked, the mouse cursor will change to the hand icon meaning that it is waiting
for object(s) selection or crosshair + meaning it is waiting for point selection. Perform the required
action(s) to get the desired result, as stated in the tooltip.
• The macro will remain activated; you can continue use the macro without having to click on the
macro icon again.
• Once you have finished, you must press ESC to cancel & stop the macro. The mouse cursor will
change back to default arrow (selection mode).
• After creating the elements in a group such as the purlins, each element will have its individual
properties; which can be changed by double-clicking on it → this will bring up the Element dialog.
• However, all the elements are still associated with the macro & can be changed in a group.
This can be done by selecting the macro sign & then press ENTER will bring up the macro dialog.
After making the changes, clicking Apply will apply to all the elements associated with the macro.
Clicking Get will set it default for this macro for this and future projects.
• If you have problems selecting the macro sign, you can select any element or component of the
macro (e.g. a plate of a connection) then press “M” → this will select the macro → followed by
ENTER which will expose the Macro dialog.
• You can select all the elements associated with the macro by selecting the macro sign or an element
of the macro → press “CTRL + M”.
• You can also delete all the elements & components of a macro by selecting the macro sign & then
press DELETE.
• It is highly recommended you review settings of the macro before executing it.
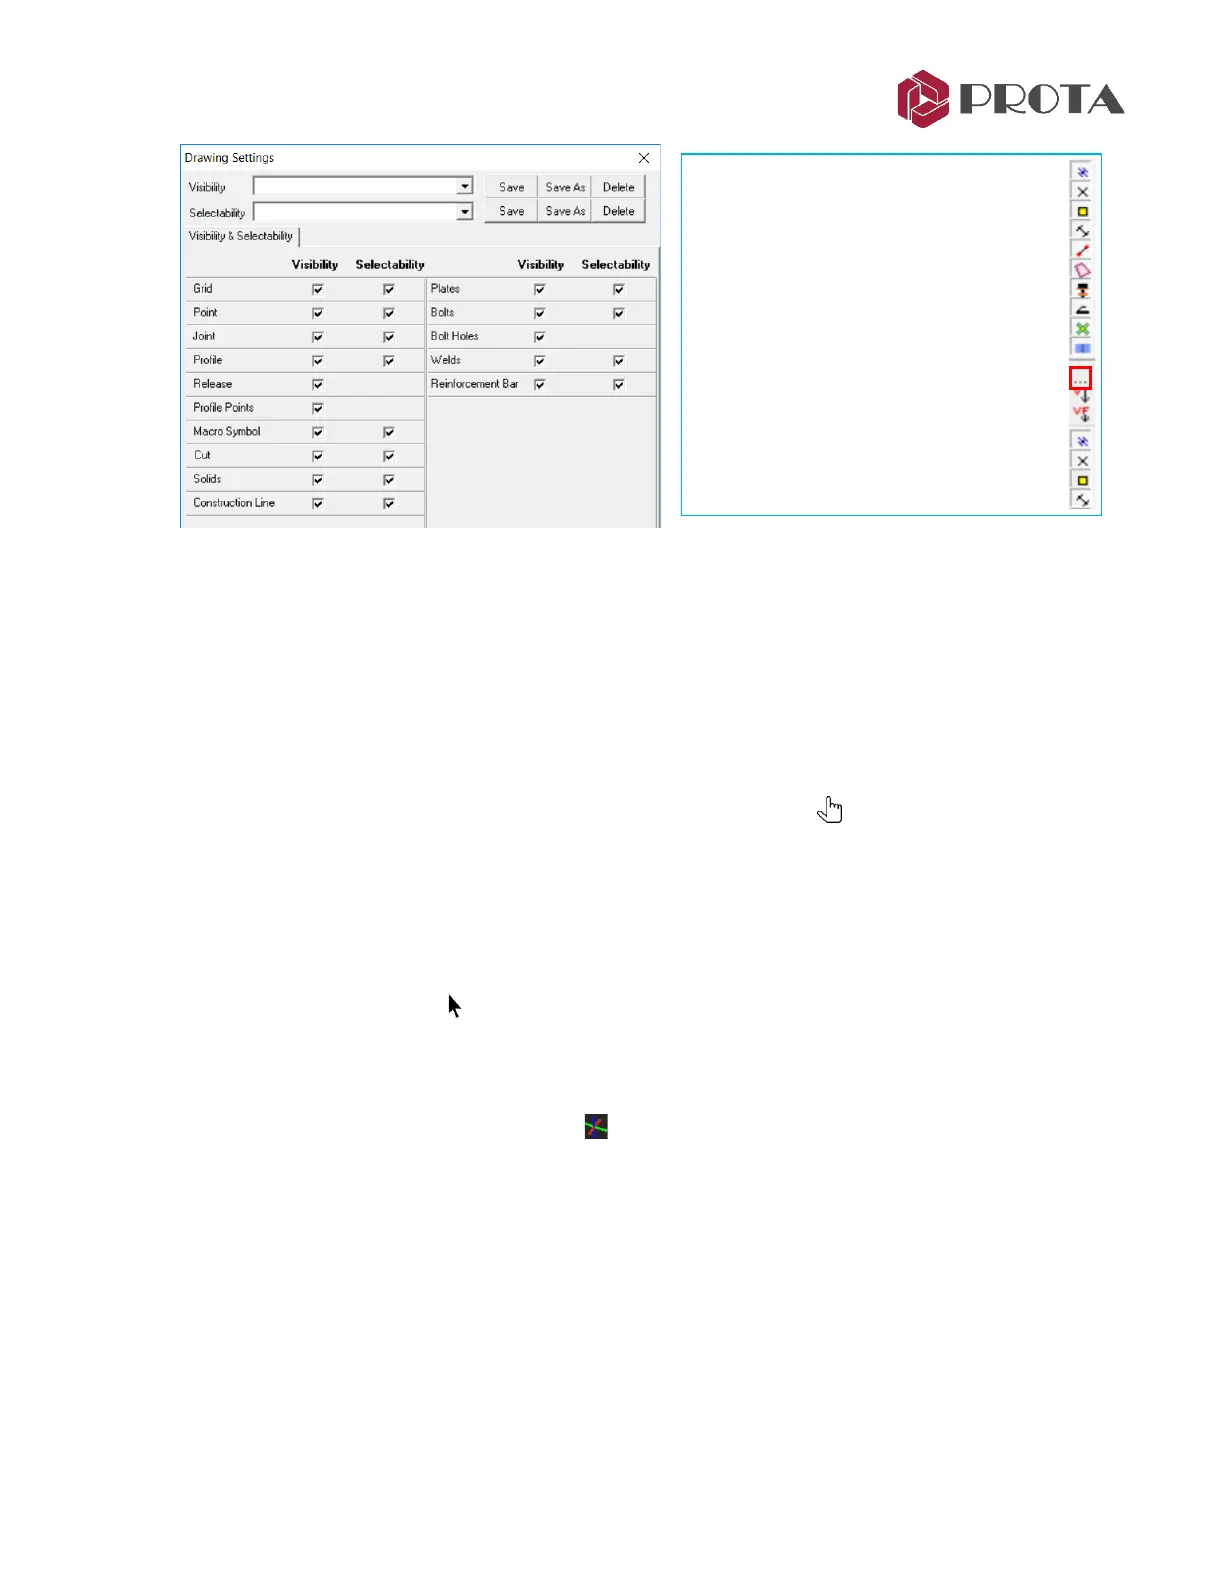
➢ Alternatively, click on the
Visibility/Selectability icon “…”
in the middle toolbar
➢ Turn off the Grids & Points
➢ Apply & see effect
➢ Go back & turn them back on
You can Save these different settings as
different name to quickly re-use them.
The shortcuts to visibility / selectability
objects are in the middle toolbar.