68
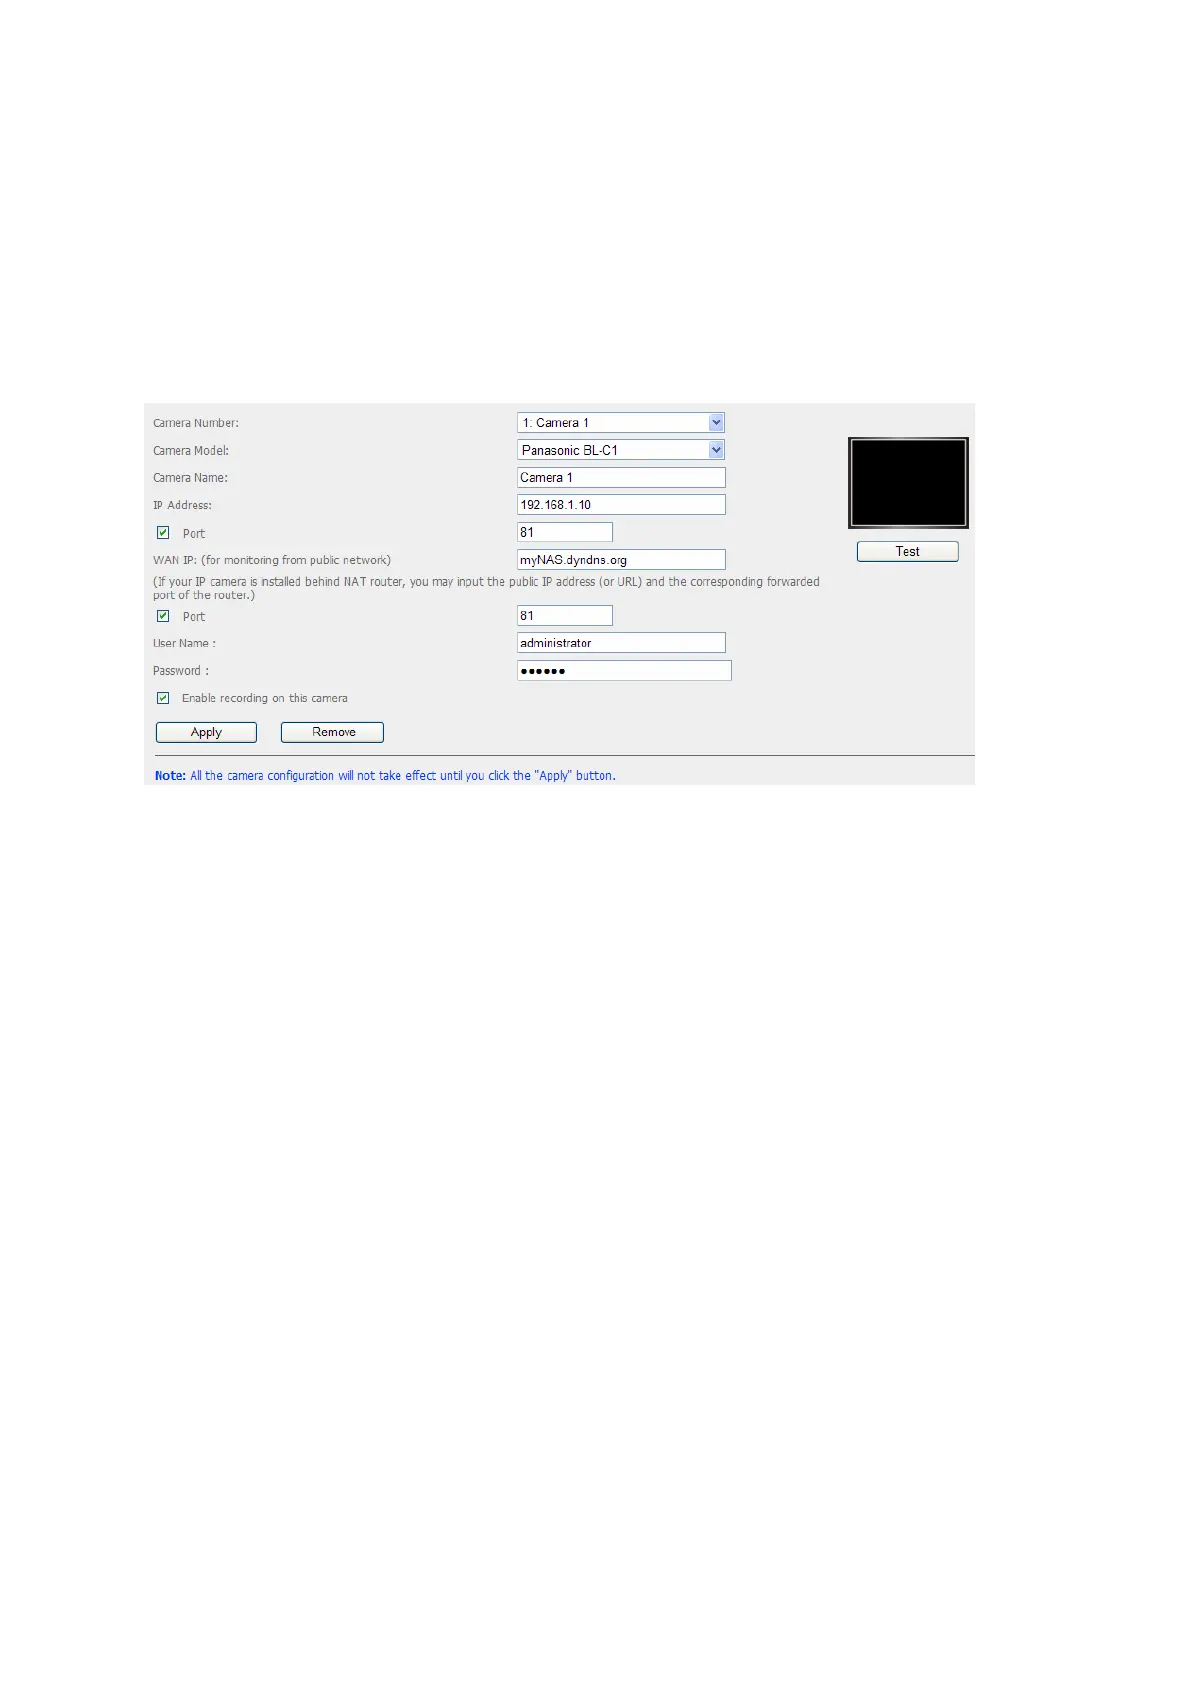
Next, login Surveillance Station. Go to “Settings>Camera Settings”. Enter the port
numbers of Camera 1 and Camera 2 as 192.168.1.10 port 81 and 192.168.1.20 port
82 respectively. Enter the login name and password for both cameras.
Besides, enter the WAN IP address (or your domain address in public network, e.g.
MyNAS.dyndns.org) and the port on the WAN side for the connection from Internet.
After finishing the settings, click "Test" to ensure successful connection to the cameras.
Go to the configuration page of your router and configure the port forwarding as below:
y Forward Port 8000 to NAS LAN IP: 192.168.1.60
y Forward Port 81 to Camera 1's LAN IP: 192.168.1.10
y Forward Port 82 to Camera 2's LAN IP: 192.168.1.20
Note: When you change the port settings, make sure remote access is allowed. For
example, if you office network blocks port 8000, you will not be able to access your NAS
from the office.
After you have configured the port forwarding and router settings, you can start to use
the Surveillance Station for remote monitoring over the Internet.