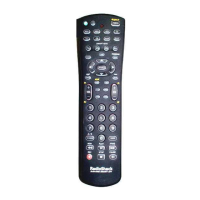
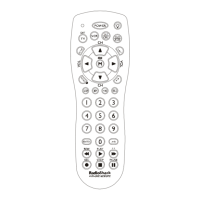
INSTALLING BATTERIES
INSTALLING BATTERIES IN THE REMOTE (CONT’D)
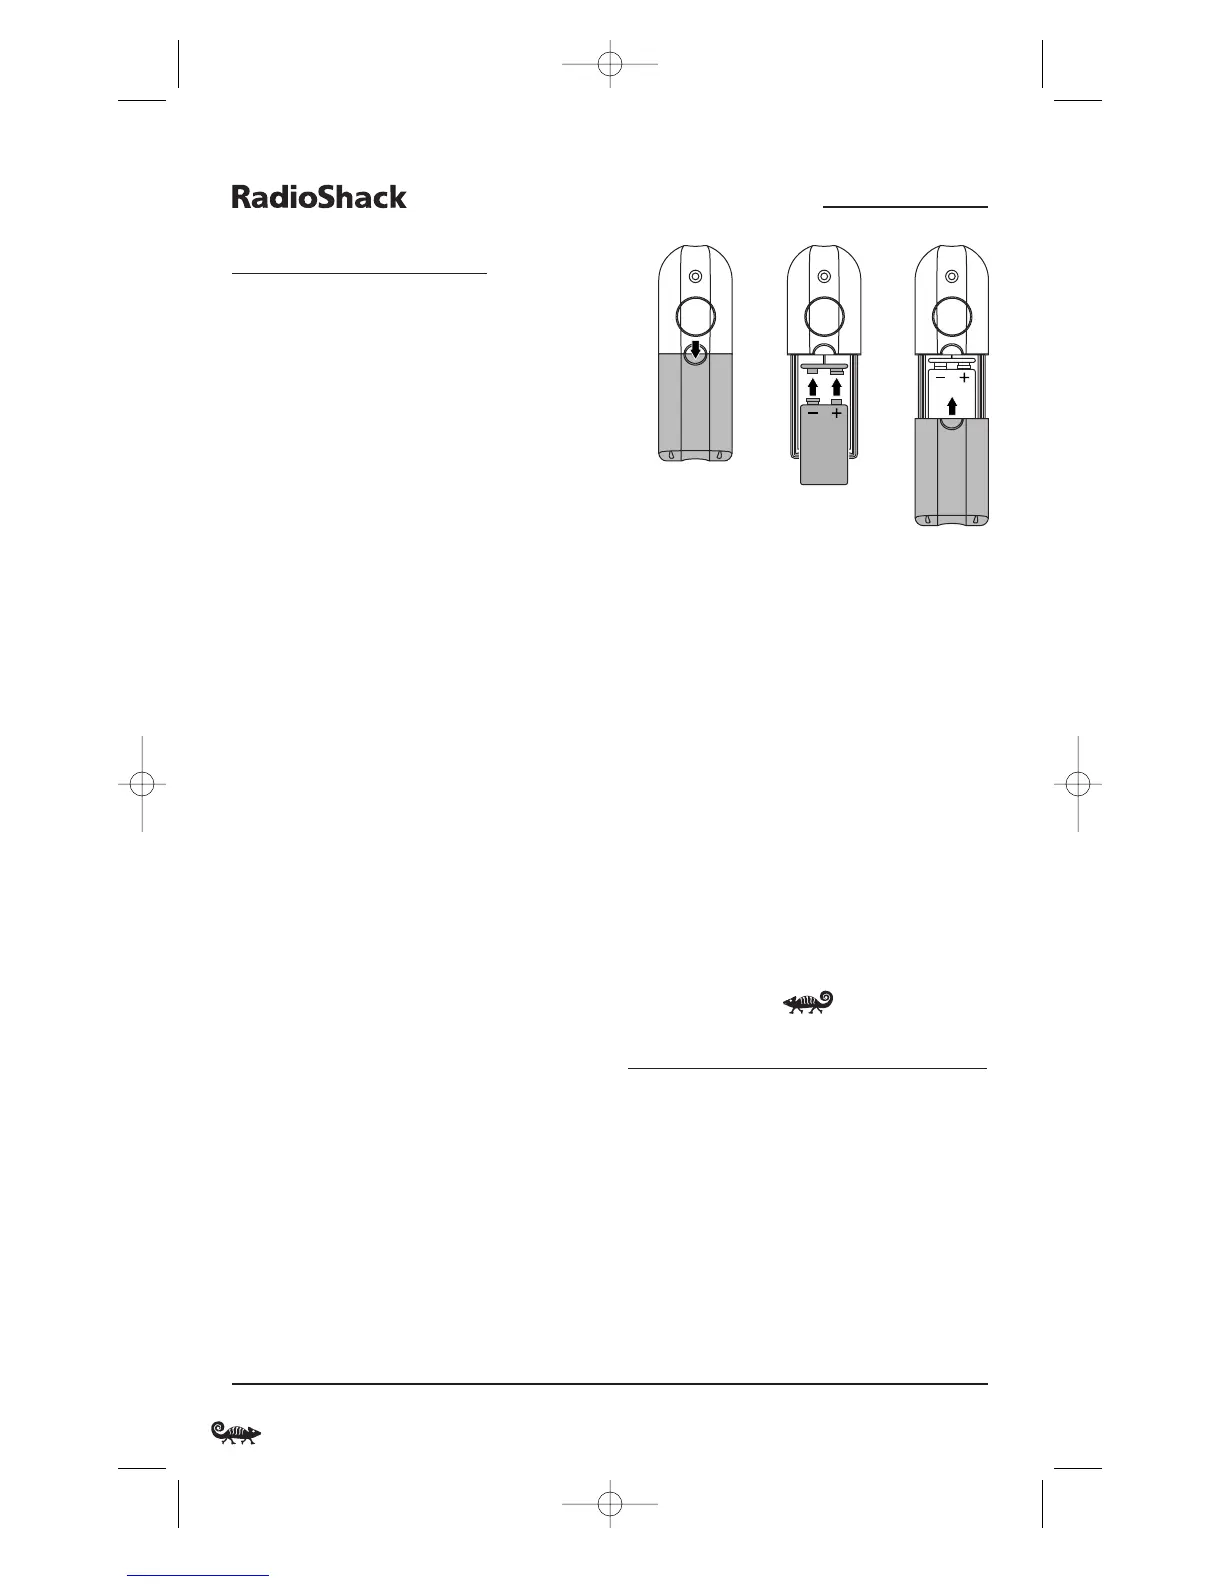
1. Press down on the battery compartment
cover (on the back of the remote) and lift
it off.
2. Slide the AAA batteries into the compartment
as indicated by the polarity symbols (+ and –)
shown above.
3. Align the cover with the compartment
opening and slide it back into place.
4. If batteries are inserted correctly, the display
will turn on and show all keys. If a key is
not pressed after 7 seconds, the display will
turn off.
NOTE: The batteries will need replacement if one of
the following conditions occurs:
1. The top IR segment flashes five times after pressing
a key.
2. The Tilt Switch (if enabled, see page 26) no longer
activates the remote and only pressing a key turns
on the display.
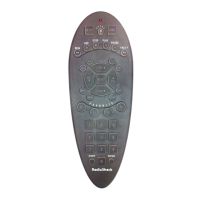
ABOUT THE FINDER TRANSMITTER
NOTE: If you do not plan to use the Finder Transmitter,
store it away for future use and skip this section.
Included in the package is a Finder Transmitter
that you can use to audibly locate a lost or mis-
placed RadioShack 8-in-One Remote.The unit
also comes with double-sided “hook and loop”
tape for use in mounting it on a TV cabinet side or
other surface.
The Finder Transmitter requires a 9-volt battery
(not supplied) for power. For best performance
and longest life, we recommend using a
RadioShack alkaline battery.
INSTALLING A BATTERY IN THE FINDER TRANSMITTER
1. Press down on the battery compartment
cover (on the front of the Finder Transmitter)
and slide it off.
2. Locate the snap harness and connect the 9-volt
battery to mating terminals.Then insert the
battery and harness into the compartment.
3. Align the cover with the compartment
opening and slide it back into place.
OPERATING THE FINDER TRANSMITTER
1. Point the Finder Transmitter in the general
direction of the lost RadioShack 8-in-One
Remote. Press and hold its button.
2. The lost RadioShack 8-in-One Remote will
emit an chirping sound to help you find it.
NOTE: If the RadioShack 8-in-One Remote does not
emit a chirping sound, verify the Finder Receiver is
enabled (see page 28) and the battery is fresh.
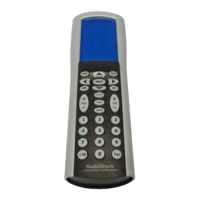
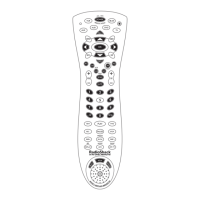
A QUICK LOOK AT THE CONTROLS
Use the illustration on the next page to locate
controls and then study the Key Functions to
learn how they function.
NOTE: The illustration shows all remote control keys.
In actual operation, only active keys used by the selected
device are displayed and non-active keys are hidden.
These controls work like the ones found on your original
remote controls.
To find out what type of devices can be controlled
by each device key after programming, see the
Device Table on page 9.
4 Installing Batteries/A Quick Look At The Controls
8-IN-ONE REMOTE POWERED BY KAMELEON
 Loading...