Radiolink Electronic Ltd
www.radiolink.com
Turn on the TAINER system
and set up so student has :fully
functional control of aileron
and elevator to support
FLAPERON &AILERON;
normally control of rudder to
allow lowered travel; and no
throttle channel control(with
the instructor for safety)
Open BASIC menu, then Open
TRAINER
for 1s .(If ADVANCE again) .
to TRAINER ,PUSH
Choose desired channels and
proper training types
past AILE and ELE(default FUN)
to THRO,PUSH, to OFF, PUSH
to RUDD, PUSH, to
NORM,PUSH
Test student radio function prior to attempting to fly!
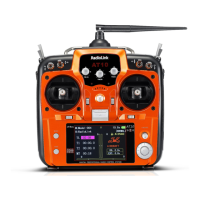
2.3.14 Logic Switch Selection (LOGIC SW):
The various functions in the AT10II can be selected by switch..
The Logic switch can be assigned to the functions as following: THR-CUT, IDLE DOWN, AUX-CH,
TIMER, PROG. MIX, AIRBRAKE, ELEV-FLAP, and AILE-FLAP. The logic switch can activate
functions by two switches combination. The 2 types of logic, either AND or OR, can be selected.
Adjustability:
• Three logic switches can be used. (LSW1, LSW2, and LSW3 )
• SW (1): Any SWICH A-H or THRSTKS, SW (2): Any SWICH A-H
• Switch position (POSI)
• Logic mode: AND or OR (MODE)
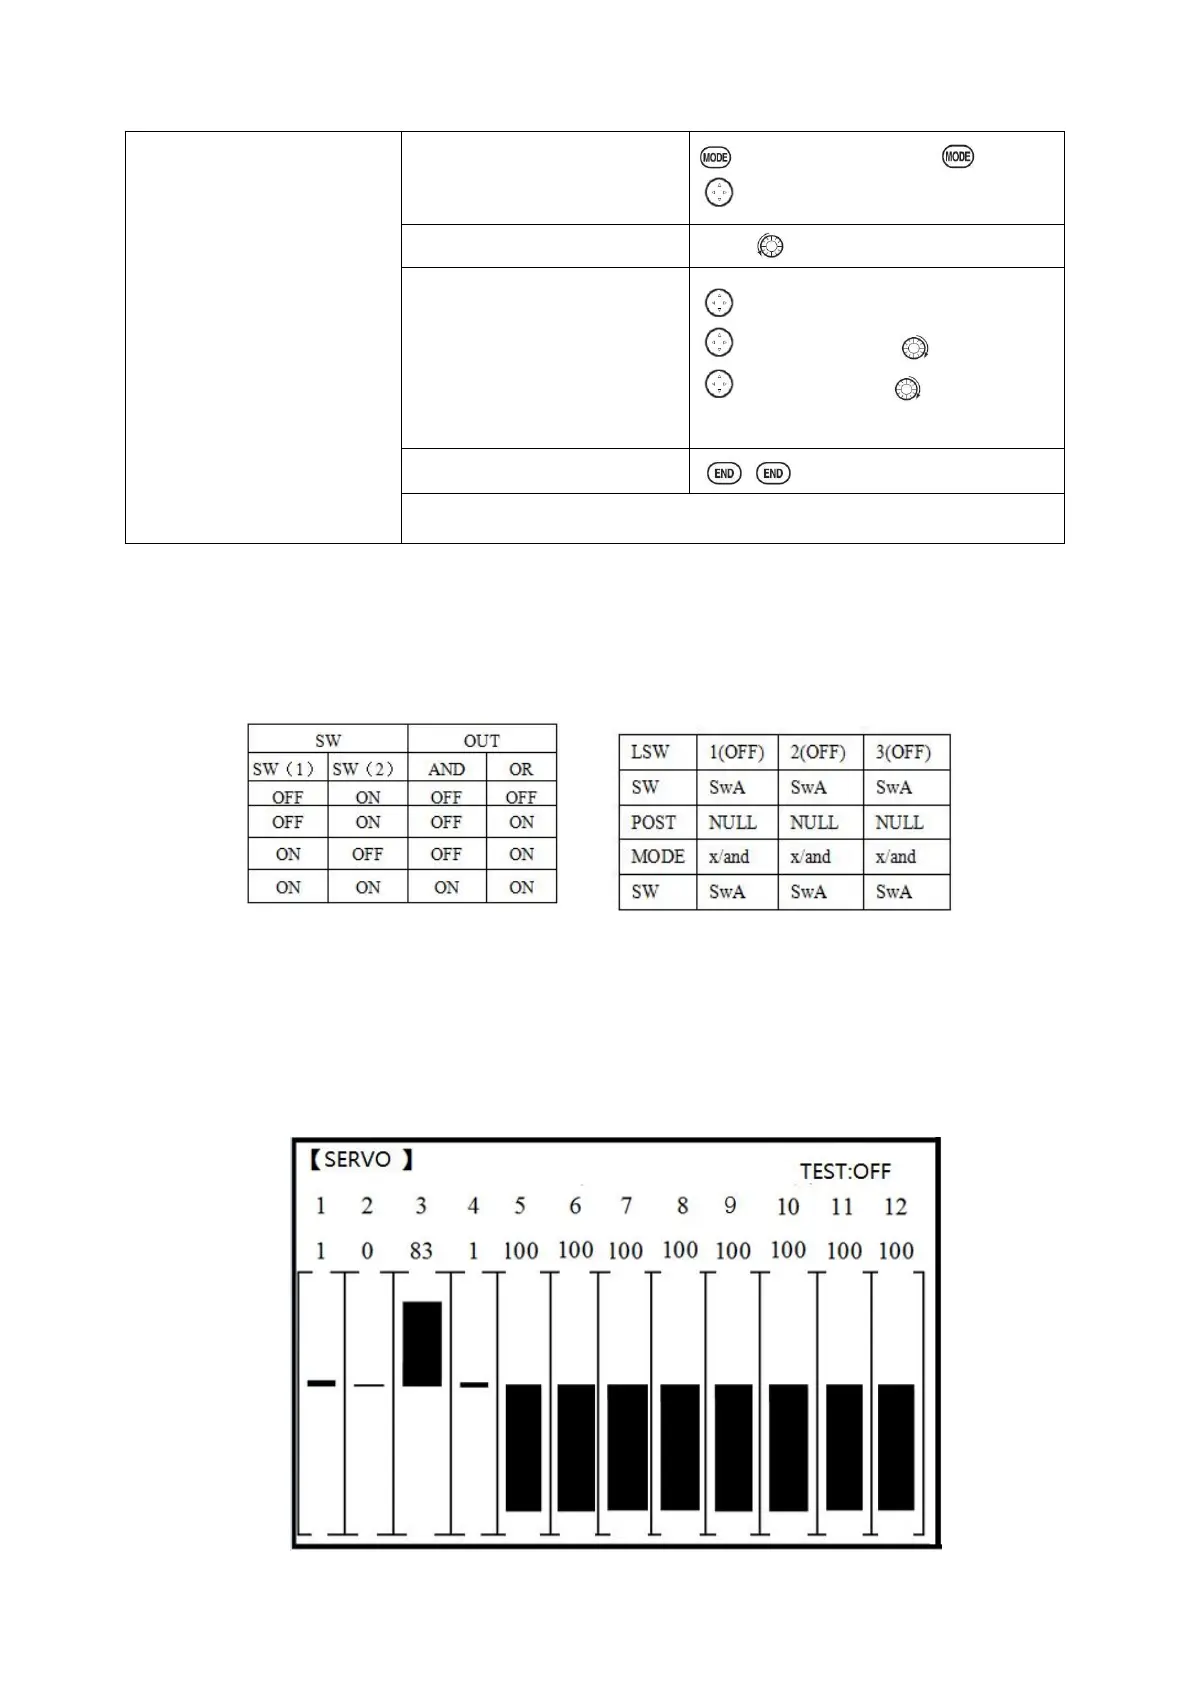
2.3.15 SERVO display and cycle sub-menu:
Displays radio's output to channels 1-12.
 Loading...