Preparing for Use
R&S
®
NRPxxS(N)
16User Manual 1177.5079.02 ─ 10
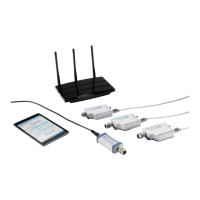
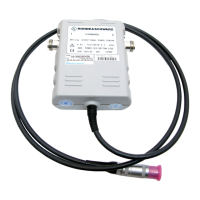
1 = R&S NRP‑Z5 sensor hub
2 = External power supply unit (supplied)
3 = Power cable (supplied)
4 = AC power supply
5 = USB cable (supplied)
6 = Computer with USB host interface
7, 8 = BNC cable (optional, not supplied)
9 = Trigger source (optional)
10 = Triggered device (optional)
11-14 = R&S NRP‑ZK6 cable
15 = Host interface connector
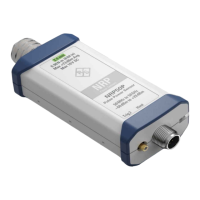
16 = R&S NRPxxS(N) power sensor
17 = Signal source
Incorrectly connecting/disconnecting the R&S NRPxxS(N) power sensors can damage
the power sensors or lead to erroneous results.
Ensure that you connect/disconnect your power sensor as described in Chapter 3,
"Preparing for Use", on page 11.
1. Connect the cables as shown in Figure 3-2:
a) Connect the R&S NRP‑ZK6 cable to the power sensor.
b) Connect the power sensors to the R&S NRP‑Z5 sensor hub. You can connect
up to four sensors.
c) Connect the R&S NRP‑Z5 to the computer.
d) Connect the power sensors to the signal source.
e) Connect the delivered external power supply unit to the R&S NRP‑Z5 and to an
AC supply connector.
f) Connect the trigger input of the R&S NRP‑Z5 with a BNC cable to the trigger
source (optional).
g) Connect the trigger output of the R&S NRP‑Z5 with a BNC cable to the trigger
device (optional).
2. On the computer, start a software application to view the measurement results.
See Chapter 5, "Operating Concepts", on page 27.
3.5.2 Setting Up a LAN Connection
Requires power sensors with networking capabilities, the R&S NRP LAN power sen-
sors.
This section describes how to connect the sensor to a LAN network and configure the
LAN interface for establishing a connection.
Connecting to a Computer
 Loading...