AccuFlow™ Vortex and AccuFlow™ HP+ Installation: Bleed Line Hose Routing 39
ACCUFLOW™ VORTEX AND ACCUFLOW™ HP+ INSTALLATION
line to the hose barb on the cooler and secure using a supplied hose clamp. Connect the other end to the
vapor tubes installed on the implement and secure using the supplied hose clamps.
NOTE: Consult a local NH
3
supplier for appropriate hoses, breakaway fittings, manifolds, and orifices for use
with the AccuFlow system. Always install breakaway fittings in the nurse tank supply lines to reduce
NH
3
discharge if the nurse tank accidentally disconnects from the implement.
NOTE: To reduce risk of uneven application, Raven recommends using equal length hose to all vapor knives,
placed at least 1 row apart.
BLEED LINE HOSE ROUTING
1. Apply PTFE thread sealant to all threaded joints.
2. Route the bleed valve to the front of the tool bar.
NOTE: When routing the bleed line hose avoid pinch points and sharp edges that may damage the hose.
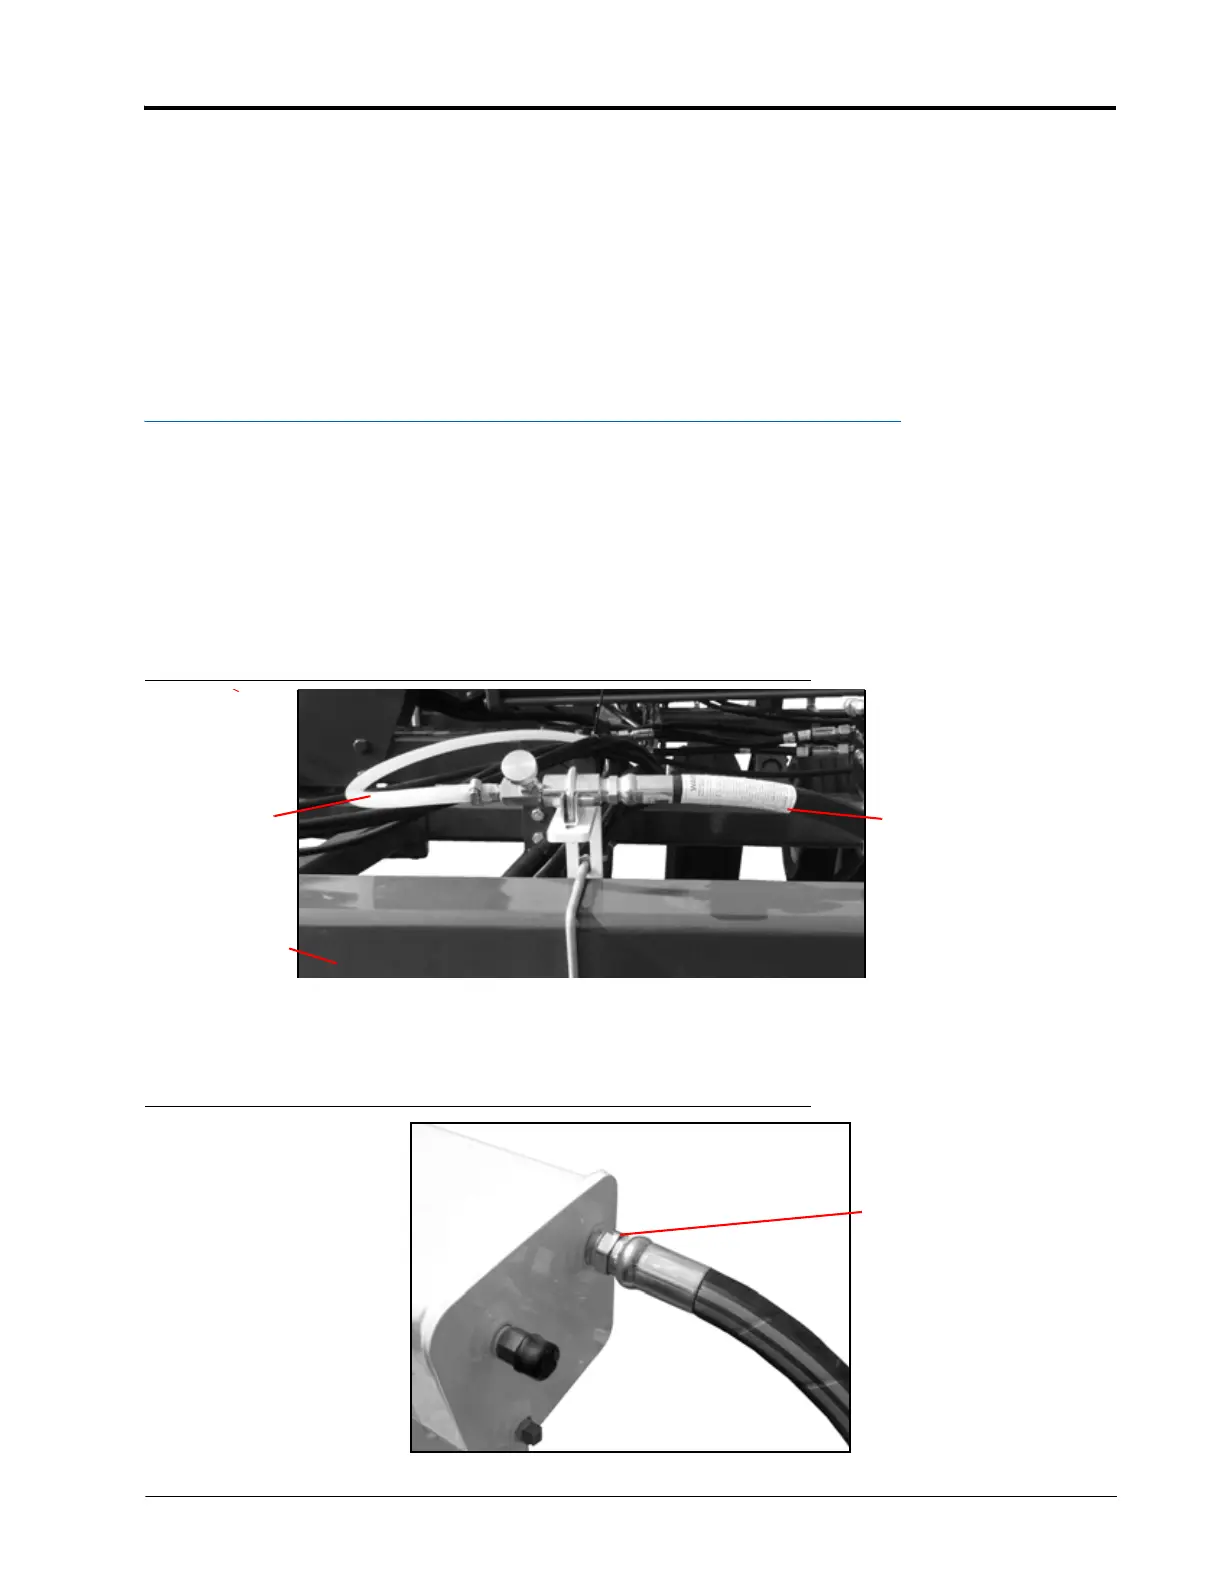
3. Secure the bleed hose to the front of the toolbar. Verify it is an easy to access location that will not allow the
hose to pinch or be damaged.
FIGURE 30. Secured Bleed Valve (Bracket Shown Not Provided)
4. Connect one end of the 1/2” high pressure hose to the back of the Vortex cooler and the other end to the
needle valve.
FIGURE 31. Attached Bleed Hose.
To 3/8” Hose
Barb on Top
of Cooler
To Back of
Cooler
Toolbar Front
Bleed Line (High
Pressure)