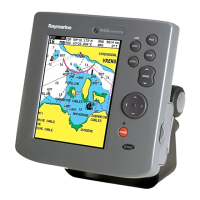
Chapter 2: Installation 9
2.3 Planning the Installation
When planning to install your RC400 using the bracket mount and ship’s
power, the following points should be considered to ensure reliable and
trouble free operation:
• Convenience: The unit should be installed in a convenient position
where it can be viewed straight on or with a viewing angle of less than
35°. You may wish to apply power before you install the unit, to deter-
mine the best viewing angle prior to fixing. The mounting location
should be easily accessible to allow operation of the controls.
• Access: There must be sufficient space below the unit to allow cable
connection to the bottom connector, avoiding tight bends in the cable.
• Interference: The selected location should be far enough away from
devices that may cause interference, such as motors and generators.
• Power Source: The unit should be located near a DC power source.
The power cable supplied is 1.5m (5ft), but a longer cable can be used
if required. Power must be supplied via a 1A quick blow fuse or cir-
cuit breaker. Refer to Running the Cable on page 16.
• Interconnections: The unit transmits navigation and waypoint data
on NMEA and, therefore, can be connected to an NMEA compatible
devices. The navigation data transmitted by the chartplotter is
detailed in Appendix A.
• Environment: The unit should be protected from physical damage,
heat sources and excessive vibration. Although the unit is waterproof,
it is good practice to mount it in a protected area away from prolonged
and direct exposure to rain and/or salt spray.
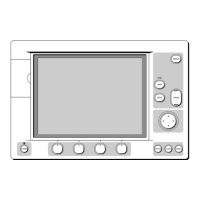
The dimensions of the unit are shown in Figure 2-1 .
 Loading...