Mounting the Chassis
4-8 SmartEdge 100 Router Hardware Guide
Install the Chassis
To install the SmartEdge 100 chassis in the rack, you need four 12-24 or equivalent screws. Perform the
following steps:
1. With another installation engineer, lift the chassis to the position selected in the rack.
2. Line up the screw holes in the mounting brackets with the screw holes in the rack.
3. With one engineer holding the chassis in place, use a Phillips screwdriver to secure the chassis to the
rack with four 12-24 or equivalent screws; tighten each screw using 30.0 inch-lbs torque
(3.4 Newton-meters) maximum.
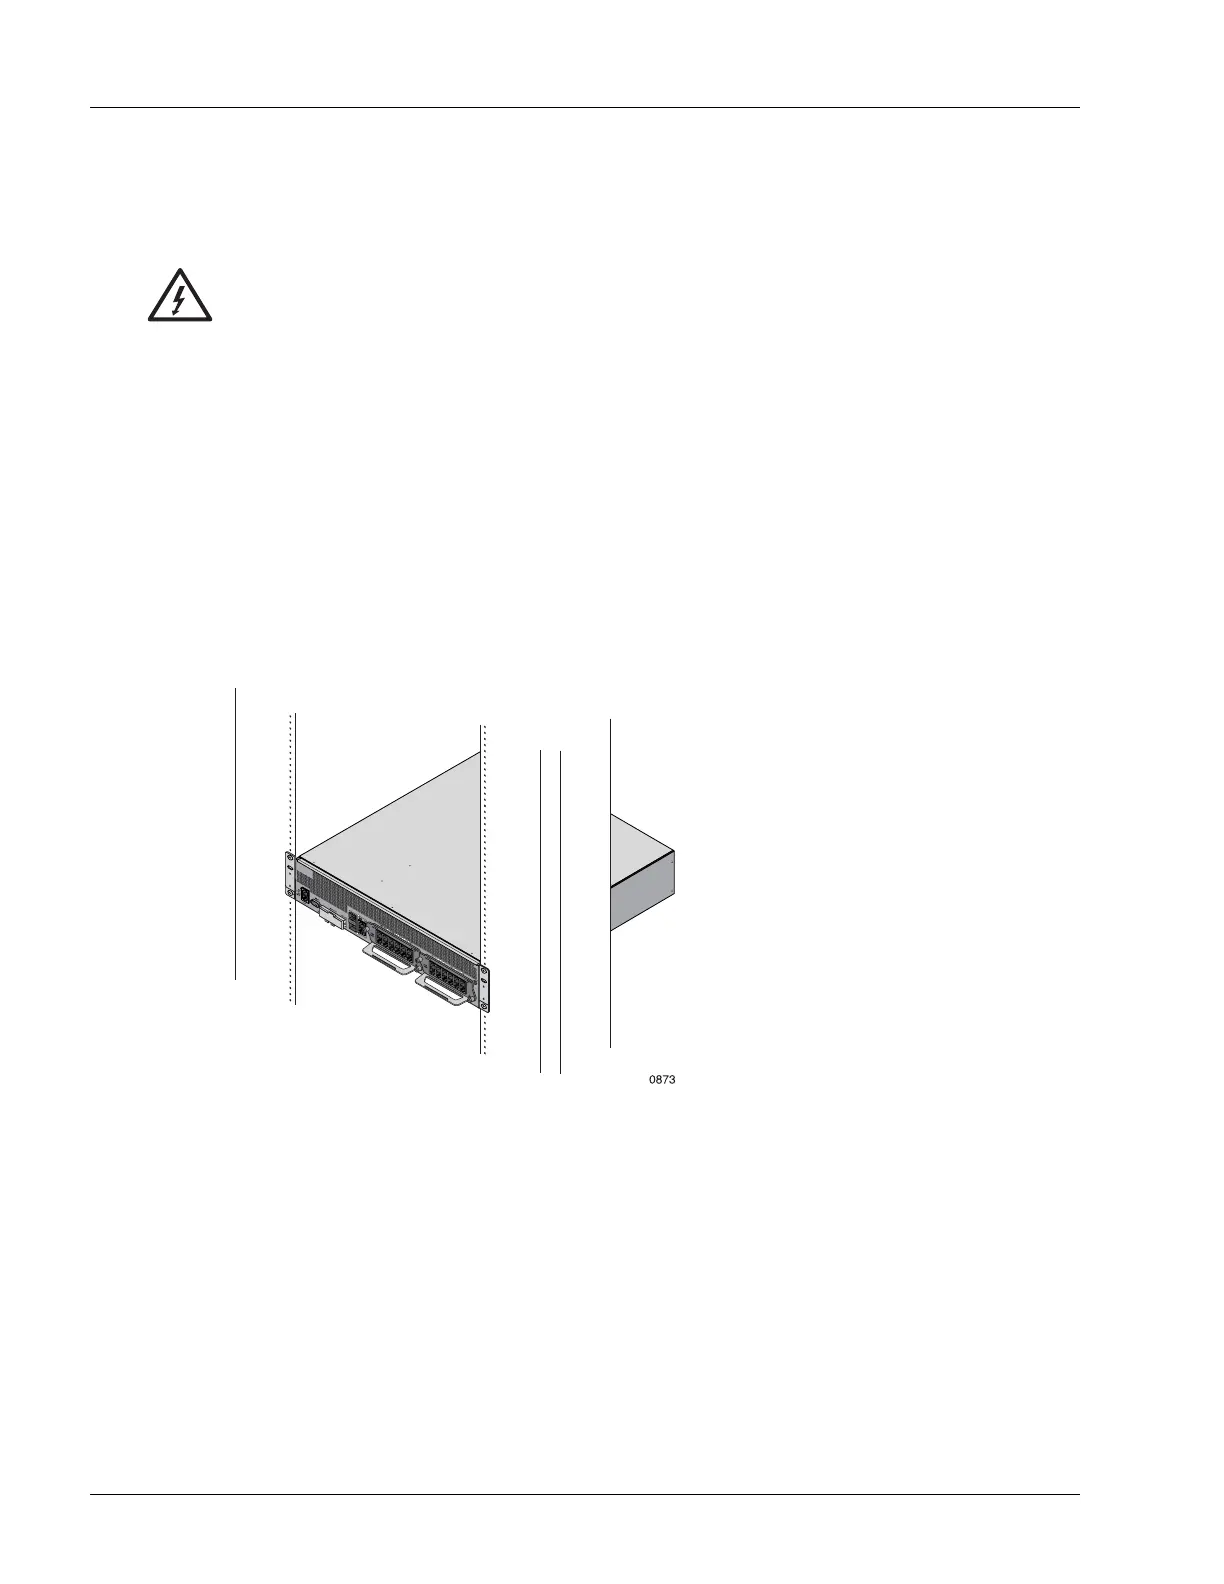
Figure 4-4 shows the chassis installed in a 19-inch rack.
Figure 4-4 19-Inch Rack Installation
Warning Risk of equipment damage. Do not grasp the handle of an installed MIC when lifting or
lowering the chassis, because it cannot bear the strain induced by the chassis weight. It can
break away from the chassis, thereby causing the chassis to fall. To reduce the risk when you
lift or lower the chassis, always grasp the chassis by its underside edges and not by any opening
or the handle on any component.