Chapter 8
8-6 BiPAP® Focus™ Ventilator Service Manual © Respironics, Inc. REF 1029568 Rev A
Component Removal/Installation
4. Carefully turn it over placing the ventilator on its feet.
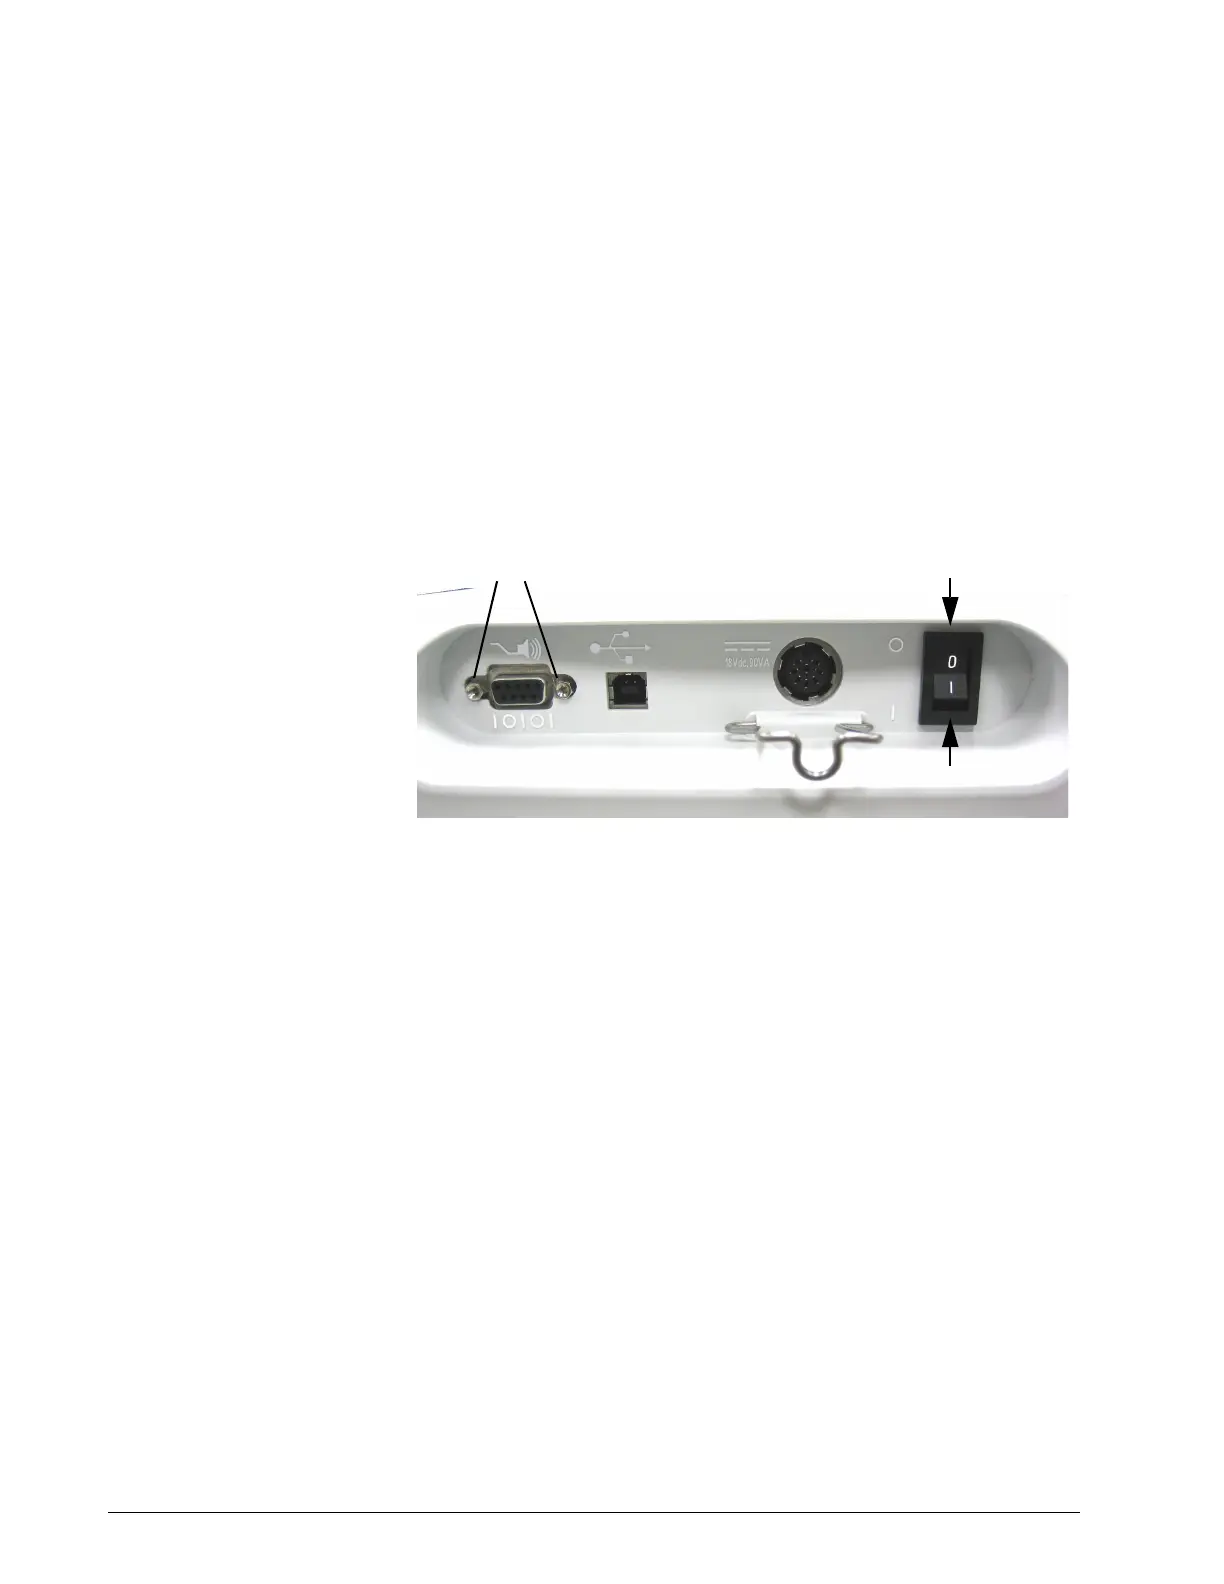
5. Using a 5mm nut driver remove the JACK SCREWS from the 9-pin
serial port on rear. These impede the removal of the top enclosure.
6. Remove the ON/OFF switch bezel before reattaching the top
enclosure. Gently apply downward pressure to the top of the bezel
allowing it to spring outward. Then, gently apply upward pressure to
the bottom of the bezel allowing it to spring outward
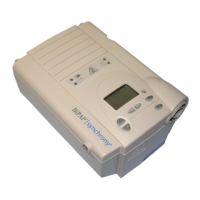
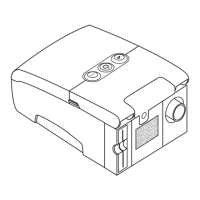
Figure 8-6: Bipap Focus back panel
7. Tilt the bottom of the VGA assembly outward until the assembly is
separated from the bottom and top enclosures.
8. Remove the four screws holding the top and bottom enclosure
together. (Install with 5 in/lb. of torque)
9. Remove top enclosure. Lift front edge of top enclosure. Serial port and
ON/OFF switch cut outs on rear side must clear port and switch.
VGA Assembly Follow these steps to remove or replace the front or rear VGA panels, interface
board, VGA screen or cables (Figure 8-7, Figure 8-9, Figure 8-10, Figure 8-
10).
1. Remove top enclosure (“Top Enclosure” on page 8-4).
2. Disconnect the Parlex cable from the UI board.
3. Disconnect the ground strap clip from the UI board.
Jack screws
ON/OFF Bezel
 Loading...