Chapter 8
Component Removal/Installation
REF 1029568 Rev A BiPAP® Focus™ Ventilator Service Manual © Respironics, Inc. 8-11
3. Remove the interconnect comms harness clamp screw.
4. Using a #2 phillips screwdriver, remove the 4 nuts from the pillar
supports.
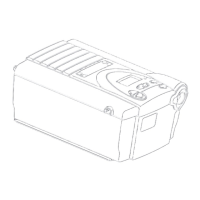
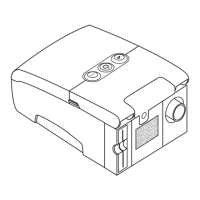
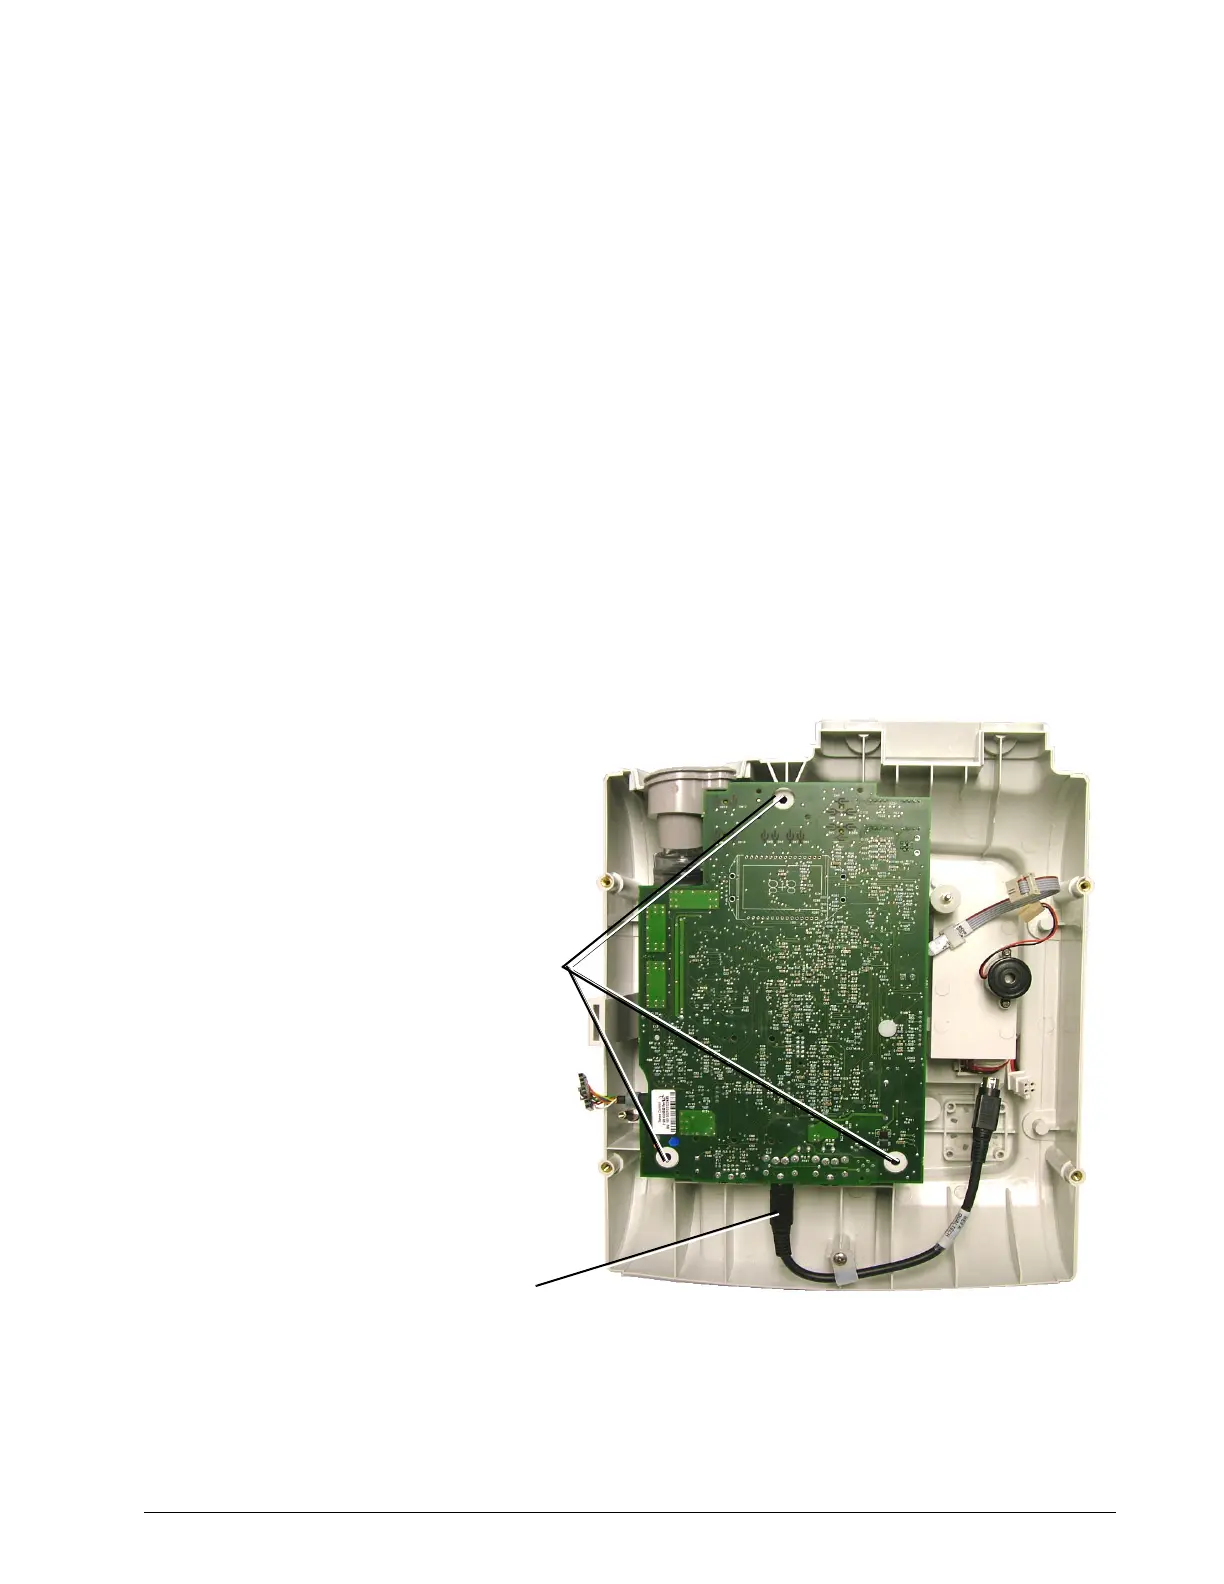
Controller PCB Follow these steps to remove the Controller PCB (Figure 8-12). Reverse to
install.
1. Remove top enclosure (“Top Enclosure” on page 8-4).
2. Remove the user interface board (“User Interface Board” on page 8-
10).
3. Disconnect the interpower cable.
4. Using a #2 phillips screwdriver remove the three stand off nuts.
Figure 8-12: Controller PCB
5. Lift the board to expose the remaining harnesses cables and tubing.
interpower cable
Standoff nut
positions
 Loading...