7.4 Seng the end posions
u
Descripon
1
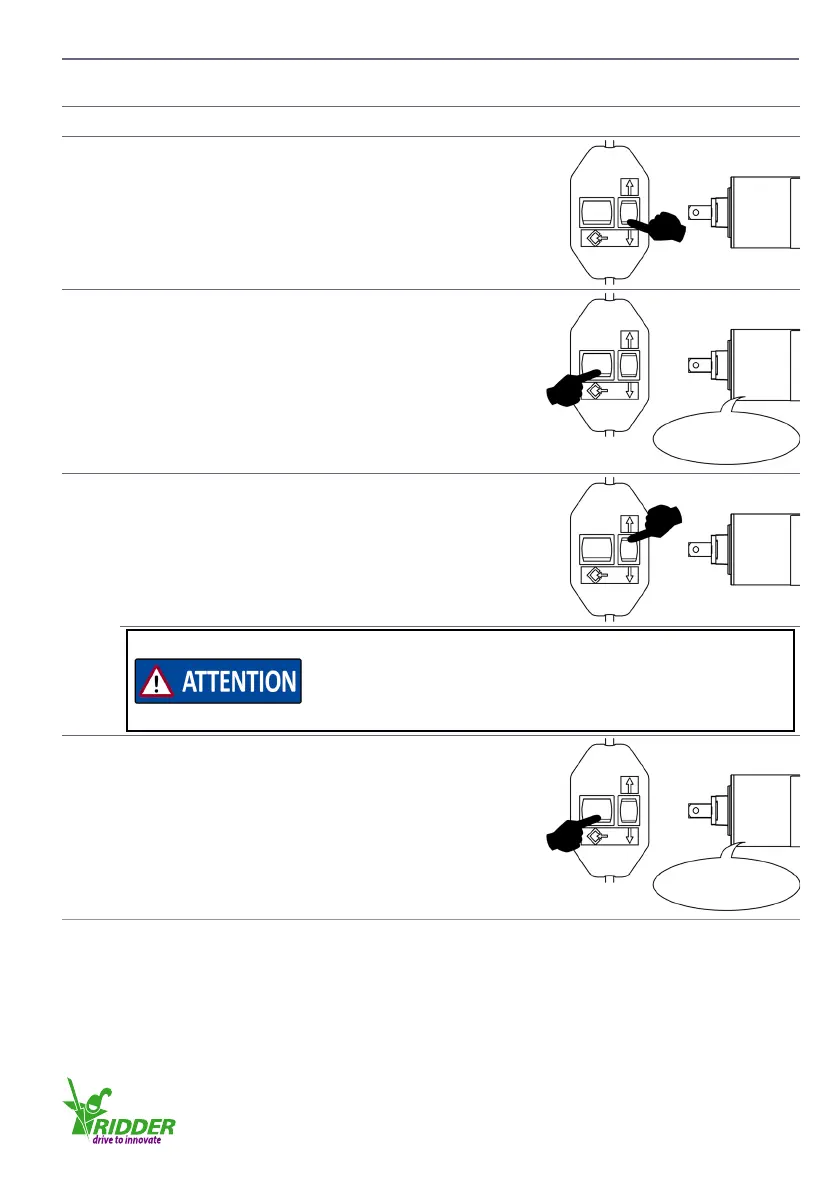
Connect the tube motor to the adjusng switch.
2
Push the related Up-Down buon and let the tube
motor turn to a top end-posion or a boom end-
posion.
3
Push the programming buon for a minimum of 3
seconds. The end posion is set aer the tube motor
gives one “click”.
Click
4
Push the related Up-Down buon and let the tube
motor turn to the other end posion.
The rst selected direcon aer step 3 is immediately set.
Make sure that this direcon is correct for the second end
posion. If the selected direcon is incorrect, erase the rst
end posion (refer to §7.5) and do the procedure again.
5
Push the programming buon for a minimum of 3
seconds. The end posion is set aer the tube motor
gives one “click”.
Click
At this me the limit-switch system and the range of travel of the RB50Eᵖˡᵘˢ tube motor are set.
Disconnect the tube motor from the adjusng switch. Connect the tube motor to the control box.
Ridder Drive Systems
T +31 (0)341 416 854 F +31 (0)341 416 611 I www.ridder.com
29