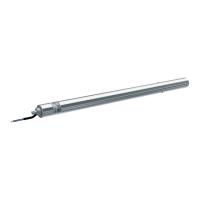
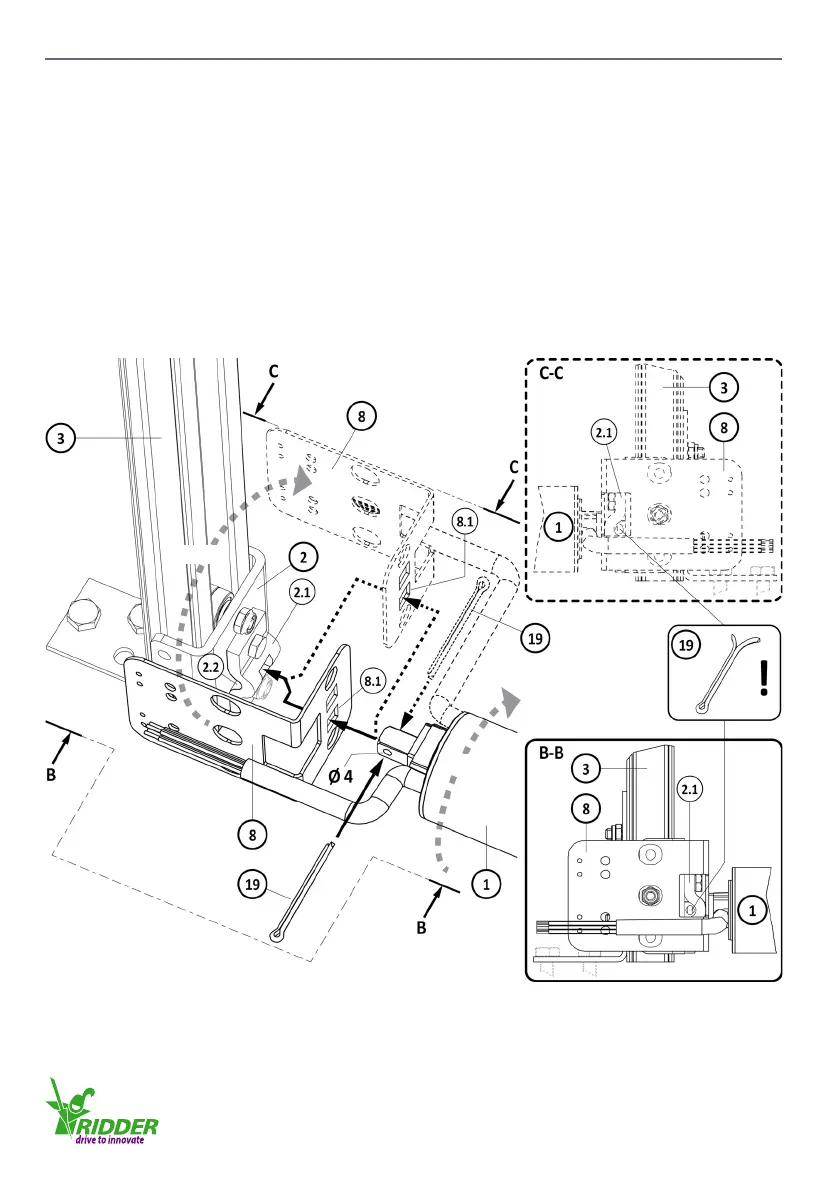
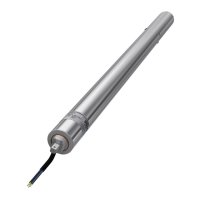
4.4 Aach the tube motor to the guiding unit
Aach the cable-carrier bracket (8) to the guiding unit (2) at the same time as the tube motor (1).
Refer to view B-B. Refer to view C-C if the installaon is on the other side of the roller screen.
Do the procedure that follows.
1. Align the hole of ø 4 mm (for the split pin 19) with the opening 2.2.
2. Put the cable-carrier bracket (8) in posion with the long side pointed to the guiding unit (2).
3. Put the power cable of the tube motor (1) along the long side of the cable-carrier bracket (8).
4. Move the head (10x10) of the tube motor (1) through the boom hole (8.1) of the cable-carrier
bracket (8).
5. Put the head of the tube motor (1) fully into the hole (10x10) of the aachment bracket (2.1) of
the guiding unit (2). At this me the cable-carrier bracket (8) is also put in the correct posion.
6. Put the split pin (19) in the hole of ø 4mm.
7. Use the split pin (19) and safety the assembly.
(C-C)
(C-C)
4.4.1
Ridder Drive Systems
T +31 (0)341 416 854 F +31 (0)341 416 611 I www.ridder.com
16