1224 Threading Machine
Ridge Tool Company6
to fit into the rear legs on the stand. The stand stop
bracket is not required or supplied with the No. 100
Leg and Tray Stand.
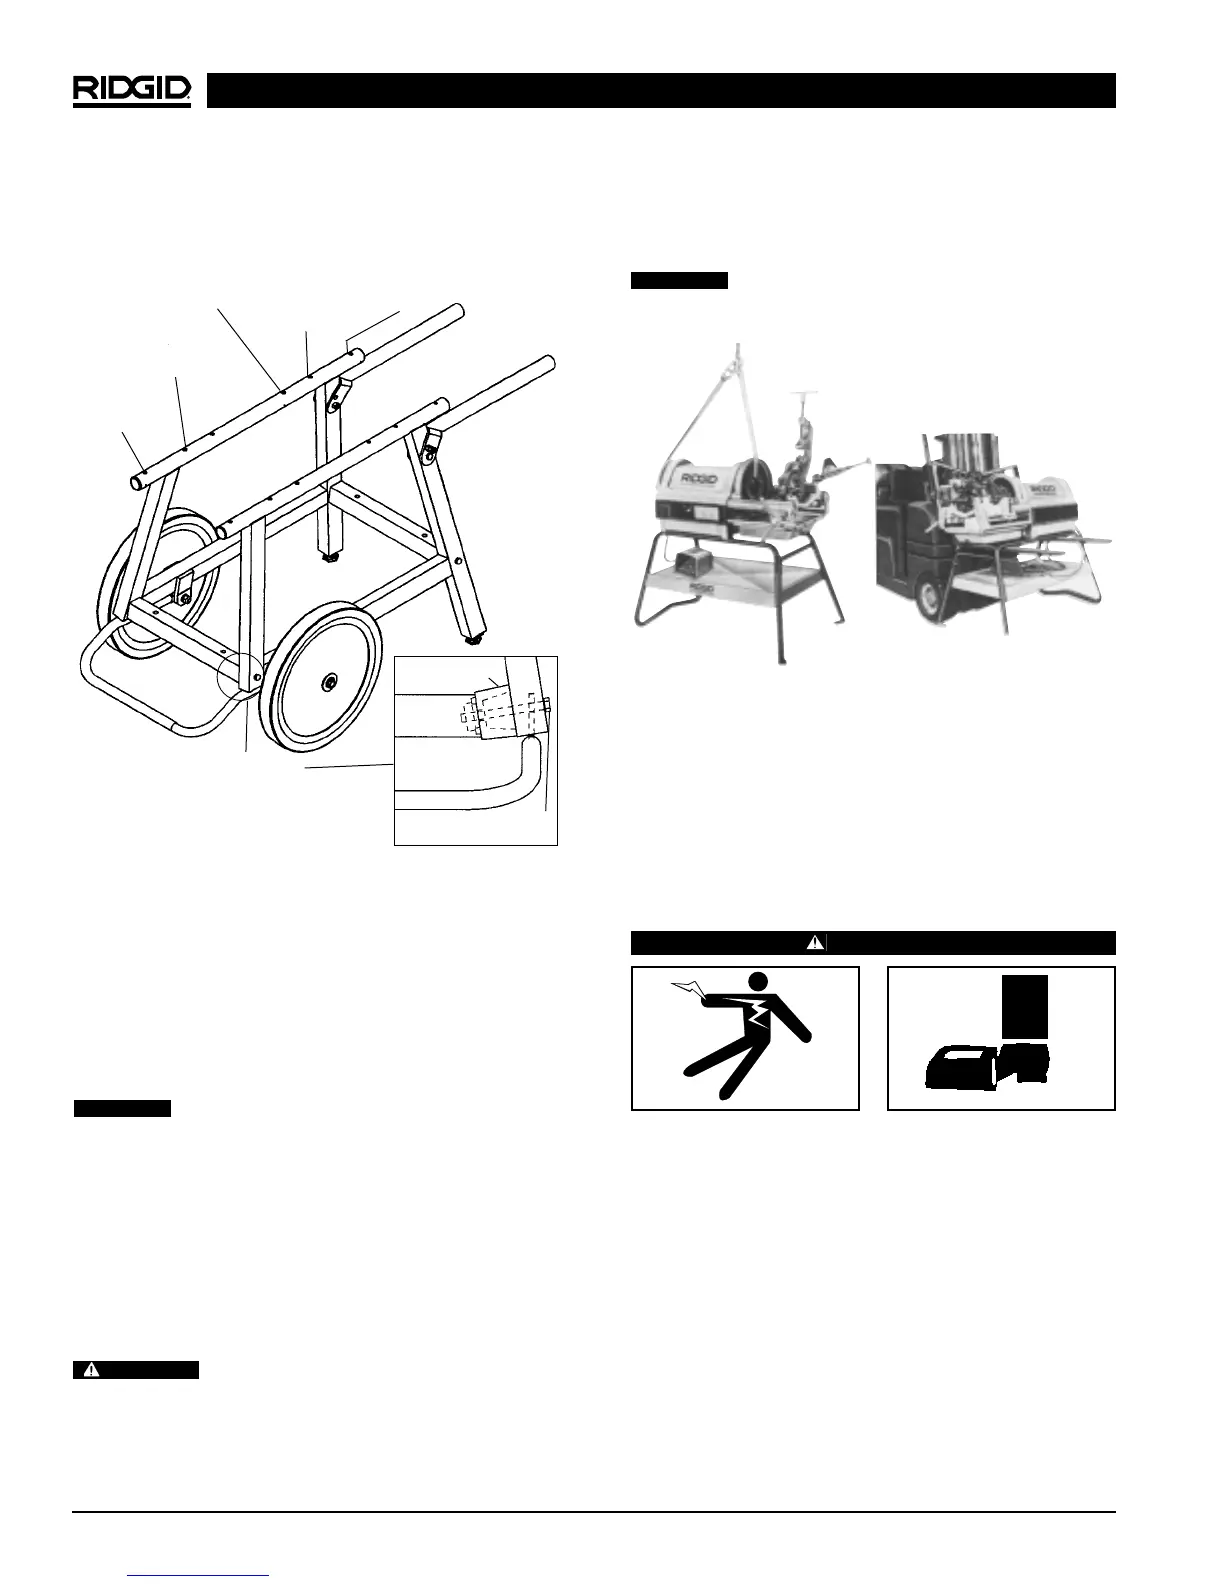
Figure 3 – Stand Assembly
5. Insert axle into frame and secure it with a
1
/
2
″ lock
washer and nut. Position stand stop bracket so that
the end of the bracket is held in place by the axle
shaft. Slide a wheel onto the axle. Slide a flat washer
over the axle and install a cotter pin to hold the wheel
on the axle.
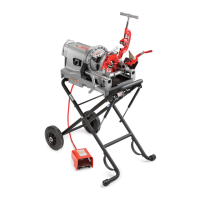
6. Mount machine to the stand using four (4) bolts that
mount into each corner of the base.
For proper balance and operation, RIDGID
machines must be mounted through the appropriate
holes in the legs (Figure 3).
Mounting Machine To Bench
1. If a stand is not used, the machine should be
mounted to a stable bench. To mount the unit on a
bench, use four (4)
3
/
8
″ bolts in holes provided at
each corner of machine base. Base dimensions are
shown in Figure 2.
Failure to mount the threading machine
to a stable stand or bench may result in tipping and
serious injury.
Transporting Machine
1. If machine is on a No. 100 Leg Stand, a forklift can be
used with or without a sling (Figures A and B).
Do not lift machine by oil pan assembly or
bottom cover as extensive damage could result.
AB
Figure 4 – A - Transporting No. 1224 Machine Using Sling
B - Transporting No. 1224 Machine Using
Forklift
2. The No. 150 or 200 Wheeled Stand allows one-man
transportation over smooth surfaces.
Machine Inspection
WARNING
To prevent serious injury, inspect your Threading
Machine. The following inspection procedures
should be performed on a daily basis:
1. Make sure Threading Machine is unplugged and the
directional switch is set to the OFF position (Figure 5).
CAUTION
WARNING
CAUTION
300 Compact
1233, 1822 (Rear)
1224 (Front)
535 (Front)
Detail Section
3
/
8
″ - 16 x 4″ Bolt 4
Required
Spacer Block
4 Required
300 Compact
1233, 1822
(Front)
535
1224 (Rear)

 Loading...